
Three DIY Tray Ideas {Using the X-Carve!}
Learn how to make three cute and simple trays that can be used anywhere in your house. This project uses an Inventables X-Carve, but modification ideas are included in case you don’t have one! This post is sponsored by Inventables.
Over the long weekend, I got a little antsy and decided I needed to just make something. Do you ever get that urge?
One of my go-to projects when I’m feeling the need to knock out something quick and easy is to just grab some wood from our scrap wood pile and do some carving on our Inventables X-Carve 3D Carver. If you haven’t had the pleasure of meeting this amazing tool yet, it’s one of my favorite tools in our little shop. It’s so versatile, it’s easy to use once you know what you’re doing, and the sky is the limit when it comes to what you can do!
If you’ve missed any of our old X-Carve projects, let me catch you up first so you can get an idea of what all this little guy can do:
- DIY Wooden Baby Teethers
- DIY Bread Boards / Cutting Boards
- Fall Pumpkin Decor
- Interactive Wooden Christmas Tree
- DIY Carved Wood Sign
- DIY Wood Puzzles
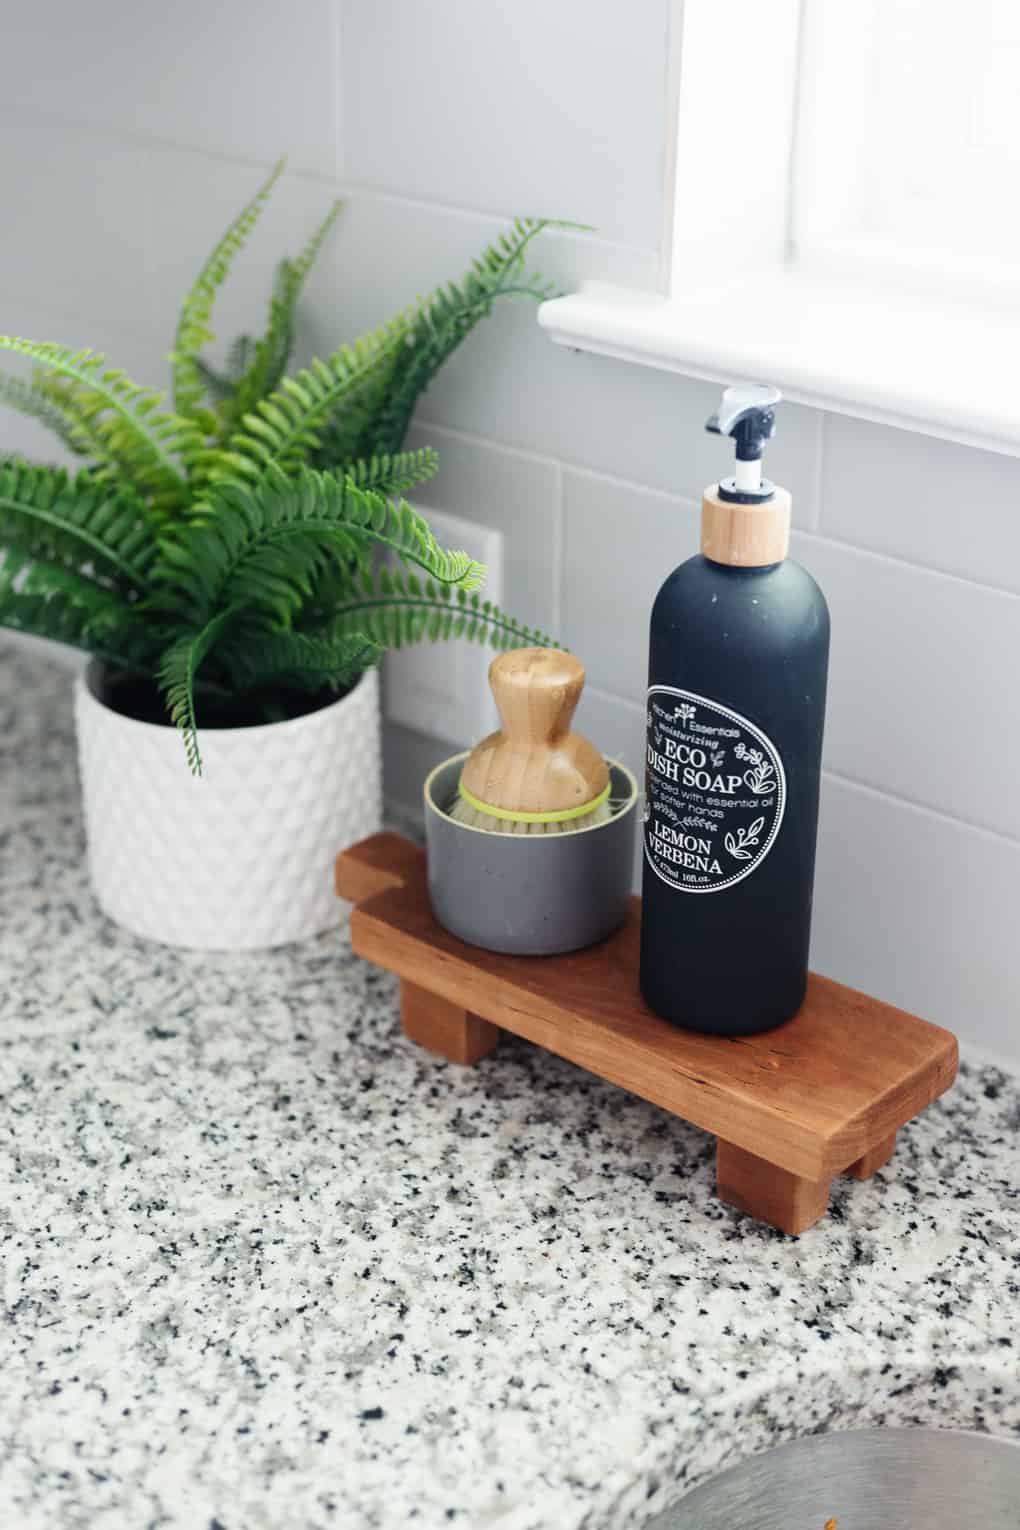
And today, I’m sharing three simple and easy DIY tray ideas – they are so versatile and can be used for anything from serving up a charcuterie board to holding your soap (which is exactly what I’m using one of them for!).
Let’s dive right in, shall we?!
DIY Trays {using the x-carve}
Note: If you have an X-Carve and would like to use my cut file to create your own trays, you can click here to download the SVG file with all three tray designs!
Tray 1: Small footed tray
Bit Used: 1/8″ Straight End X-Carve Bit
The first tray I made is the one I was the most excited about because it’s something I’ve been wanting for a long time – a little footed pedestal that can corral the soap next to my kitchen sink! I love using little trays throughout my kitchen to help the counters not feel cluttered, and I’ve been swooning over the small footed trays I’ve been seeing everywhere lately.
This was very simple to make, and of the three trays this one is probably the most easy to replicate without an X-Carve!
I used Inventables’ free design software, Easel, to design these three trays. It’s a very simple-to-use program that’s perfect for beginners but also has the capacity to handle some more complicated cuts. If you don’t have an X-Carve, you could simply draw your shape out on a piece of wood and cut it out using a jigsaw (learn how here). It’s a lot more work and not quite as accurate…but it’d get the job done!
Here’s a little side-by-side of how the design looked in Easel, and how it looked once it was all cut out.

So cool, right?!
Once the top piece was cut, I cut four small scrap pieces of wood to create the feet. I didn’t want it to be too tall (though I’ve seen some super cute taller pedestals!) so I kept them about 1.5″ tall.
One of the most important parts of this project is sanding! If you want a slightly rustic and worn feel to your footed tray (and, honestly, you do!), you’ll want to use some 80-grit sandpaper to soften all of the corners and edges quite a bit. Here’s a before-and-after of the sanding process so you can see what a difference it made.

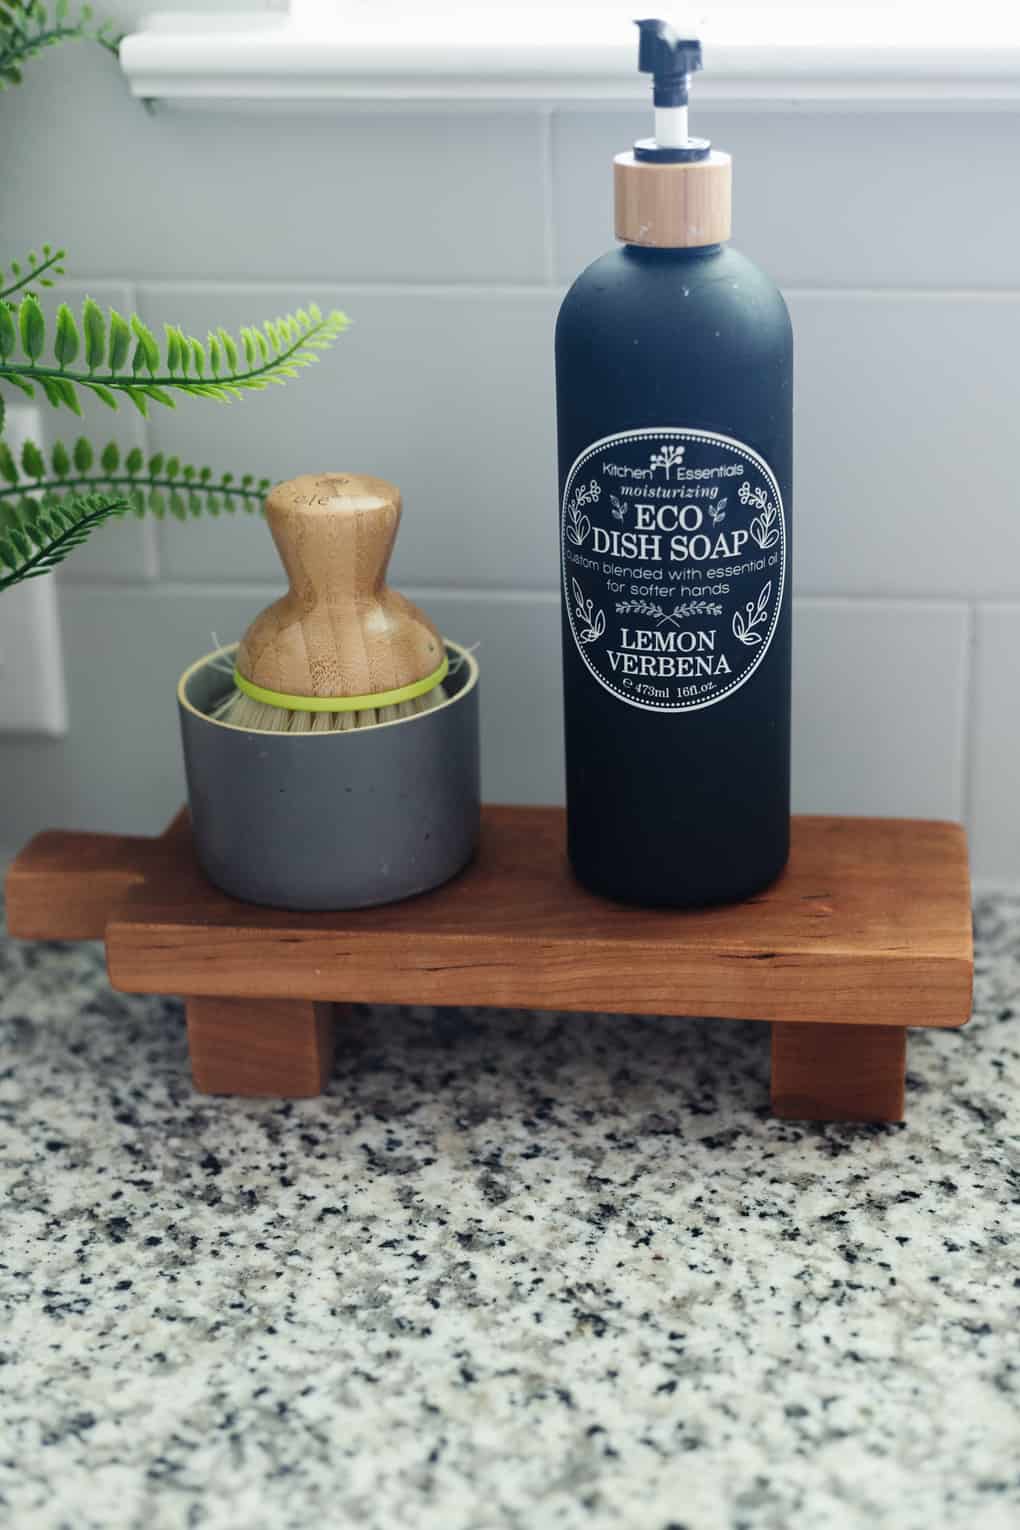
I just attached the legs using wood glue (don’t forget to clamp them while the glue dries!), and once everything was dried I applied some oil to the wood to bring out the natural color and protect it a bit.
Done and done!
I honestly want to make about 5 more of these to use throughout our house. They’d be so cute holding a candle or a little vase – I may need one for every room in the house!
Tray 2: Carved wood serving tray
Bit Used: 1/8″ Straight End X-Carve Bit and 60-degree V-Bit
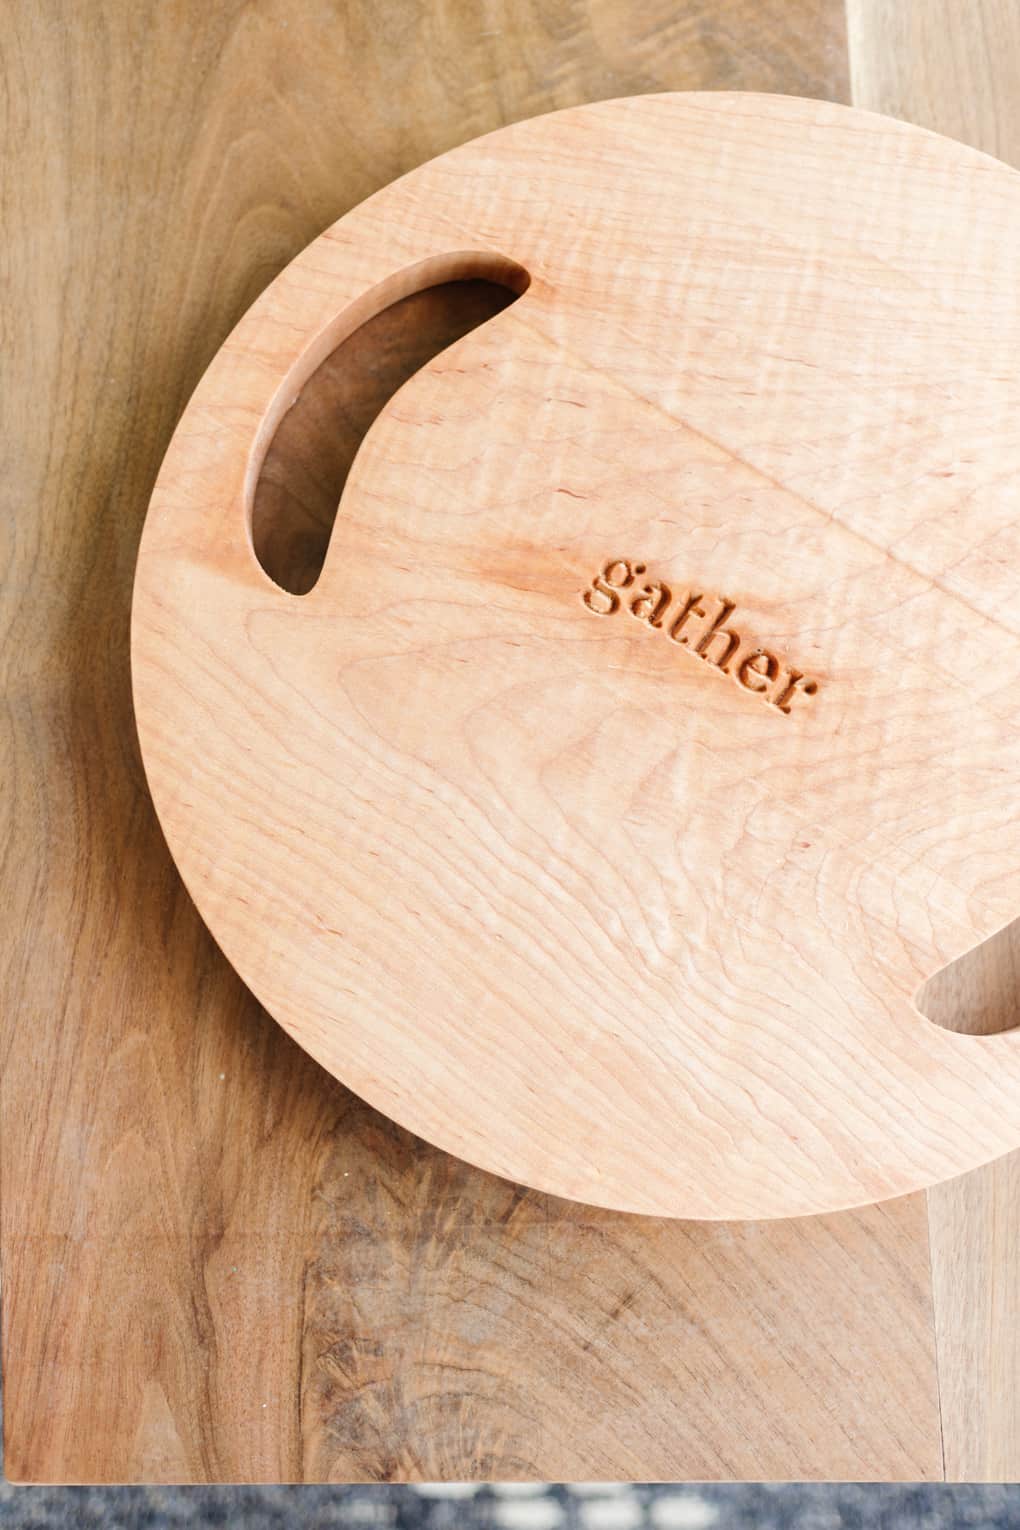
Next up, I wanted something to use as a serving tray for our new backyard patio! We don’t have a dining table out there (YET!) but we’ve been spending so much time out there since the new patio extension was added and I thought it would be fun to celebrate the occasion with a little serving tray to help bring drinks or snacks out when we’re spending time in the yard.
I wanted to keep the tray simple but have it be as functional as possible, so I sized it to be as big as my scrap wood would allow (about 15″ in diameter), and I added some integrated handles on the sides.


This project in particular is such a good example of how easy the X-Carve makes it to make really beautiful projects. I designed the tray in Easel, set everything up, and clicked a button…and my X-Carve did the rest! Once the tray was finished, all I had to do was sand it and oil it and it was ready to use.
Tray 3: Vintage-inspired tray
Bit Used: 90-Degree V-Bit
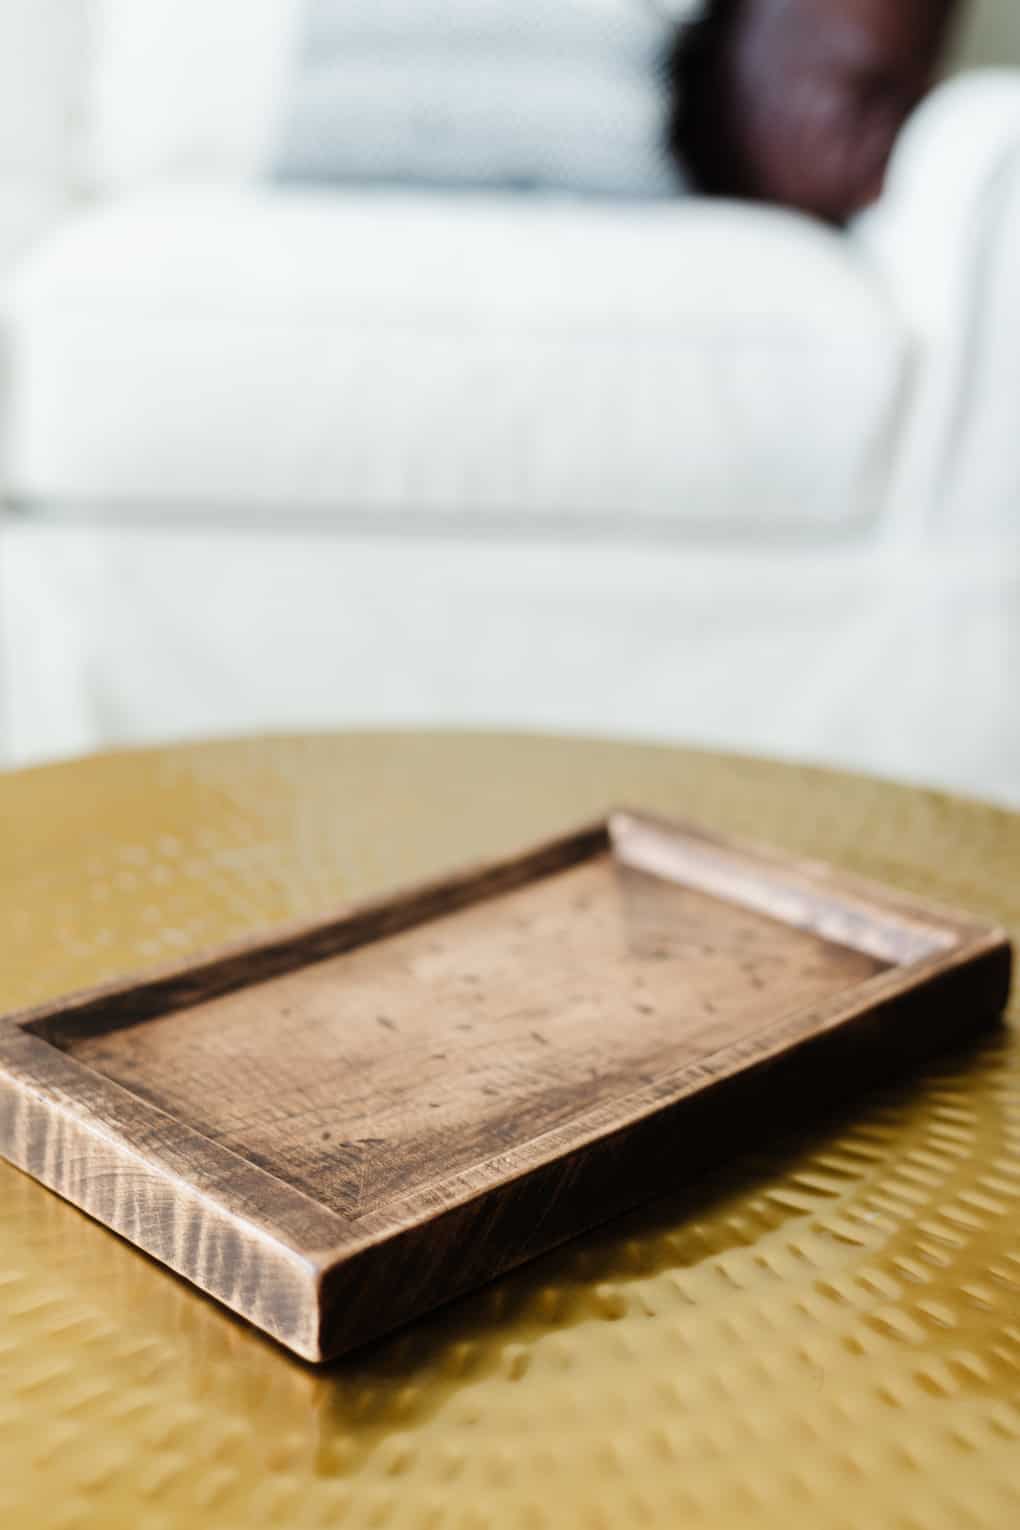
For my last tray, I wanted to try to kind of replicate an antique tray I had found that I loved…but that cost a staggering $850. Of course, the antique version is hand-carved and approximately 8 thousand years old, but I figured I could achieve a similar look and feel with just some scrap wood and my X-Carve!
Of the three projects, this one would be the hardest to do without an X-Carve – you’d likely have to actually hollow out the wood by hand. But, with the X-Carve, I just had to have a lot of patience (it took almost 5 hours to carve!), and it took care of all the hard work for me.

I haven’t even decided what I’m going to use this tray for yet, but I know that my plans for it include staring at it longingly and petting it on occasion because it’s just so dang pretty.
I wanted to try to get a little bit of an antique feel for this one, so I dinged it up a bit with my hammer (I used both sides of the hammer to get a couple different sizes of dents). I think it probably could have used even more distressing but I’m not totally confident with my distressing techniques yet, so I need to do some more practicing before I try it out on the tray my poor X-Carve worked on for five hours!
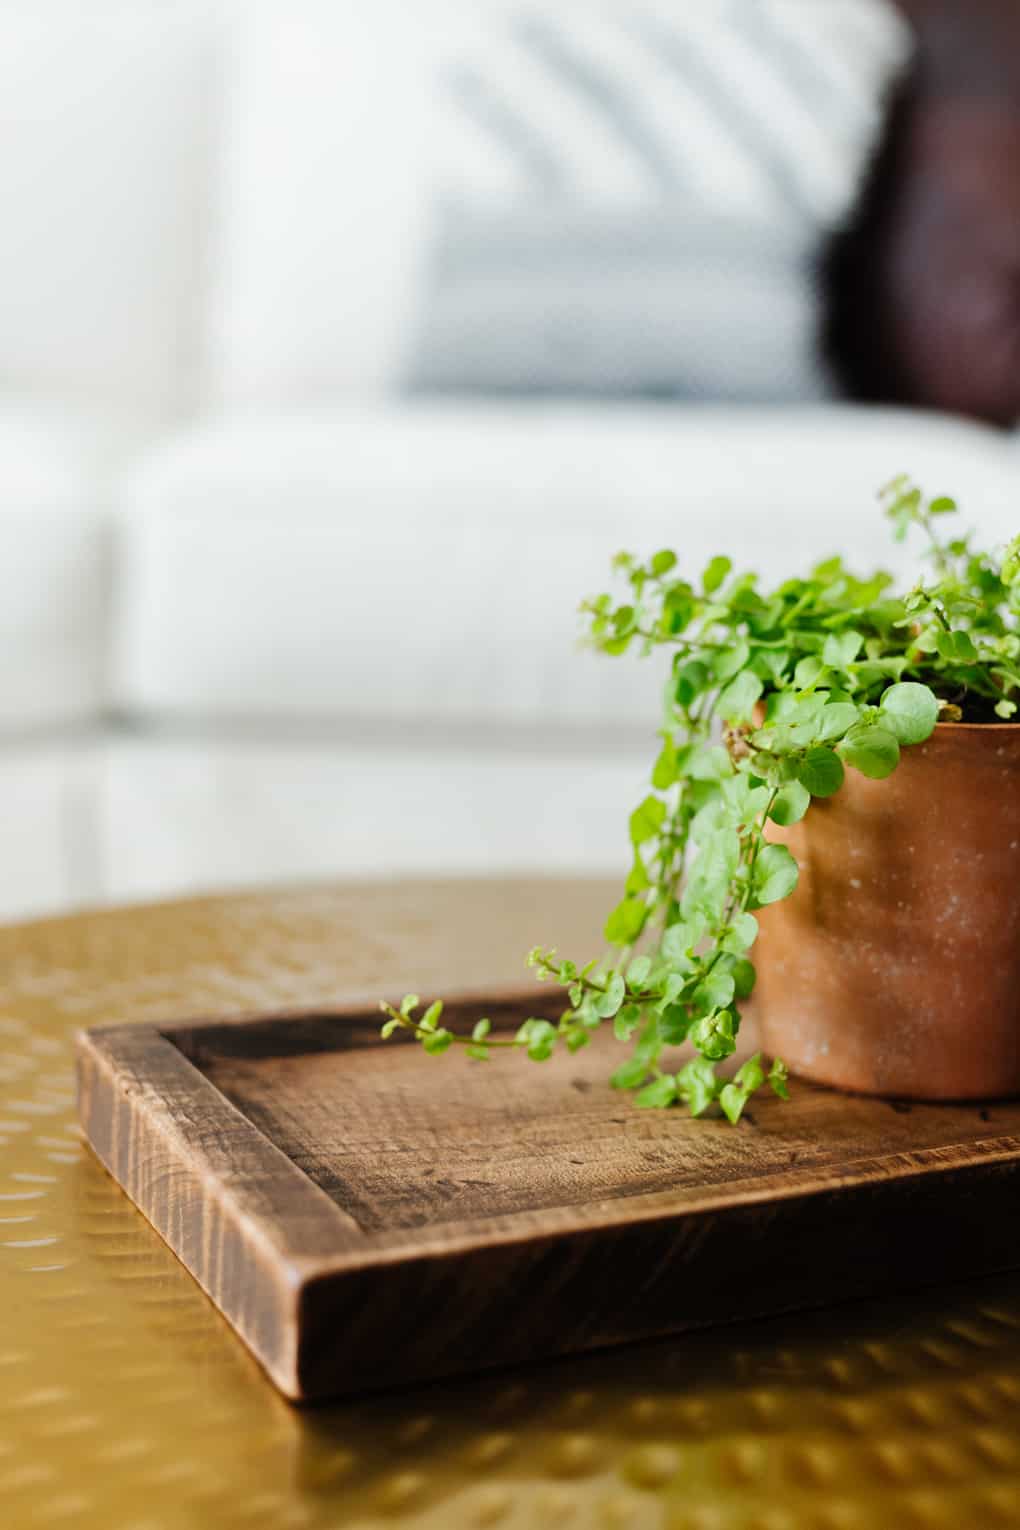
I stained it Dark Walnut by Varathane and I’m soooooo pleased with the finished product. Once we finally get around to choosing a coffee table for our living room, I think it would look really cute sitting on that.
Between these little trays and my wooden bread boards, I’m never going to be short on wooden trays or serving dishes again. I feel like I can never have enough, though, so I’m not complaining.
Not gonna lie, I’m already dreaming about what my next wooden tray might look like!
If you’re interested in learning more about the Inventables X-Carve, you can head over to their website to check it out! It’s an investment piece, but it can do so much it’ll blow your mind! I feel like I’m honestly still at the tip of the iceberg when it comes to what this guy is capable for – I get a little bit better at it every time, but I’m still learning and pushing myself to try new things with it!
Any ideas for what I should make next?!
The post Three DIY Tray Ideas {Using the X-Carve!} appeared first on Love & Renovations.