Star Wood Wall Art
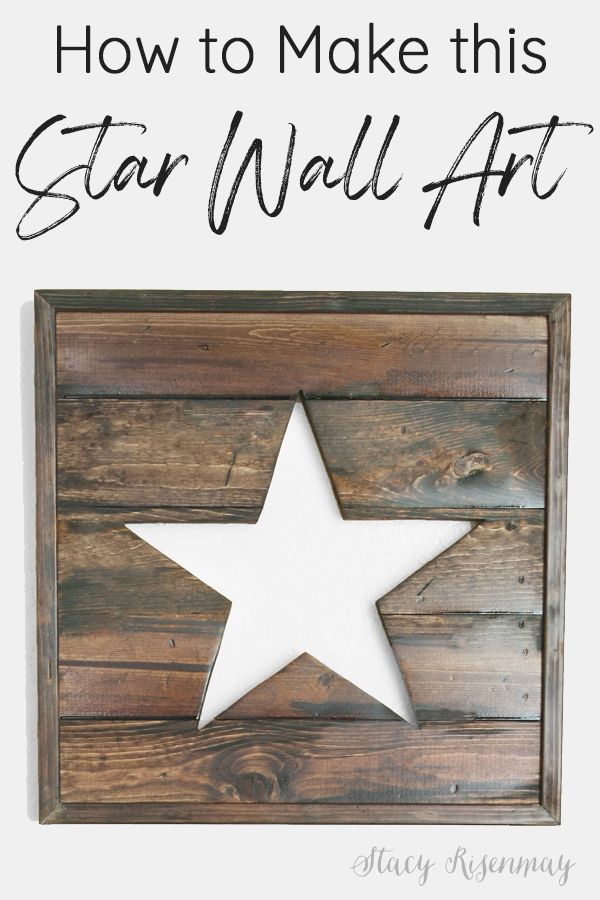
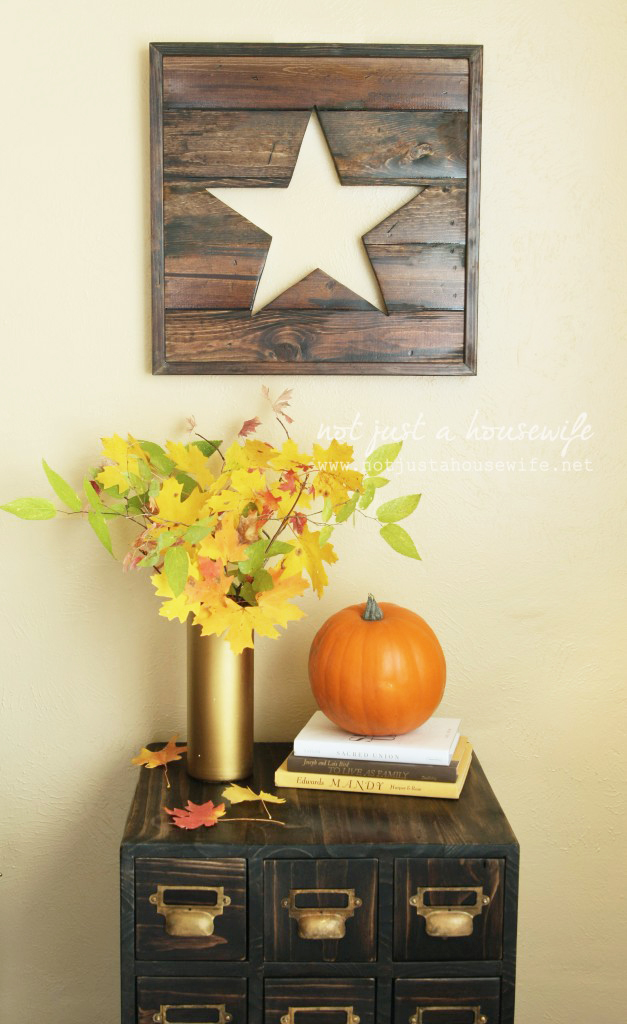
I love simple DIY projects that are fun to make. And when they save you money, it's even better! This Pottery Barn knock off was easy to make. This star wood wall art looks good with any decor style.
I did this project several years ago, but I wanted to share it again. It is the perfect year round decor but can also be played up for holidays, especially ones like Fourth of July and Christmas. In the original post, I show how I found this idea in a Pottery Barn catalog but was able to make it for much less.
Star Wood Wall Art
Step 1: Cut the Wood
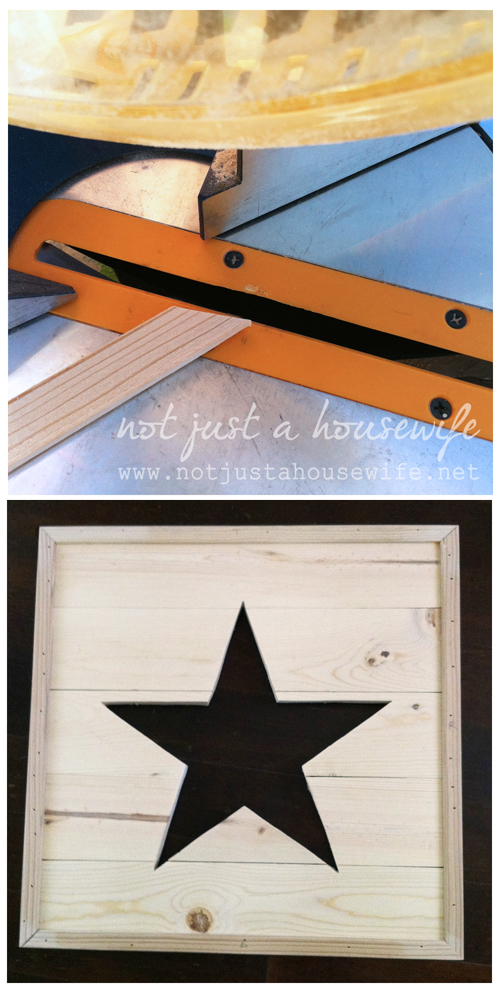
If you use (5) 1x4 boards (which are really 3.5 inches instead of 4), it would measure 17.5 inches tall. So I cut the 1x4 boards 17.5 inches long so it would end up being square. I cut them with a miter saw.
Step 2: Attach the 1x4s Together
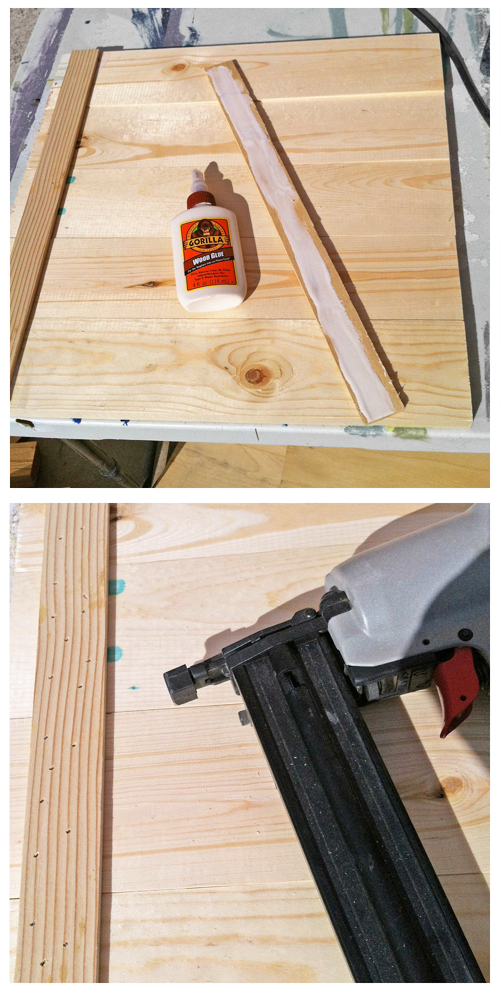
To secure all the boards together, I used some lattice trim. I cut them to the right length. I glued and nailed them to the backside. Paint sticks or any other thin wood strips would work as well.
Step 3: Trace the Shape
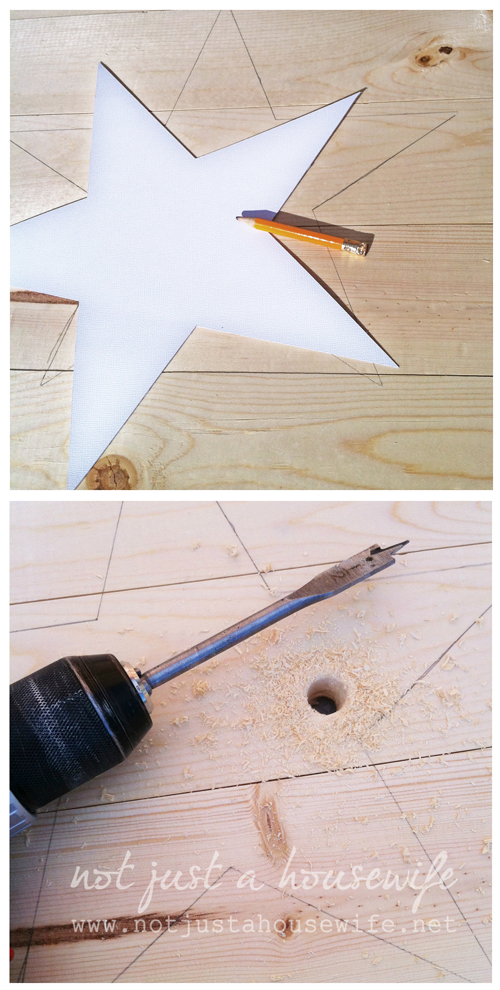
I made a paper pattern (fold it in half to ensure it's symmetrical) to trace the star on the boards. You could, in reality, do any shape you want. The possibilities are endless!
Step 4: Drill a Hole
You will need to drill a hole for the blade of the jigsaw to fit through. Make sure you choose a drill bit that is bigger than the width of the jigsaw blade.
Step 5: Cut out Shape
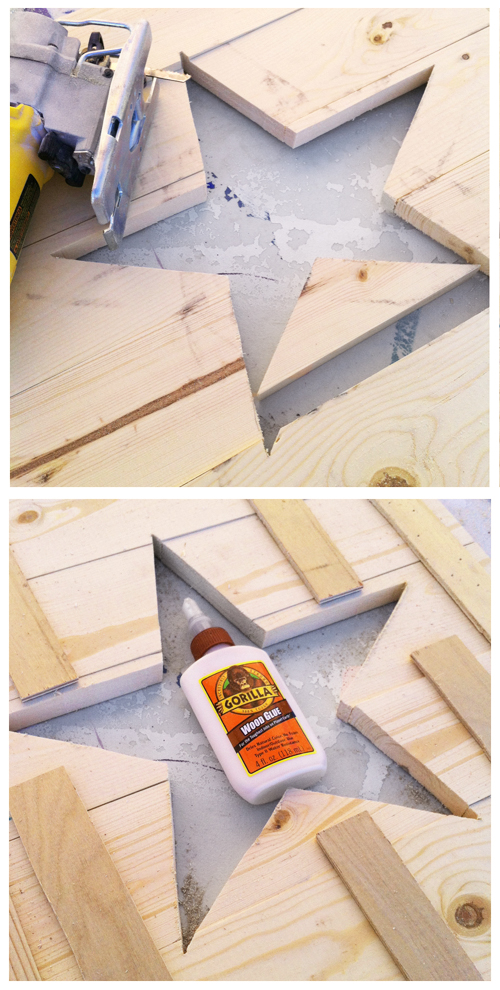
Make sure to use a blade that is meant for wood and has small teeth for a smooth cut. Follow the lines and cut out the star. I ended up gluing on more pieces of lattice trim to make sure it was secure.
Step 6: Add Border
I turned my miter saw to the 45 degree mark and cut the 1 inch trim like I would for a picture frame. Then I nailed the trim on the edges which gives it a finished look.
Step 7: Putty and Sand
Use a putty to fill the nail holes that is sandable and stainable. Sand the whole sign with a 220 grit sandpaper, sanding with the grain. Clean off the dust with a slightly damp rag.
Step 8: Stain
I chose to stain it a dark brown like the original in the catalog, but you can choose and stain (or paint) you would like. I also sealed with with polyurethane when I was done. I always use the satin finish so it isn't too shiny.
I'm curious to see if any of you were around back when I originally posted this project. Do you remember this star wood wall art?

