
One-Hour DIY Wooden Step Stool
If your house is anything like mine, it’s littered with step stools. My youngest needs them to reach all of the sinks in the house, so we keep one in every bathroom. My oldest needs one to put the dishes away, so we keep one in the kitchen. I need one to reach the top shelf of the pantry, so there’s one in there too. We have those little ugly plastic step stools everywhere in our house. But you know what we don’t have? A cute wooden step stool. Not one!
So, I decided it was high time to fix that. I build my own adorable wooden step stool with nothing more than two boards and about an hour of my life. That’s all it took! And it looks way better than the old plastic ones if you ask me.

This is a project that literally anyone can do. It doesn’t require any fancy tools or know-how – if you’ve got a few basic power tools on hand and a willingness to give it a shot, you’re good to go!
how to build a simple wooden step stool
materials needed
- (1) 1×12 board (you can also use a 1×10, my store was just out)
- (1) 1×4 board
- Miter saw (click here to learn how to use one)
- Jigsaw (Optional. Click here to learn how to use one)
- Drill + screws (click here to learn how to use one)
- Power sander + sandpaper
- Wood glue
- Pin nailer + nails (click here to learn how to use one)
- Stain or paint
A note on wood type: I used select pine for this project. It’s cheap and generally works great for this sort of thing. If you want to splurge a little and make something special, you can also build this out of poplar or oak!
Step One: Make cuts + Sand
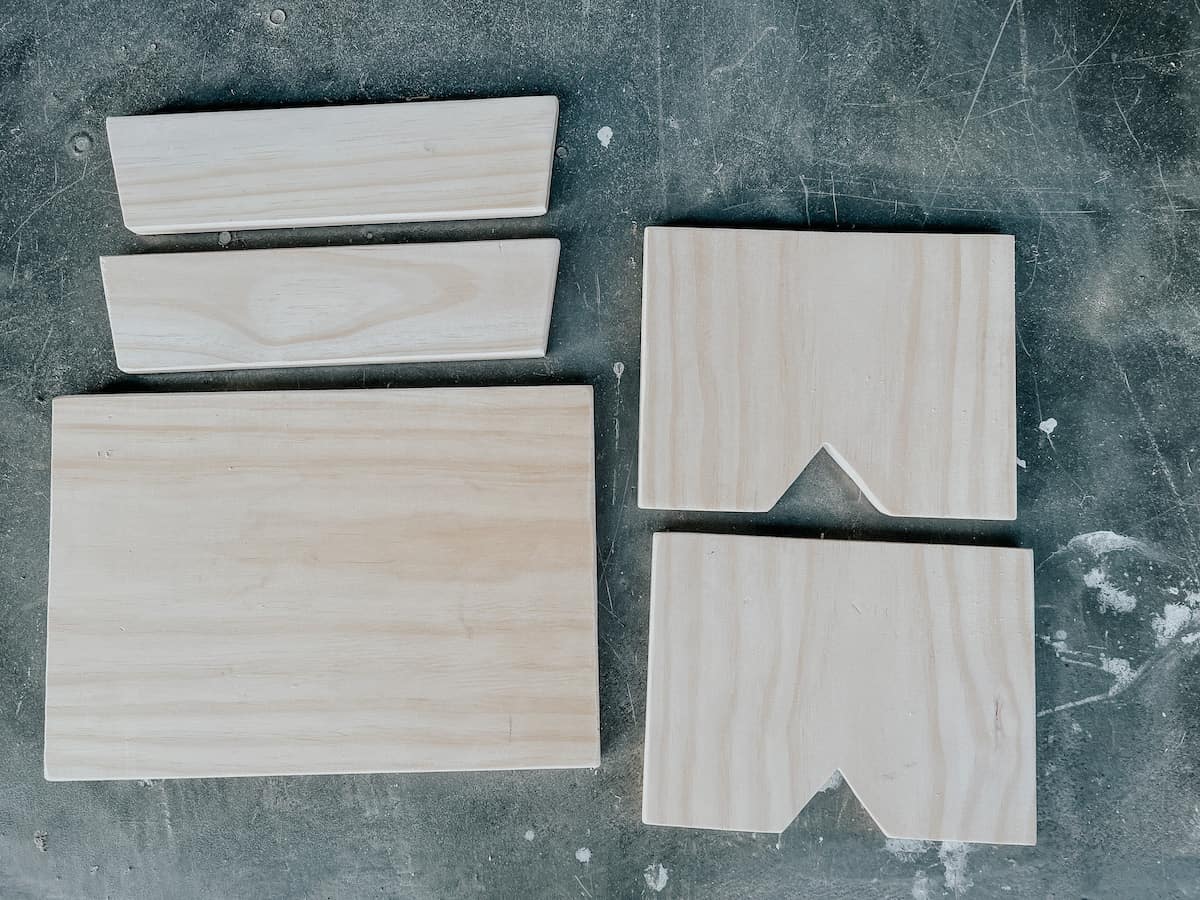
First up, you’ll need to make the cuts for your wooden step stool. You can adjust this depending on the look you prefer, but here are the cuts I made:
From the 1×12 board:
- (1) 16″ piece
- (2) 9″ pieces, with both ends mitered to 10-degrees
From the 1×4 board:
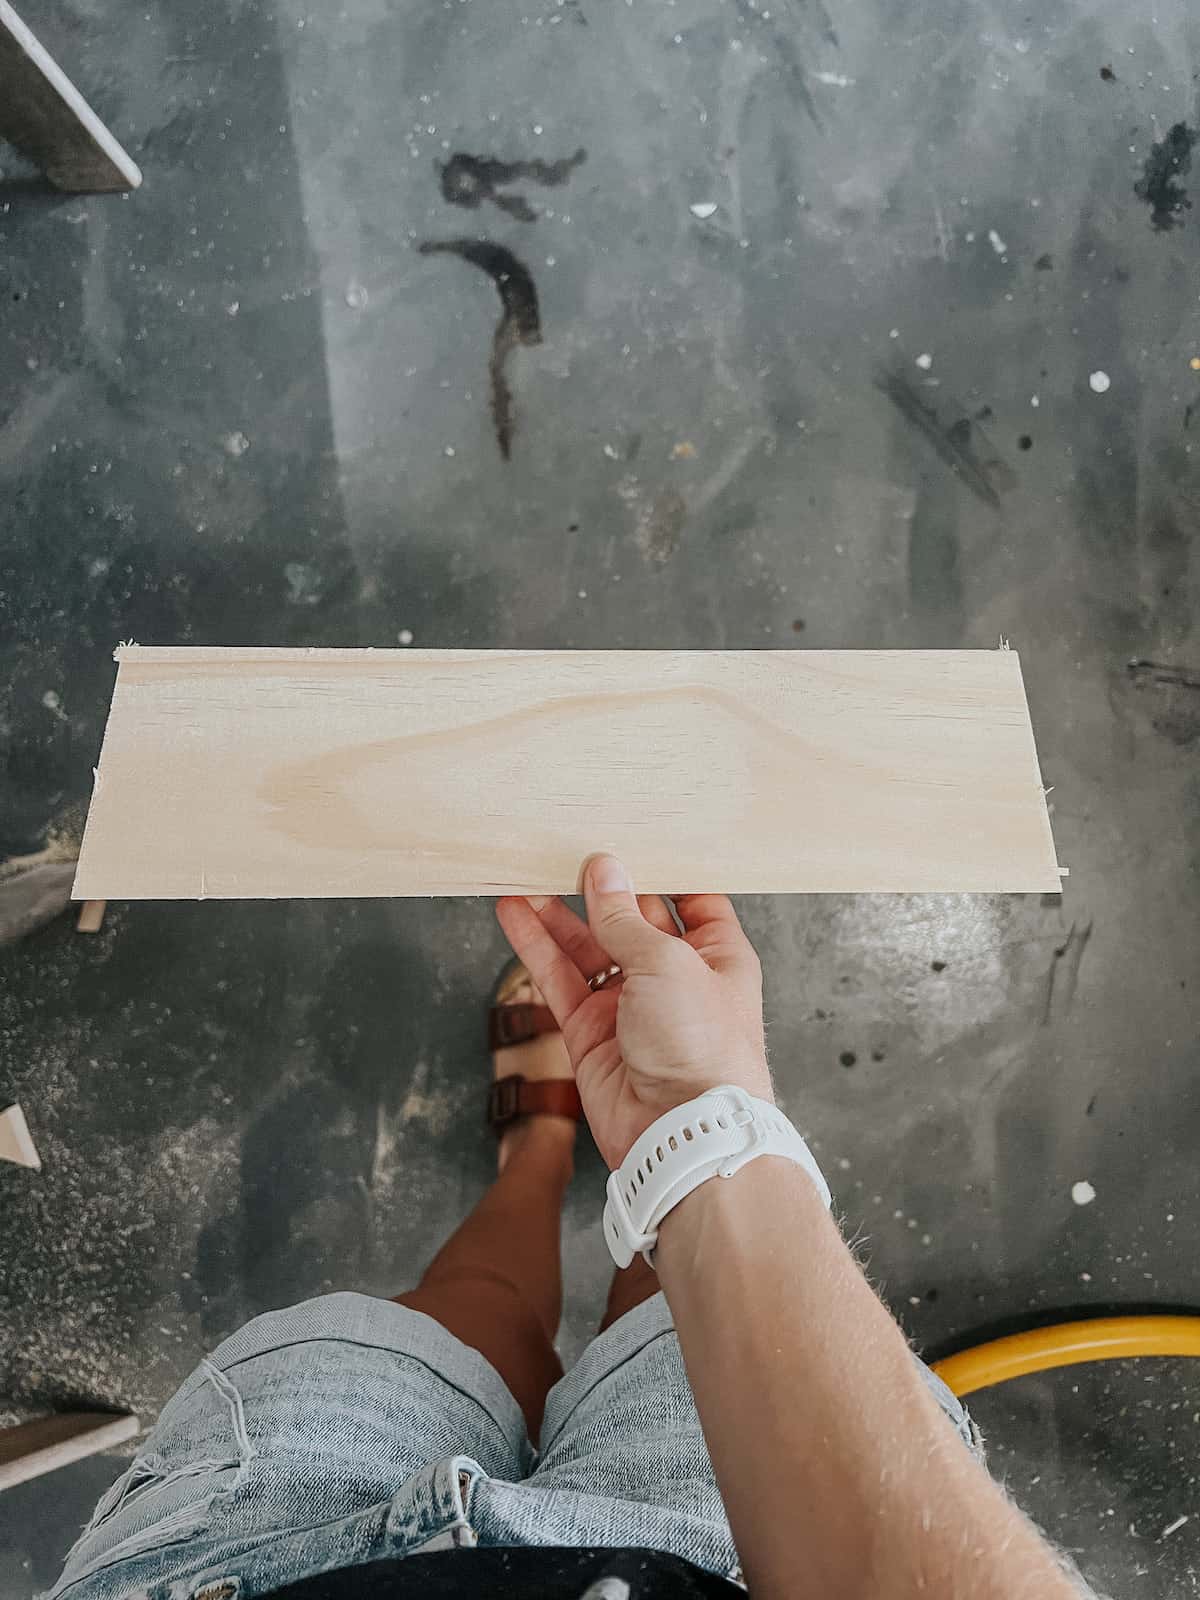
- (2) 14″ pieces, with both sides mitered to 10-degrees
Let’s talk about the mitering – the reason I did this is because I wanted the legs of my wooden step stool to stick out a bit. You absolutely don’t have to do this – it’ll work just fine with 90-degree angles!
But, it does add a cute detail, and I think it’s worth the effort.
For the two legs, you’ll cut the ends of the board at a mitered angle, facing opposite directions. So, when you set the legs on the ground, one mitered end will be touching the ground, and the other will be where the top of the step stool rests.
With the legs mitered, you’ll also need to miter each side of the support pieces. The legs will be angled outward slightly, so you’ll want to cut the sides to the same angle. That way, the support pieces touch the legs all the way down. Here’s what the cut should look like:
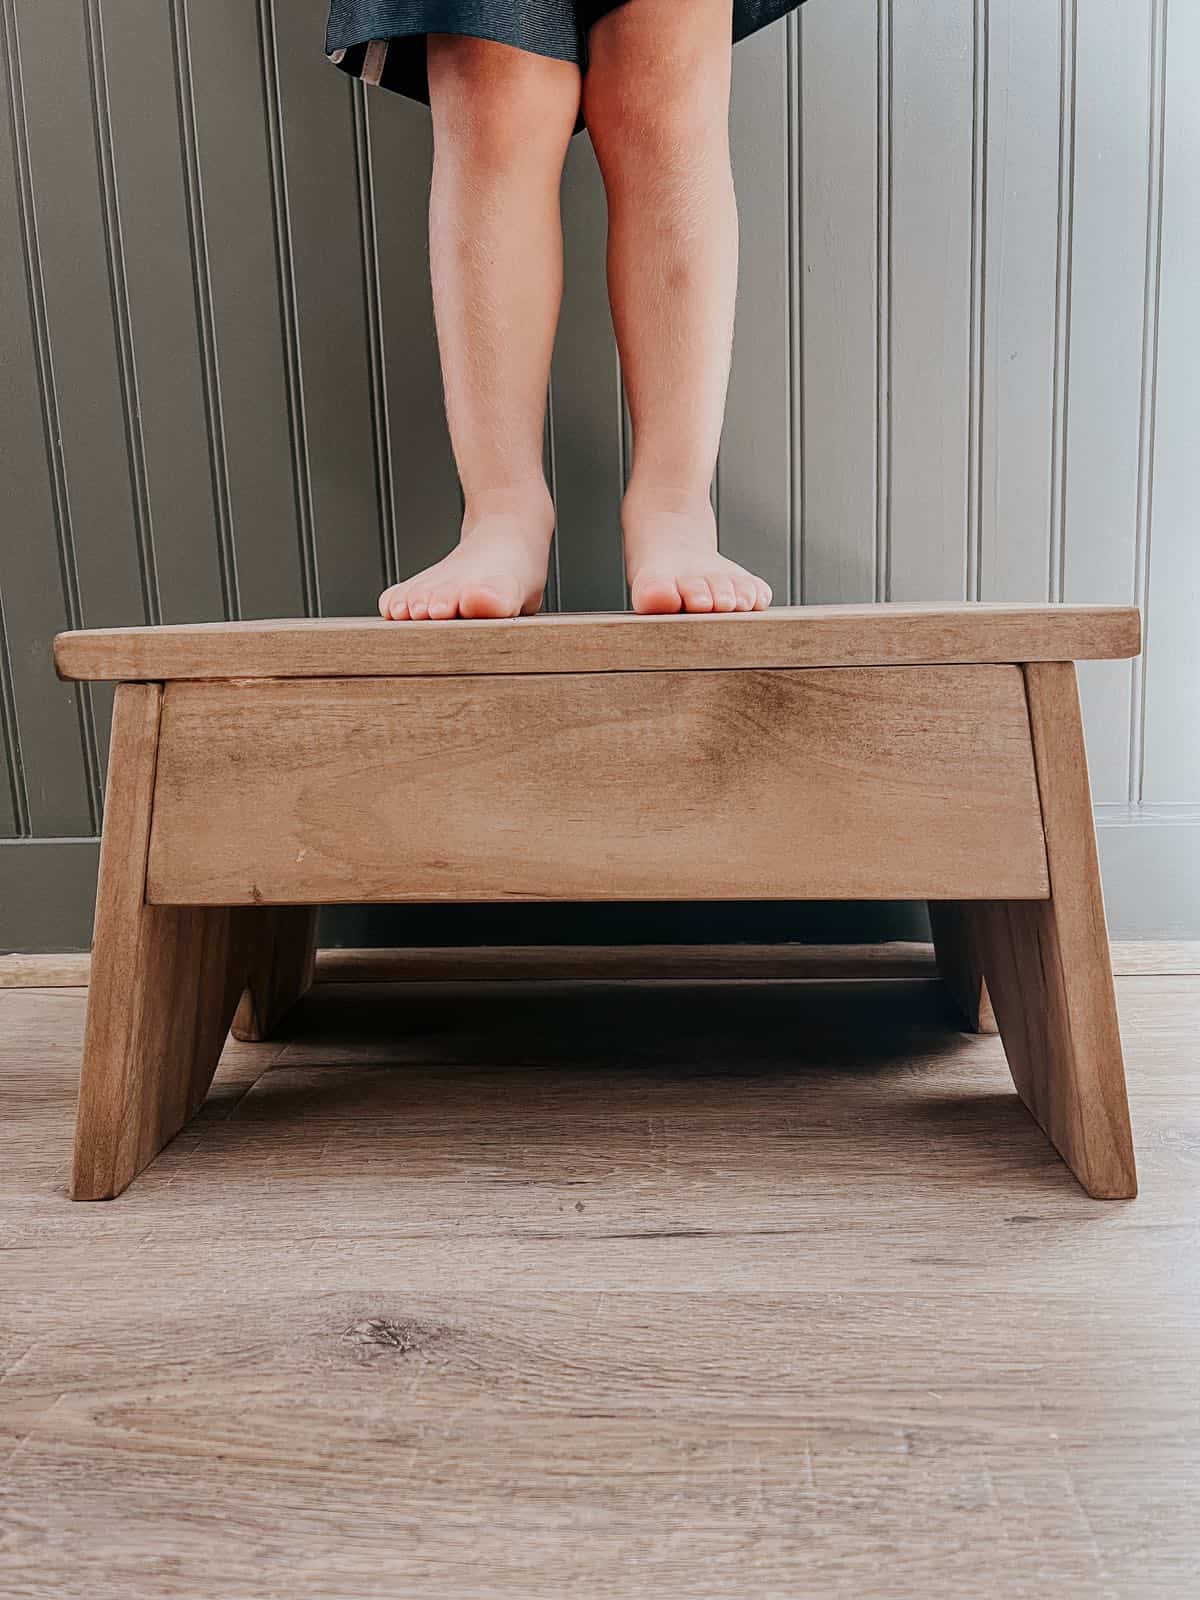
I also added in a little detail of cutting a triangular shape out of the bottom center of each leg. You can see it in the photo above. Again – just a little detail I added using the jigsaw, and not a required step!
After making the cuts, go ahead and take the time to sand each piece thoroughly. I spent some extra time rounding out the edges and corners to make the step stool look a little more worn.
Step two: attach legs to supports
Once you’ve made all of your cuts, you should have five pieces of wood. Two legs, two supports, and one top!
You’ll start by creating the base of the stool. Pre-drill two holes in either side of each leg, near the top. It’ll look something like this:
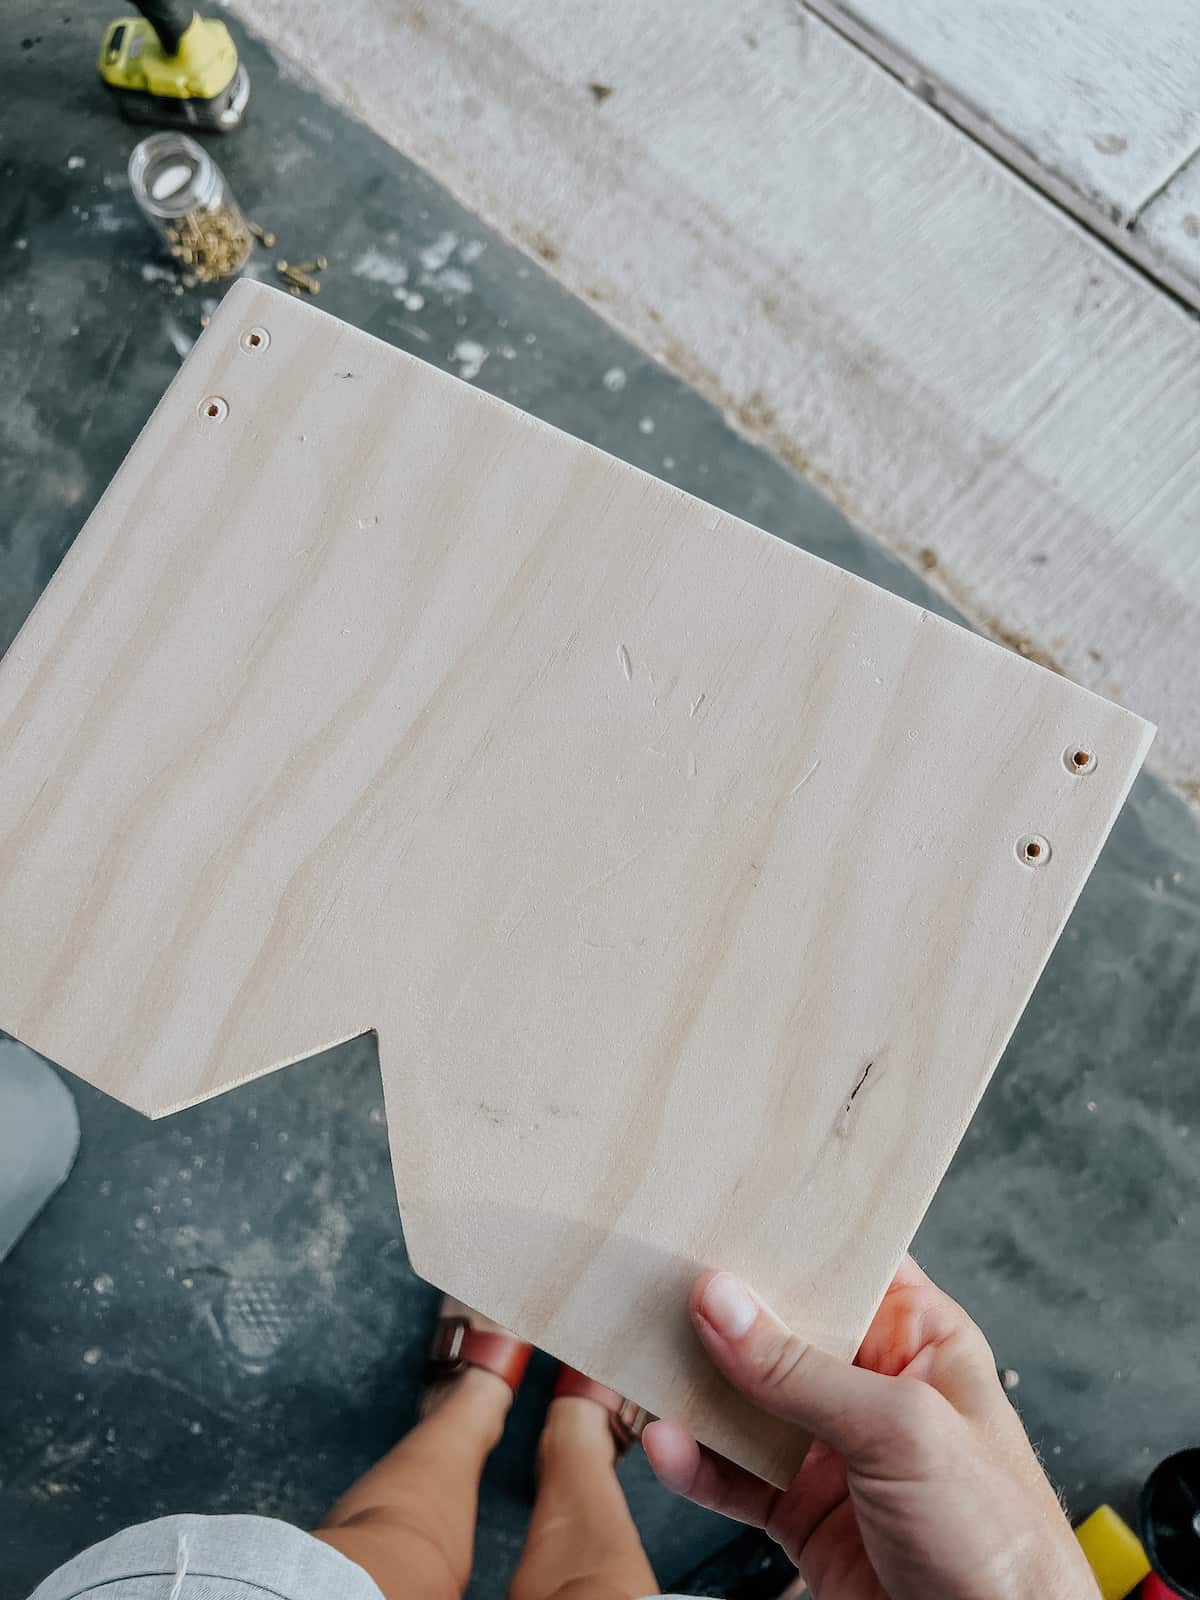
Why pre-drill a hole? Because if you don’t, the wood can split – especially if you’re working with a softer wood like pine! It’s always worth taking the time to pre-drill a hole when you’re attaching two pieces of wood. I promise, it actually makes your job easier in the long run.
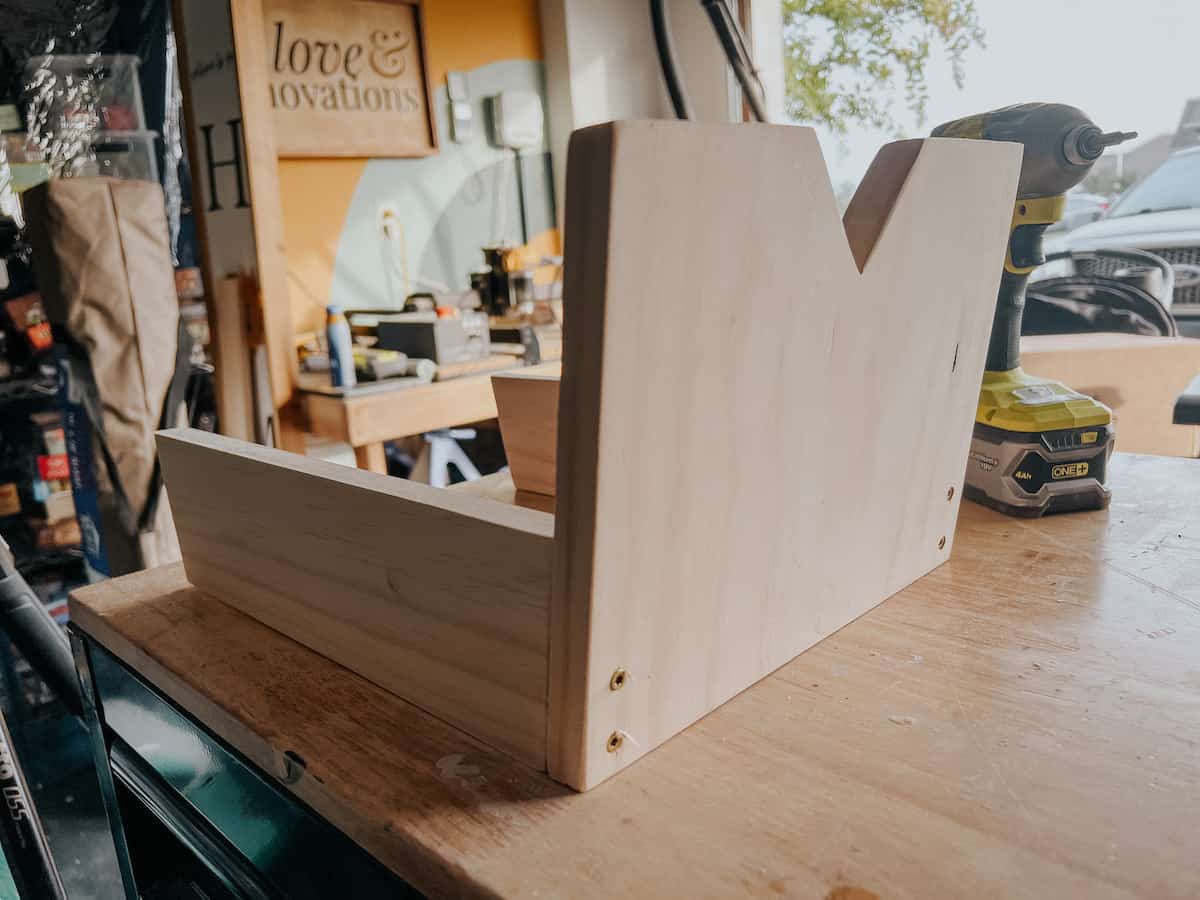
I used wood glue and screws to attach the two support pieces to the two legs. You might need to clamp them together using a trigger clamp to get started. It’s also much easier to work with it upside down, so the support pieces are resting on your tabletop and the bottom of the legs are up in the air.
After attaching both legs to both support pieces, flip it over and take a second to appreciate your new step stool base!
Step Three: attach top
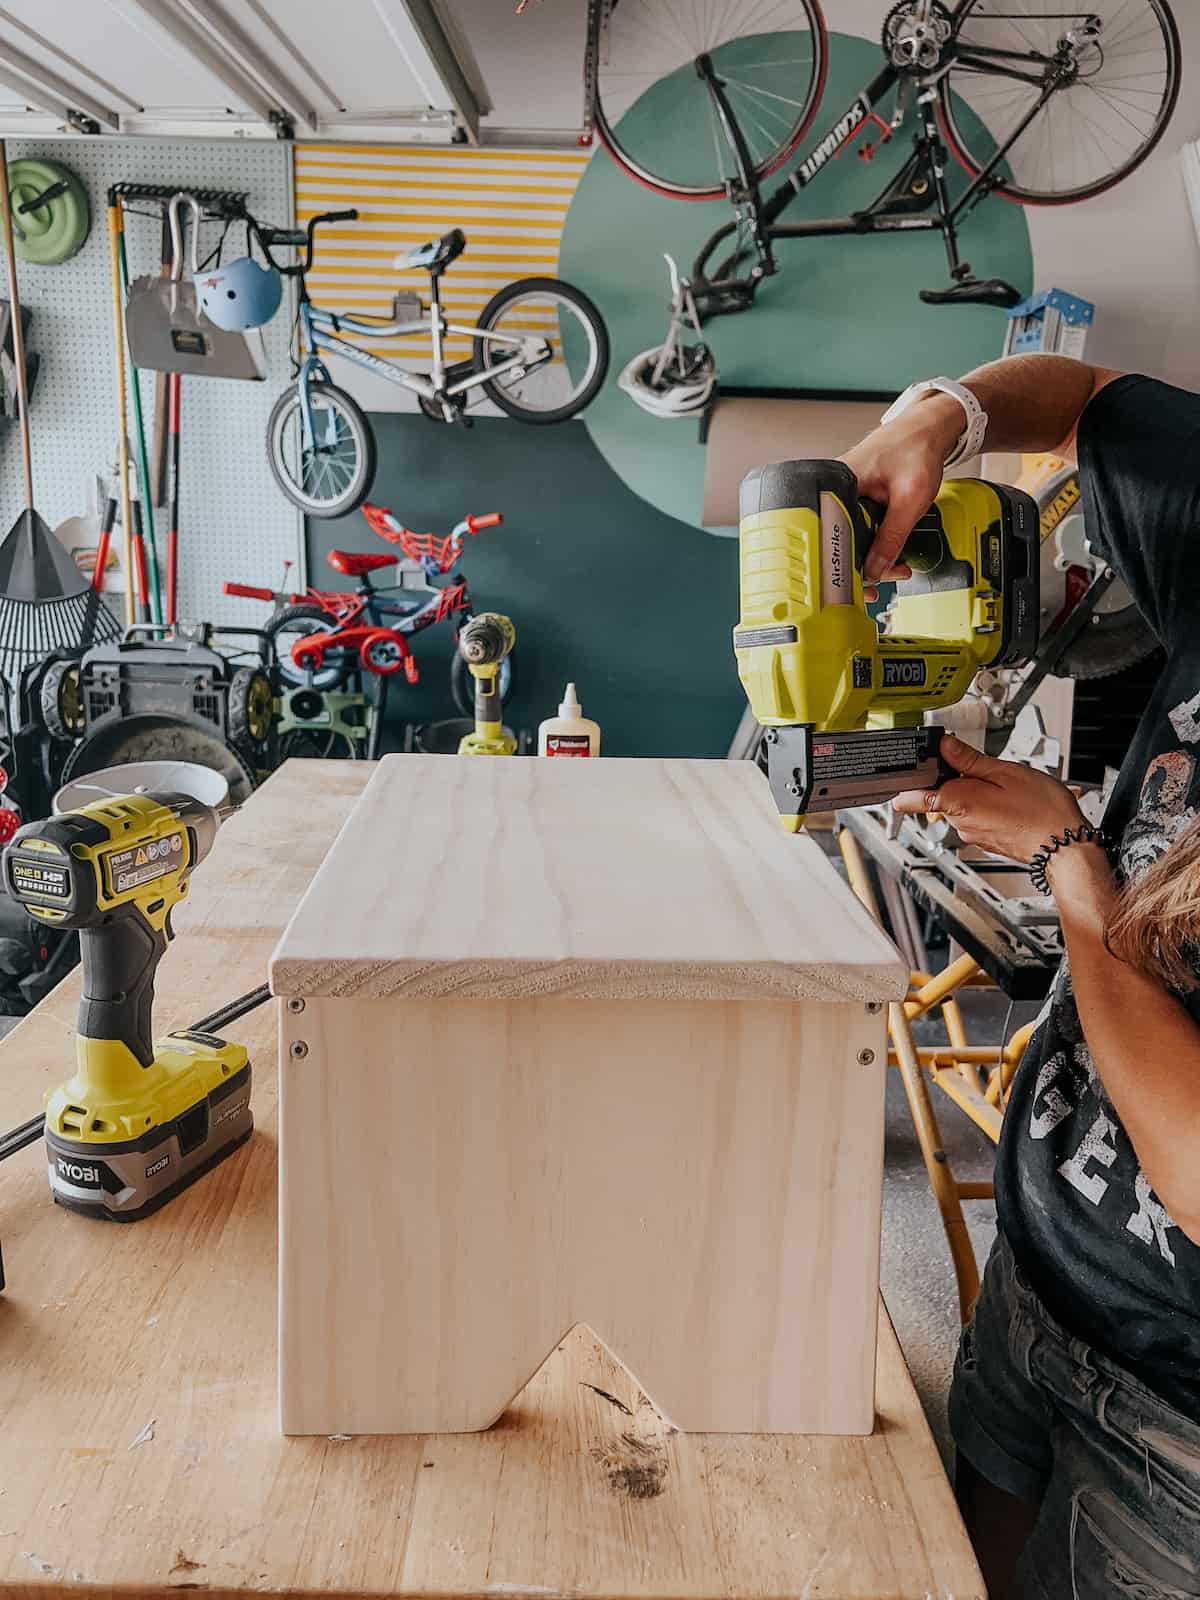
Now, it’s time to attach the top. You could use pocket holes for this (you can actually use pocket holes for this entire project, if you prefer). But, I wanted to keep things really simple and straightforward here! So, I simply used some wood glue all around the top of the base, then I rested the top on it.
I added pin nails in all four corners and along the sides to hold everything in place, and that’s it.
Allow all of the wood glue to dry before moving on to the next step!
Step Four: Stain or paint
Finally, you’re ready to finish it!
You can obviously stain or paint it in whatever way you want. I chose to use my favorite Varathane Aged Wood Accelerator. I wanted it to feel vintage and worn, and it’s such an easy finish to apply. I really love the tone it created on the wood.
I’d also recommend taking the time to seal your wooden step stool. This is especially important if it will be used in a bathroom where it might get wet! I used a spray sealer on mine because it’s the easiest and fastest option.
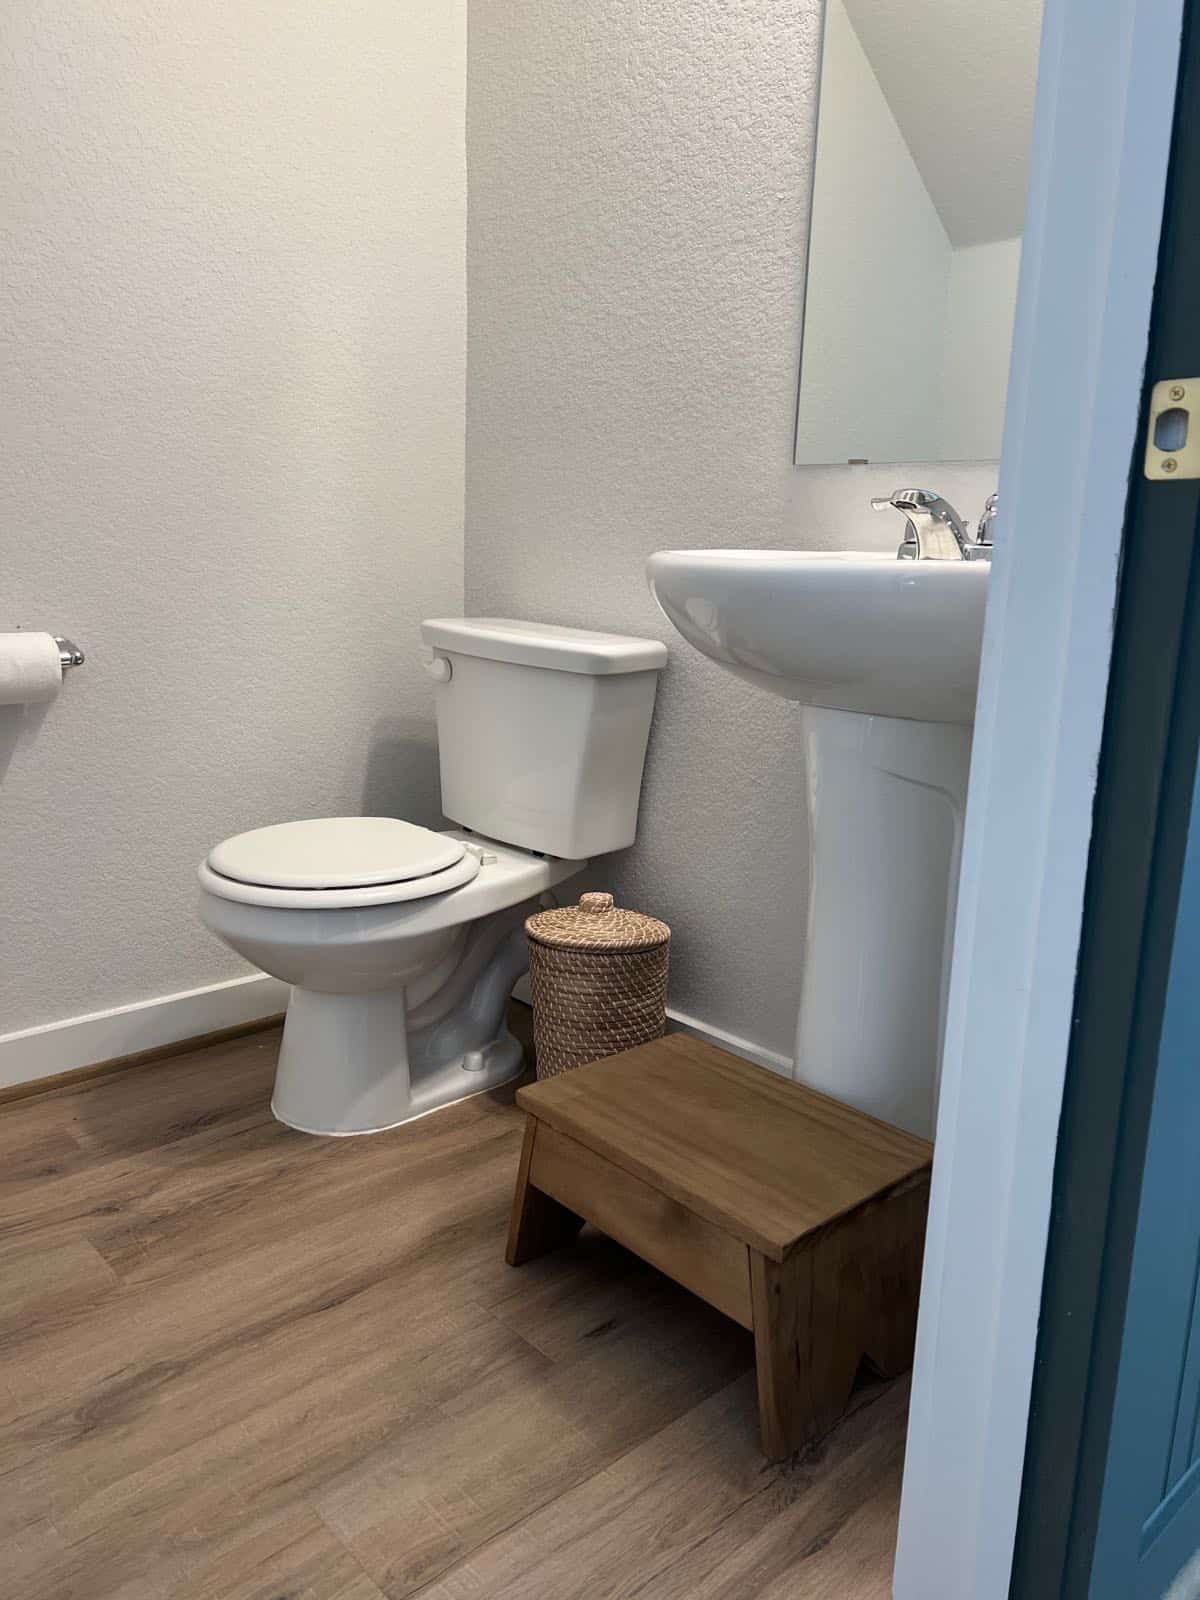
And that’s all there is to it to create this cute little wooden step stool. After building this, I was able to get rid of one ugly plastic step stool in my house, and that’s worth more than I can tell you.
Now I just need to go build 12 more…
other projects you may love
- DIY Wood Lanterns
- Easy DIY Cornhole Boards
- DIY Wooden Growth Chart
- Simple Indoor Plant Trellis
- Scrap Wood Plant Holder
The post One-Hour DIY Wooden Step Stool appeared first on Love & Renovations.