How to Install a Shiplap Ceiling
For as long as I can remember, I’ve wanted to install a shiplap ceiling somewhere in my home. I’ve always loved the look of shiplap, I’ve used it a ton of different places, but I’ve never put it on the ceiling before.
Until now…because I just got done installing a shiplap ceiling in my powder room and I could not possibly be more in love.
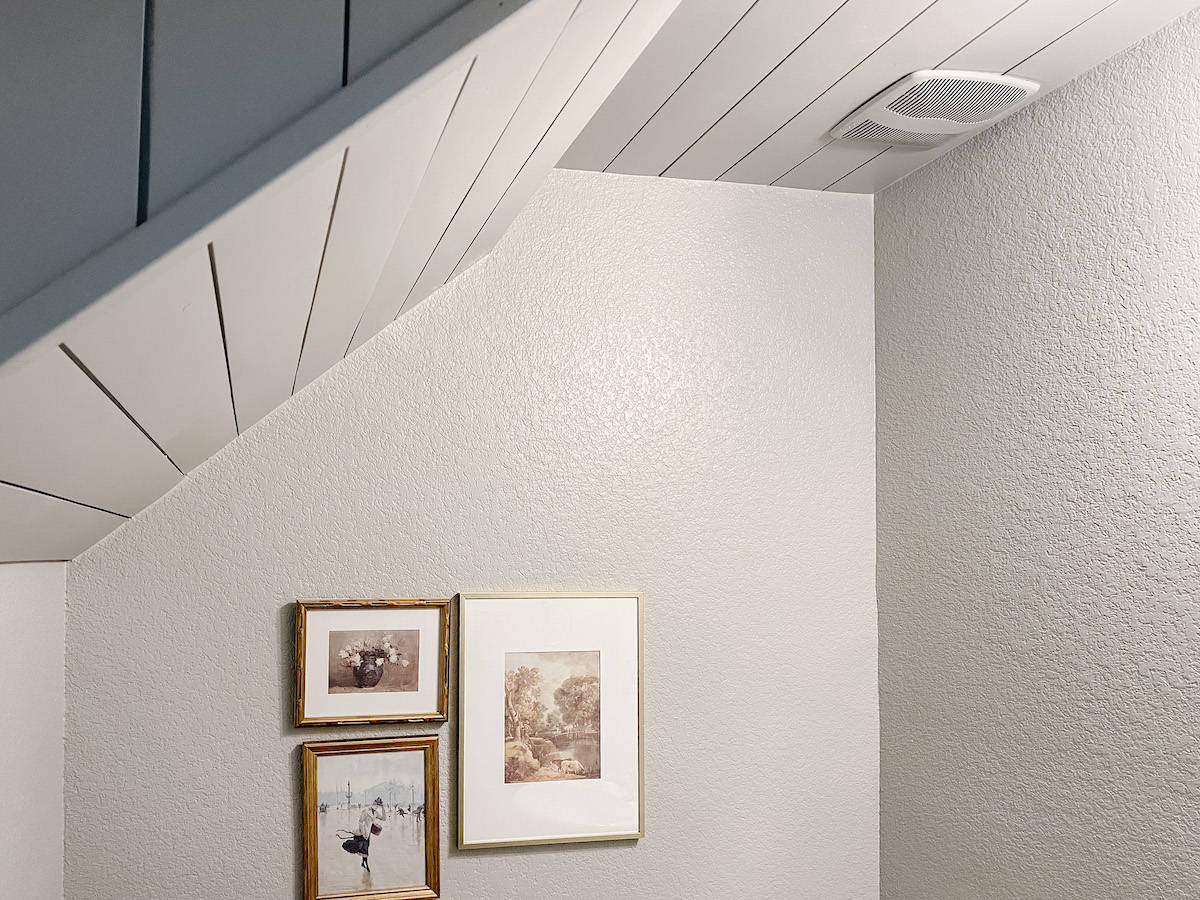
Today, I’m walking you through the step by step process of installing shiplap on your ceiling! This post will cover every detail from start to finish, so grab a cup of coffee, settle in, and come on this journey with me, won’t you?
Before You Begin…
Here are a few questions, notes, and other tutorials that might be helpful if you’d like to take on a project like this.
Related Posts
Tutorials + Tips
What is Shiplap?
Let’s start with the basics. Shiplap planking is a tongue and groove style board that is commonly used to add visual interest to a space. Historically, shiplap was used as exterior siding, but over the years it has become common for interior spaces as well.
Some people argue shiplap is trendy or will feel dated in a few years. I strongly disagree. I think shiplap has been used in one form or another for basically forever, and it will always be a classic look! Shiplap paneling is often associated with farmhouse style homes, since Joanna Gaines and Fixer Upper are basically solely responsible for making everyone obsessed with it lately. But, I’m also a firm believer that it can fit right in with any home design style.
Here are a few places we’ve used shiplap:
- On the fireplace in our first home.
- And on the fireplace in our second home.
- Okay, we also used it on the fireplace in this house!
- Upstairs in our bonus room, we installed it vertically.
- It’s also on the island in our kitchen.
You can make your own DIY shiplap using MDF boards or plywood. You simply rip it down into strips and use a nickel or something similar to create the gaps. I’ve never done this, and I personally prefer to just use the real thing. It’s easier, it looks more polished, and it’s worth the extra money!
How to Install a Shiplap Ceiling
Video Tutorial
Want to watch it come together in video form? Here’s a compilation I put together of video I took while I was working. This gives you a good idea of what the process actually looks like, and if you’re a visual learner it might be worth watching first!
Tools you’ll need
Here’s a quick rundown of the basic supplies you need to install a shiplap ceiling. Click on any item to see what it looks like and purchase!
- Shiplap boards
- Jig saw (or circular saw, I used both)
- Brad nailer + brad nails
- Caulk
- Miter saw
- Stud finder
- Paint
- Wood filler
Step 1: Find and Mark Ceiling Joists
A great first step to installing a shiplap ceiling is to take the time to locate and mark the ceiling joists.
What are ceiling joists? They’re basically the studs for your ceilings. They are what the drywall is attached to, and they’ll either run vertically or horizontally through your room.
If possible, it’s a great idea to install your shiplap running perpendicular to the ceiling joists. That allows you to ensure every board is nailed directly into a stud. If you’re running the shiplap parallel to the ceiling joists, you may want to use construction adhesive to ensure a tight and long-lasting fit.
You can create a chalk line to mark the ceiling joists, or just mark them on the ceiling using a pencil (this is what I did, because I am lazy).
A note: If you’re dealing with renovations in a home that’s older and may not have the best ceilings, or if you don’t want to use glue, there’s still hope! You can use furring strips, attached to the joists with screws, to give you a smooth and solid surface to attach your shiplap to.
Step 2: Plan Ahead!
Once you’ve got your ceiling joists marked and you know you’ll be hitting them when you nail, it’s time to start planning.
I recommend taking the measurement of the entire width of the room and dividing that number by the width of your shiplap boards. This will give you an idea of how many boards you need, and if you need to cut any prior to starting. It’s almost impossible that your room will perfectly fit the shiplap boards, so your final board will likely need to be ripped down a bit.
If you end up with a crazy tiny fraction after doing the math, that means you’ll have a small sliver of ceiling left over after you install all of your full boards. In that case, it’s a wise idea to go ahead and rip the first board in half before installing it. This will make that fraction at the end a little bigger and make your life easier in the long run.
Thankfully, mine worked out nicely from the beginning – I just needed to cut off a bit of the tongue on my last board in order for it to fit.
Step 3: Install Shiplap
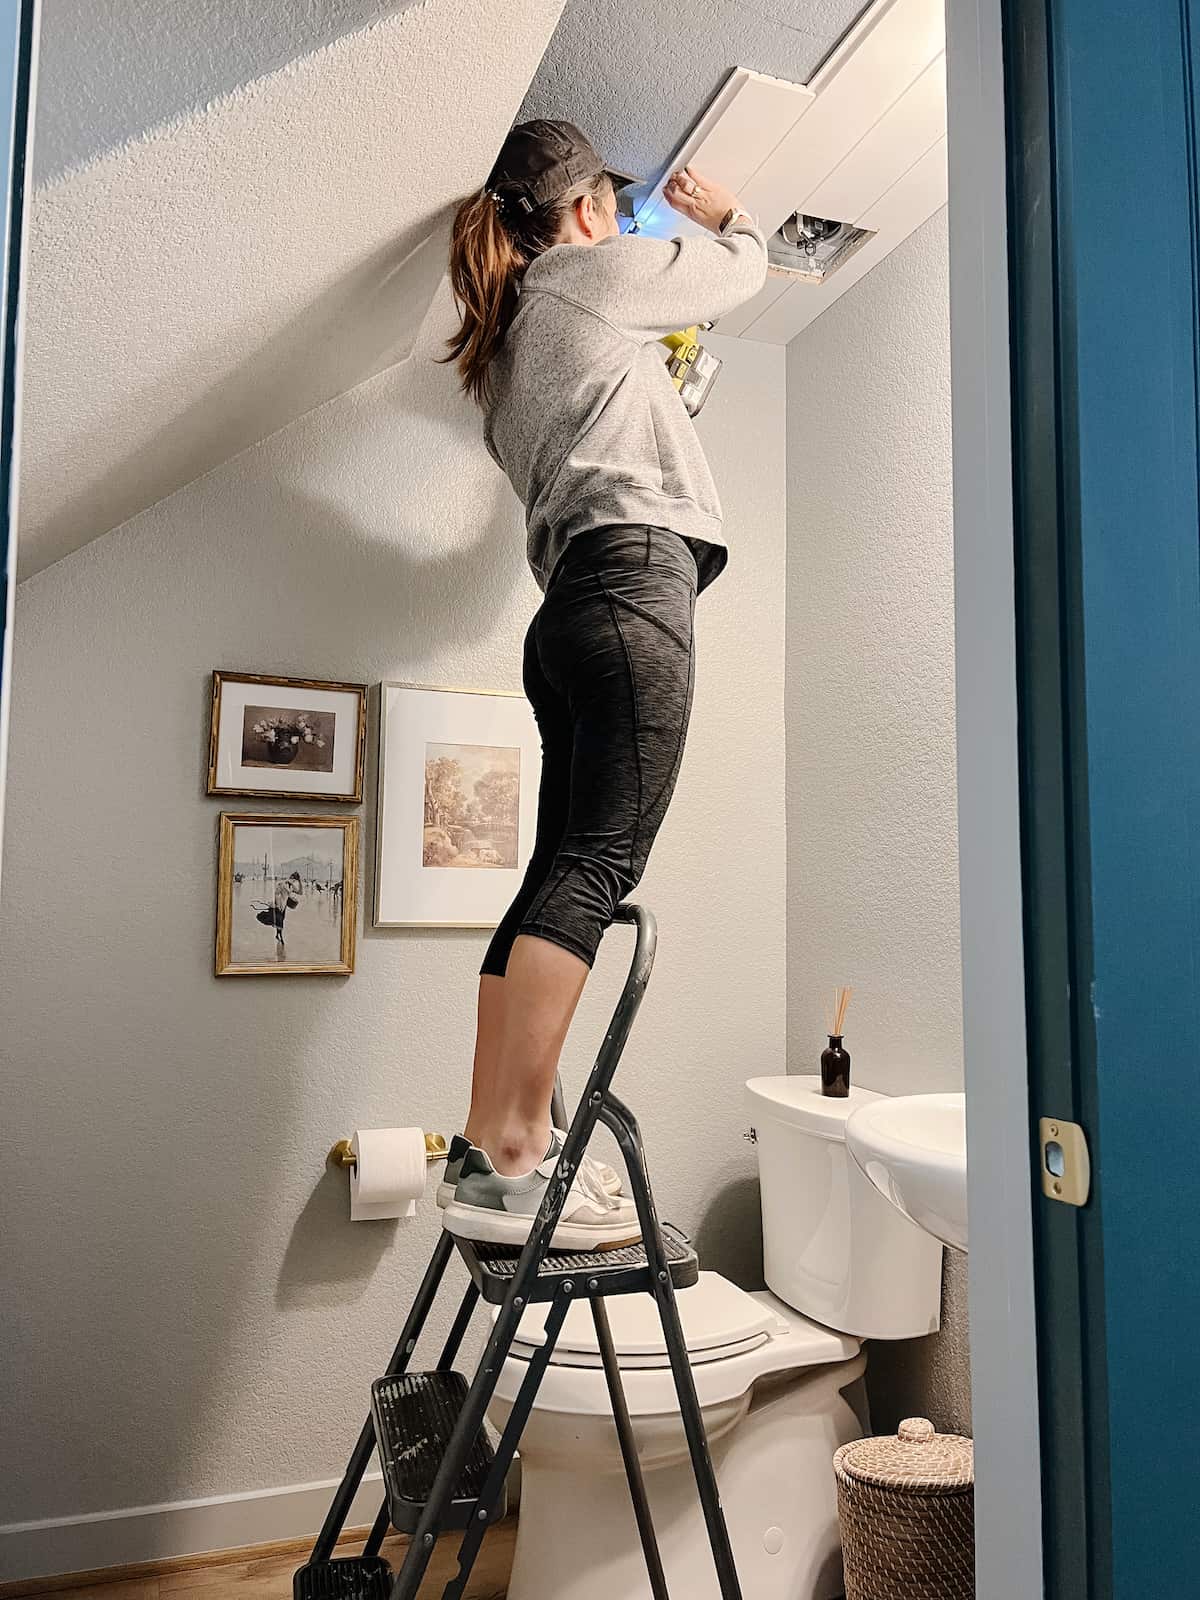
Alright, you’ve planned ahead, you’ve found your ceiling joists – it’s time to install your shiplap!
Installing shiplap on the ceiling is really easy. Just measure the length of your ceiling, cut your shiplap to size using a miter saw, and nail it into place.
In a small room like this, I could easily do full runs with just one cut. I have some seams in mine (because I didn’t want to waste any material), but I could have easily done the entire thing with no seams.
If your room is larger, you’ll probably be able to install a full, un-cut shiplap board to start, then cut down the next piece to fill in the rest of the run. Plan ahead to stagger your seams a bit – this will make them less obvious!
How to Go Around Obstacles
As you come to obstacles in the ceiling, like light fixtures, vent covers, or smoke alarms, you’ll need to cut around them. Simply measure where the cut needs to be, mark it on the back of your board, and cut it out using a jigsaw.
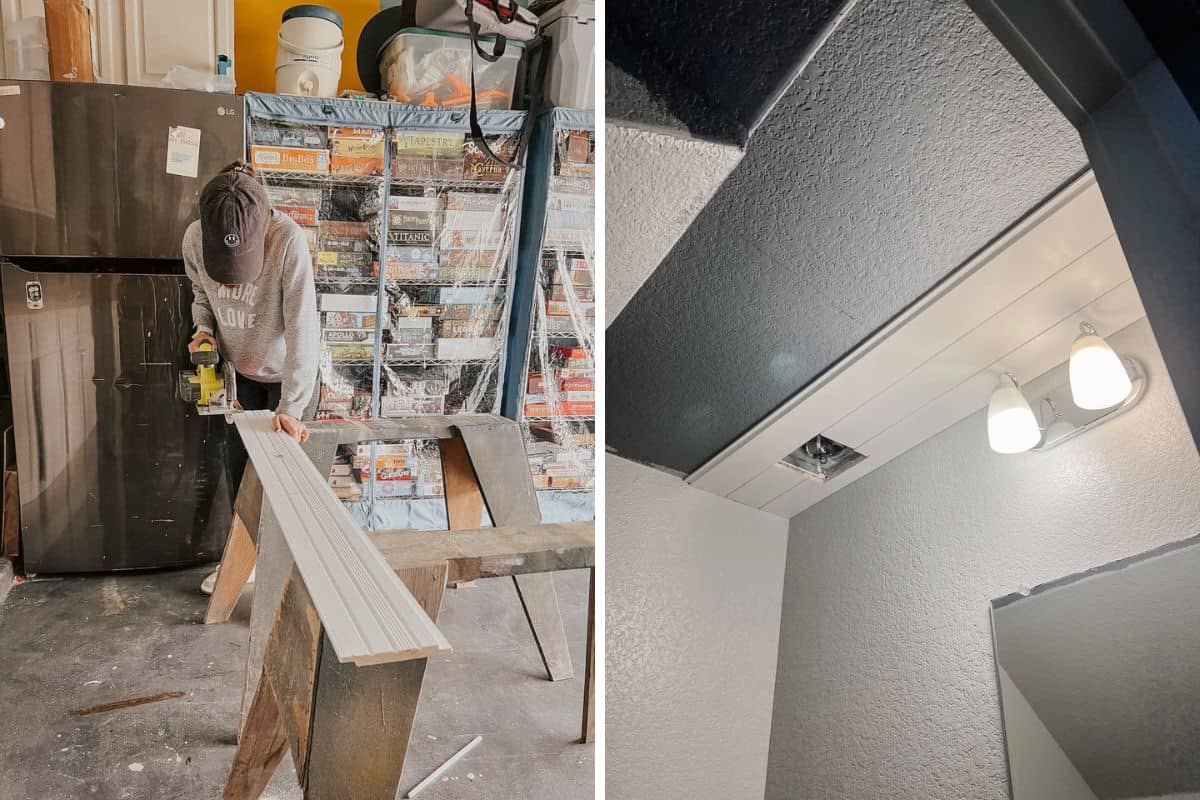
I was lucky that I only had one obstacle and it was an easy one to get around!
Step 5: Adding Trim
After your shiplap is fully installed, you may need to add some finishing trim to make things look a little more polished.
Some people like to add crown molding – I like a cleaner look, so I just caulked around the edges. I did add some corner trim on the side of my angled wall. I created a butt joint with the shiplap when I was installing it, and the corner trim hides it perfectly! It gives it a nice square edge that looks finished and polished.
Step 6: Caulk + Patching
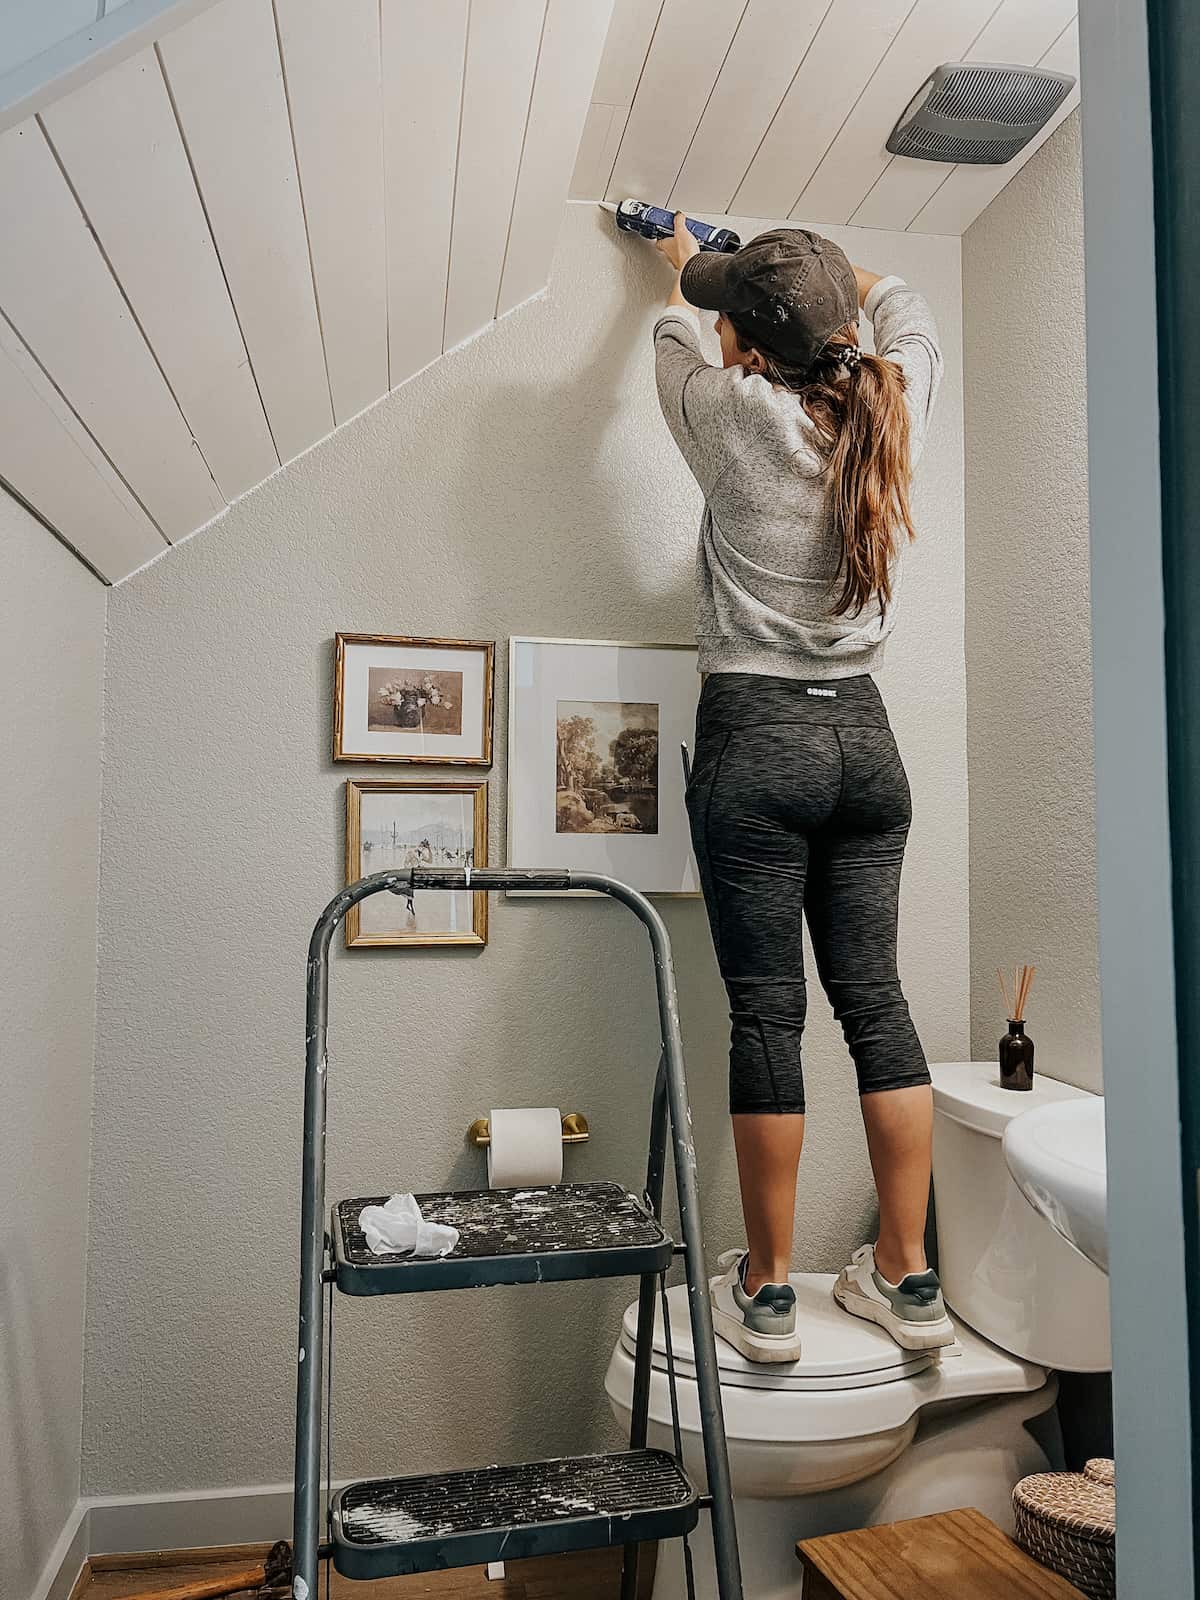
Your final step before painting is one of the most important ones – caulk and patching!
In all likelihood, your shiplap ceiling planks look a little wild at this point. There are nail holes all over the place, there are gaps here and there, and all sorts of visible seams. Not to worry, it’ll all be covered up soon.
Check out the tutorials liked at the beginning of this post for more information on each of these specific steps if you need help. You’ll be caulking the edges where the shiplap meets the wall, and you’ll be using wood filler on all of the nail holes and seams.
Once it’s dry, be sure to take the time to sand down the wood filler so it’s smooth and flush!
Step 7: Paint!
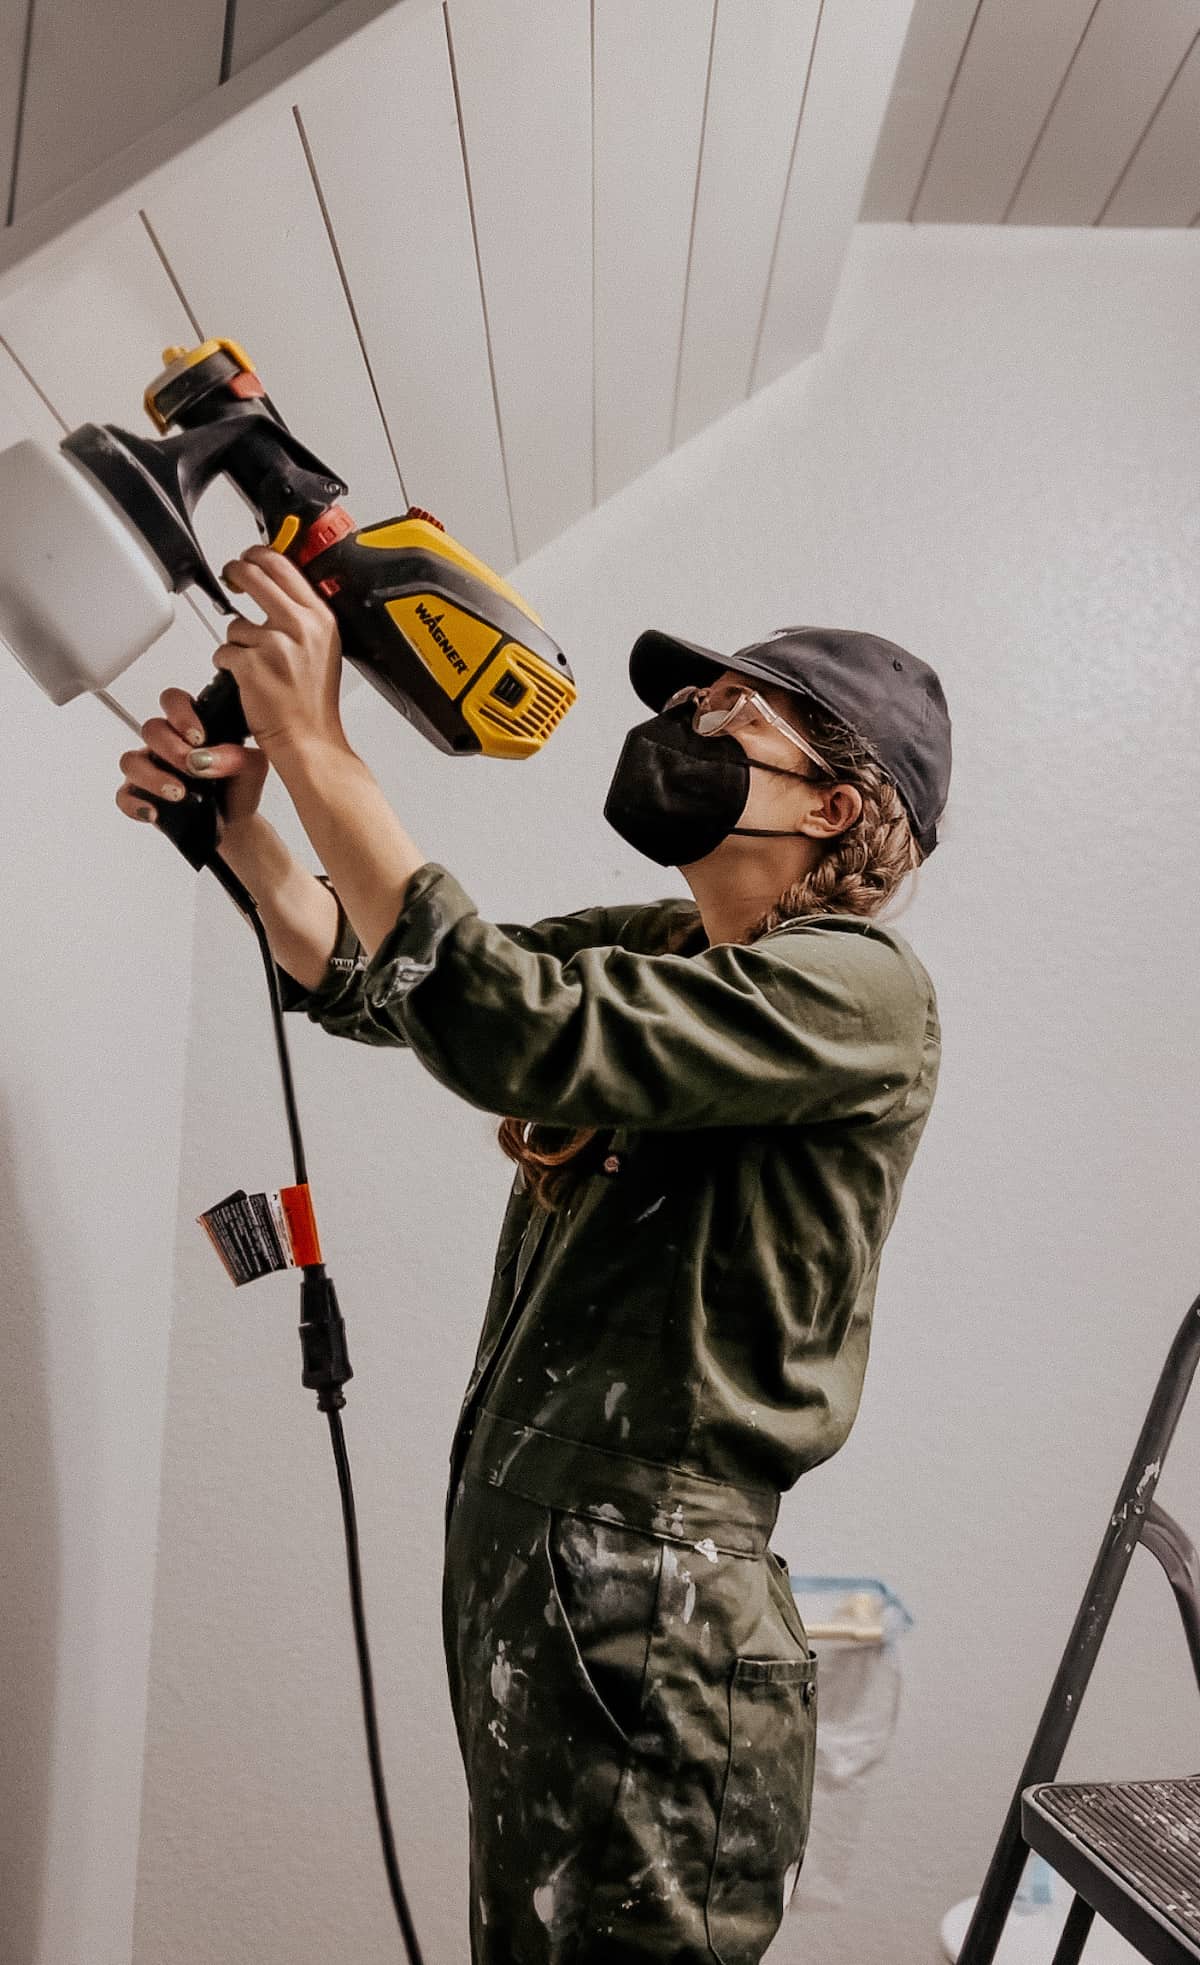
And finally, you’re ready for paint! Even if you want a white shiplap ceiling, you’re going to need to paint the shiplap boards. They’re only primed, so they need a coat of paint for longevity. Plus, they probably look like a giant mess between the caulk, the wood filler, and all of the scuffing up you did during installation.
It’s okay, it happens to all of us. Just give it a good coat of paint and you’ll be fine.
You can paint by hand if you’d like, but I used a paint sprayer. I’d highly recommend it, as it’ll save you buckets of time.
I used Motor City by Clare on the walls and ceiling in this room!
Cost of a Shiplap Ceiling
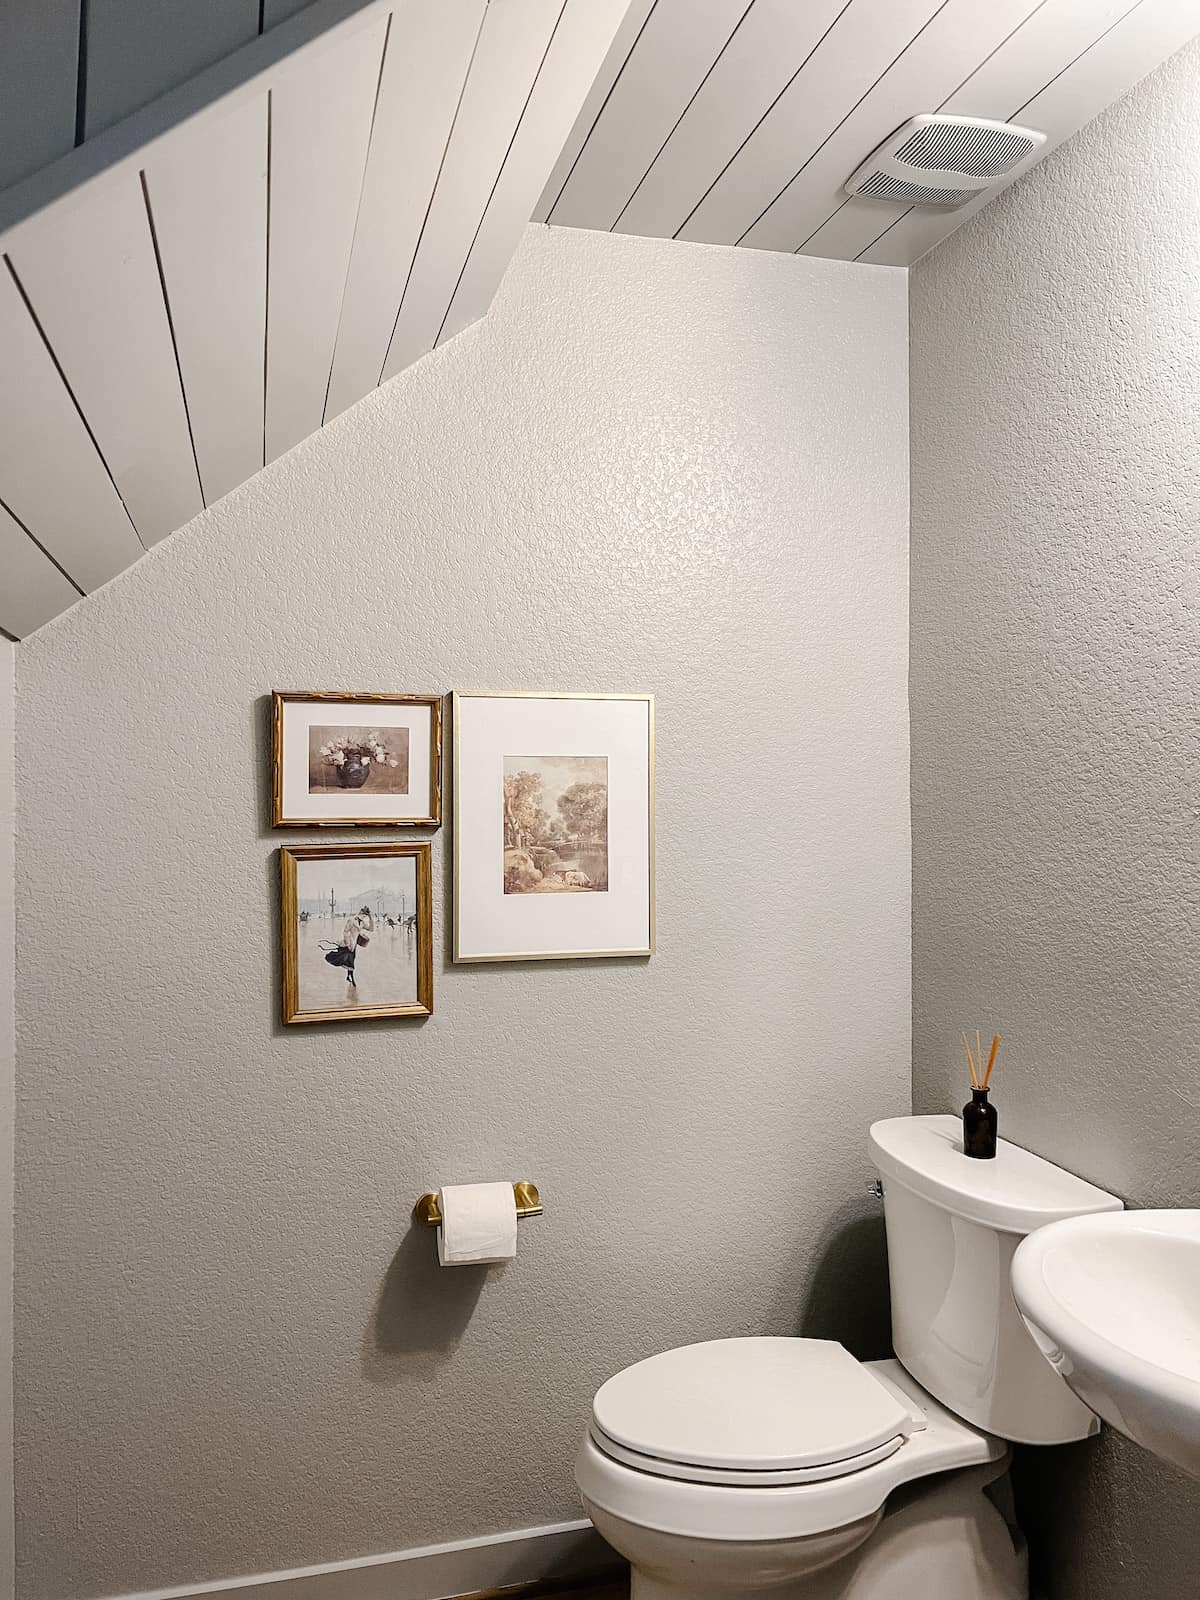
I know what you’re all wondering. How much does a shiplap ceiling cost?
Well, it depends. Obviously. On the size of your ceiling, what you have on hand, and if you need to do anything like renting scaffolding for tall ceilings.
My space is obviously very small, but I used 11 shiplap boards to cover the ceilings and all the angles.
Each 8 ft shiplap board is about $10. So, that’s right at $100 for the shiplap. The trim was an additional $11. I had everything else on hand, so I didn’t need to purchase any additional materials.
Shiplap ceilings definitely aren’t the most affordable option around, but the finished result is so incredibly gorgeous!
And that’s a wrap on our powder room’s shiplap ceiling. Next up? Trim on the walls!
want more ceiling ideas?
10 Gorgeous Ceiling Treatments
If you’re looking for other ways to add some visual interest to your ceiling or you have a lot of popcorn ceilings to cover, I’ve got your back. This post has 10 great ceiling treatment ideas to give you some inspiration!
The post How to Install a Shiplap Ceiling appeared first on Love & Renovations.
