
How to Frame a Puzzle
One of my favorite unique ways to add art to my home is by framing puzzles. I love doing puzzles in my free time, so it’s a fun way to display my hobby in a really beautiful way. I’ve framed a couple before but I’ve never done it properly until now. I recently finished a new puzzle that I wanted to frame, so I decided to do it right this time. I did some research on how to frame a puzzle, and I’m here to share with you what I’ve learned!
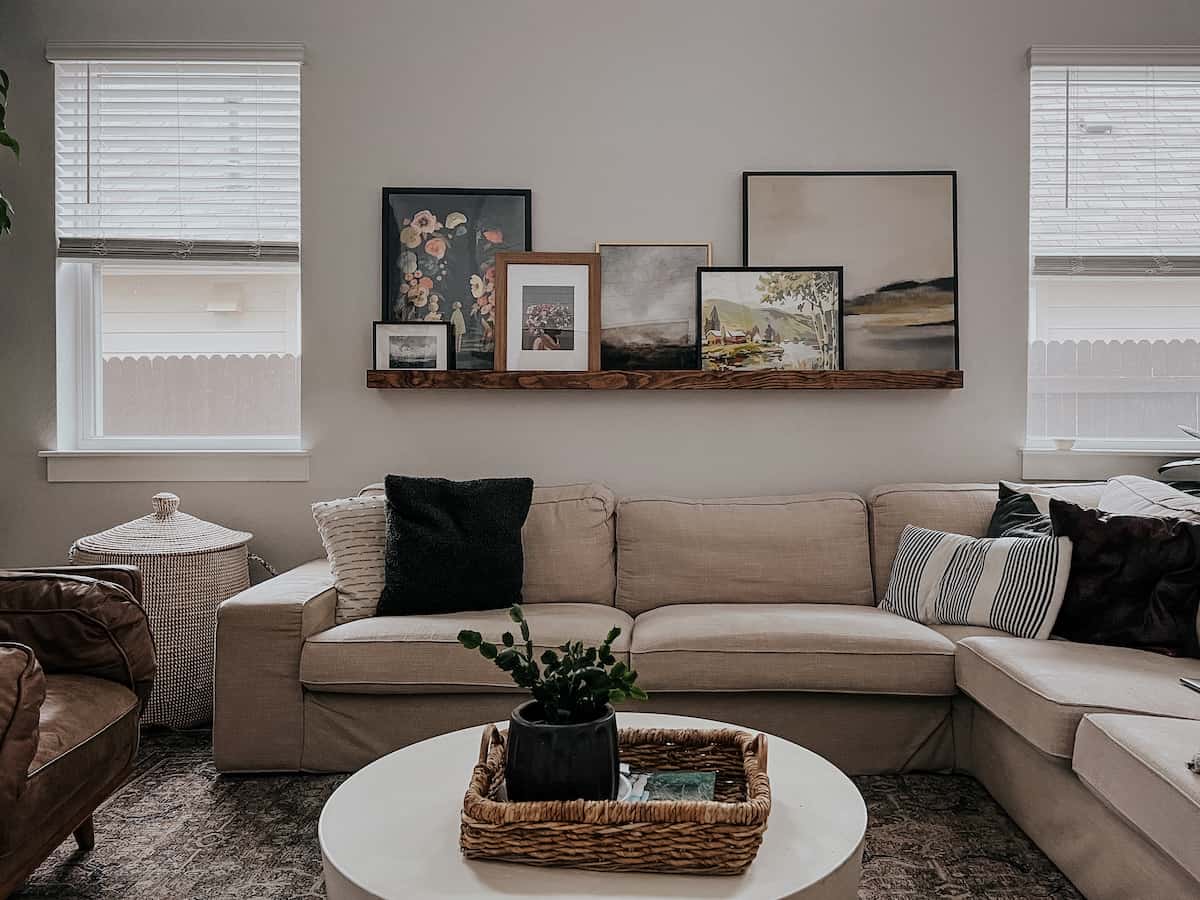
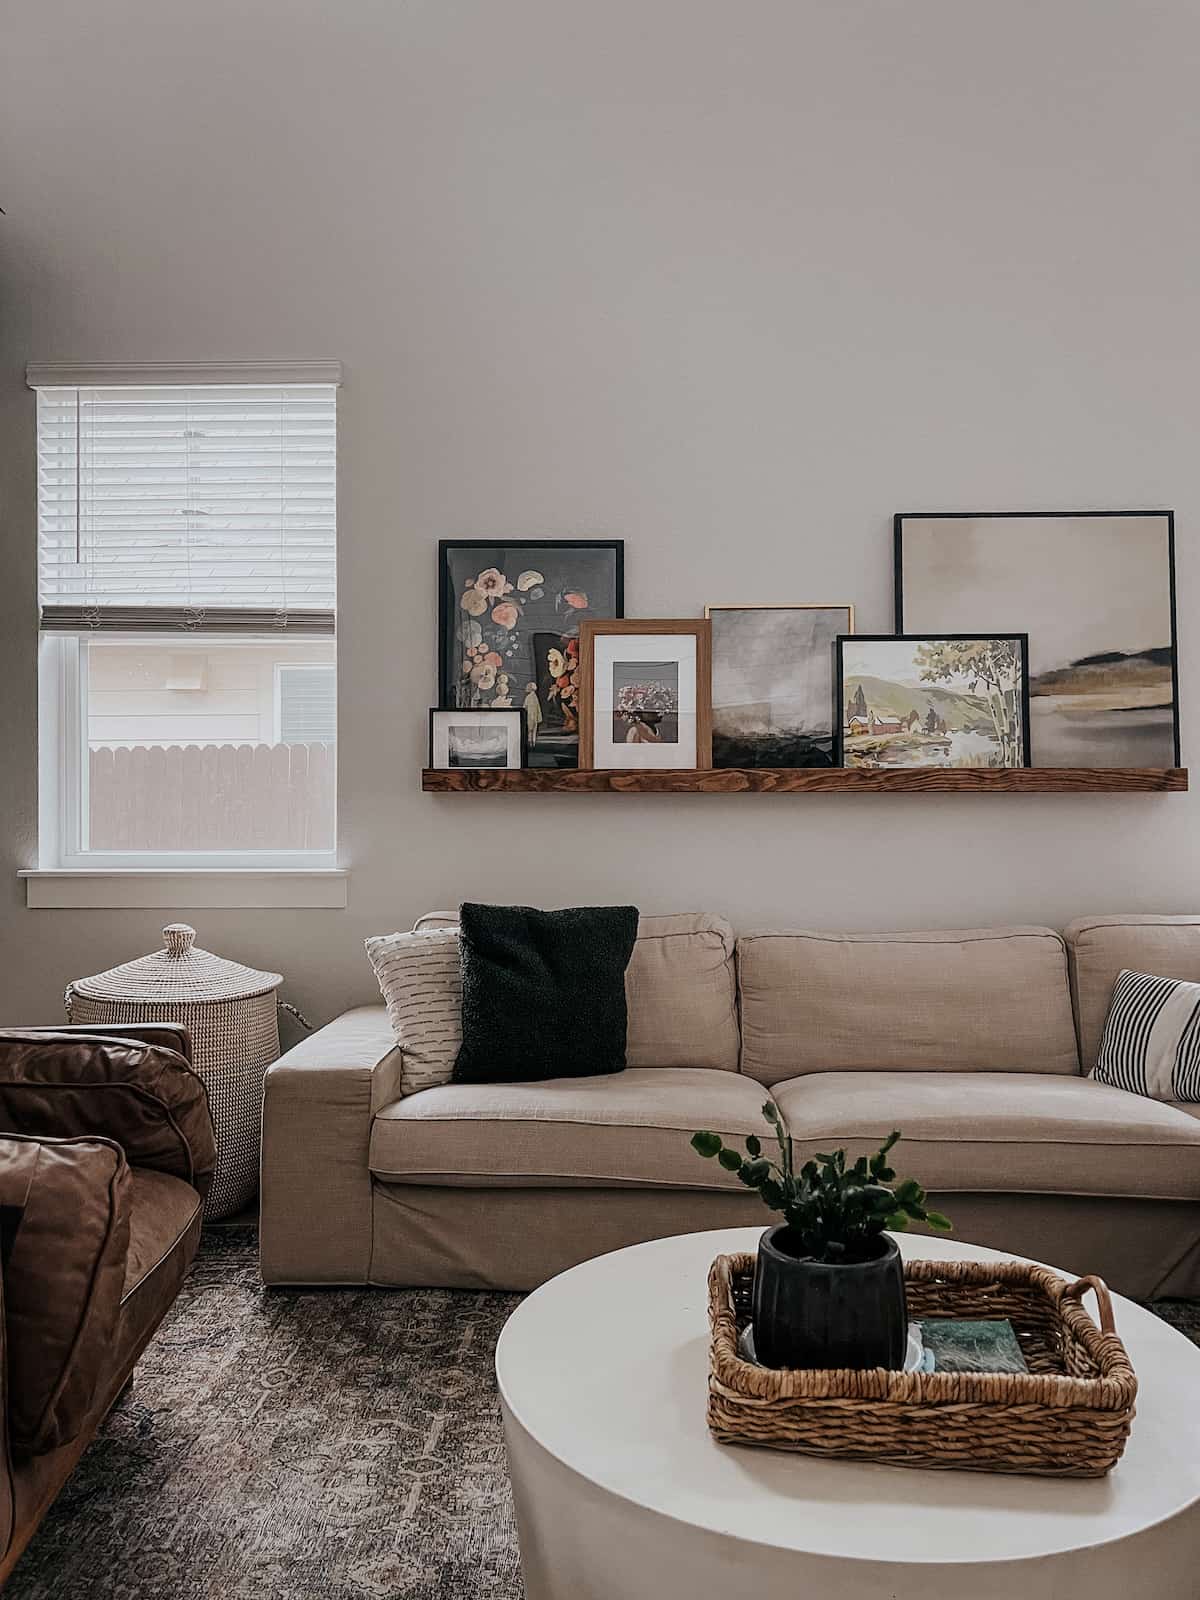
Let’s start with the details on the puzzle. I got this floral puzzle to add to our art ledge and replace the puzzle I’ve had there since Christmas. I wanted to set it up so that I could easily flip the mat around and have one puzzle on each side. Then, when Christmas rolls around I can just flip the mat and I’ll be good to go!
Here are all the details on how I did it.
how to frame a jigsaw puzzle
Materials needed
Step One: Complete Your Puzzle and Prep it
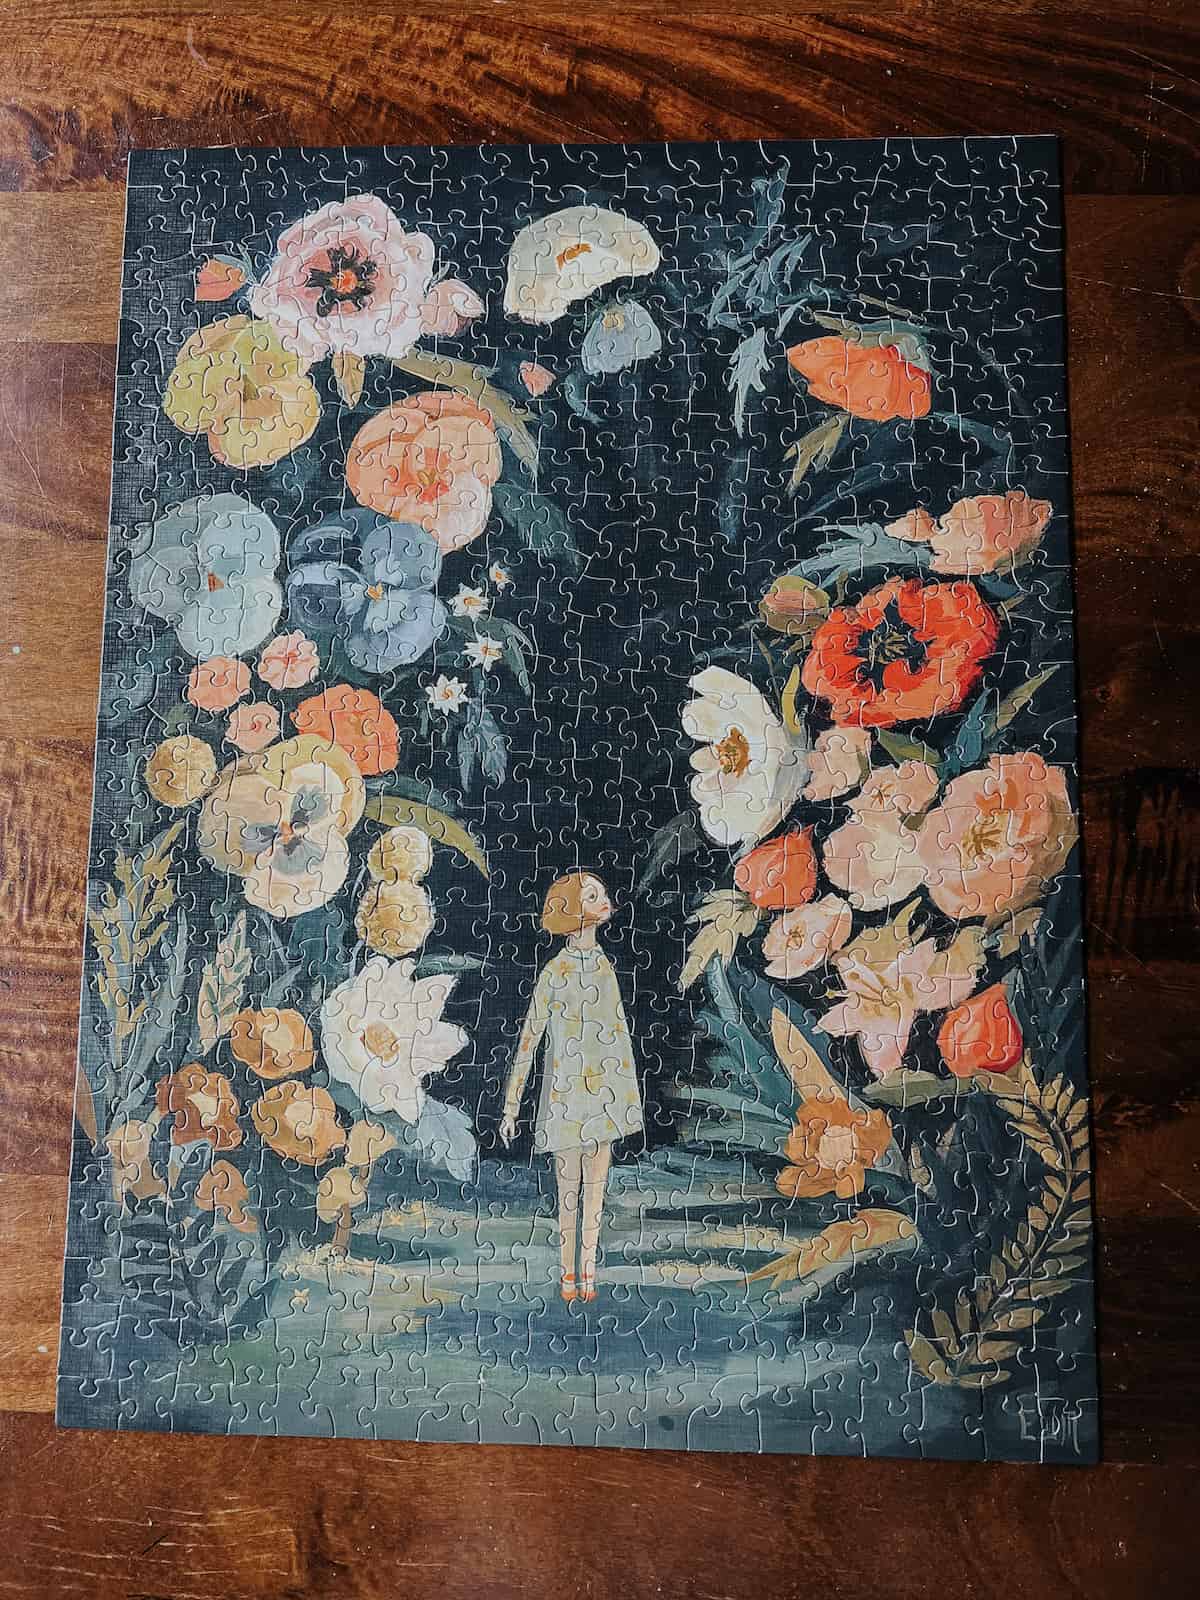
Your first step is (obviously) to do the puzzle!
Once it’s complete, make sure the surface of the puzzle is clean from any debris or dust. Then, use a rolling pin to gently flatten the surface of the puzzle out. You don’t want any puzzle pieces sticking up or not fully in place.
Step two: add glue
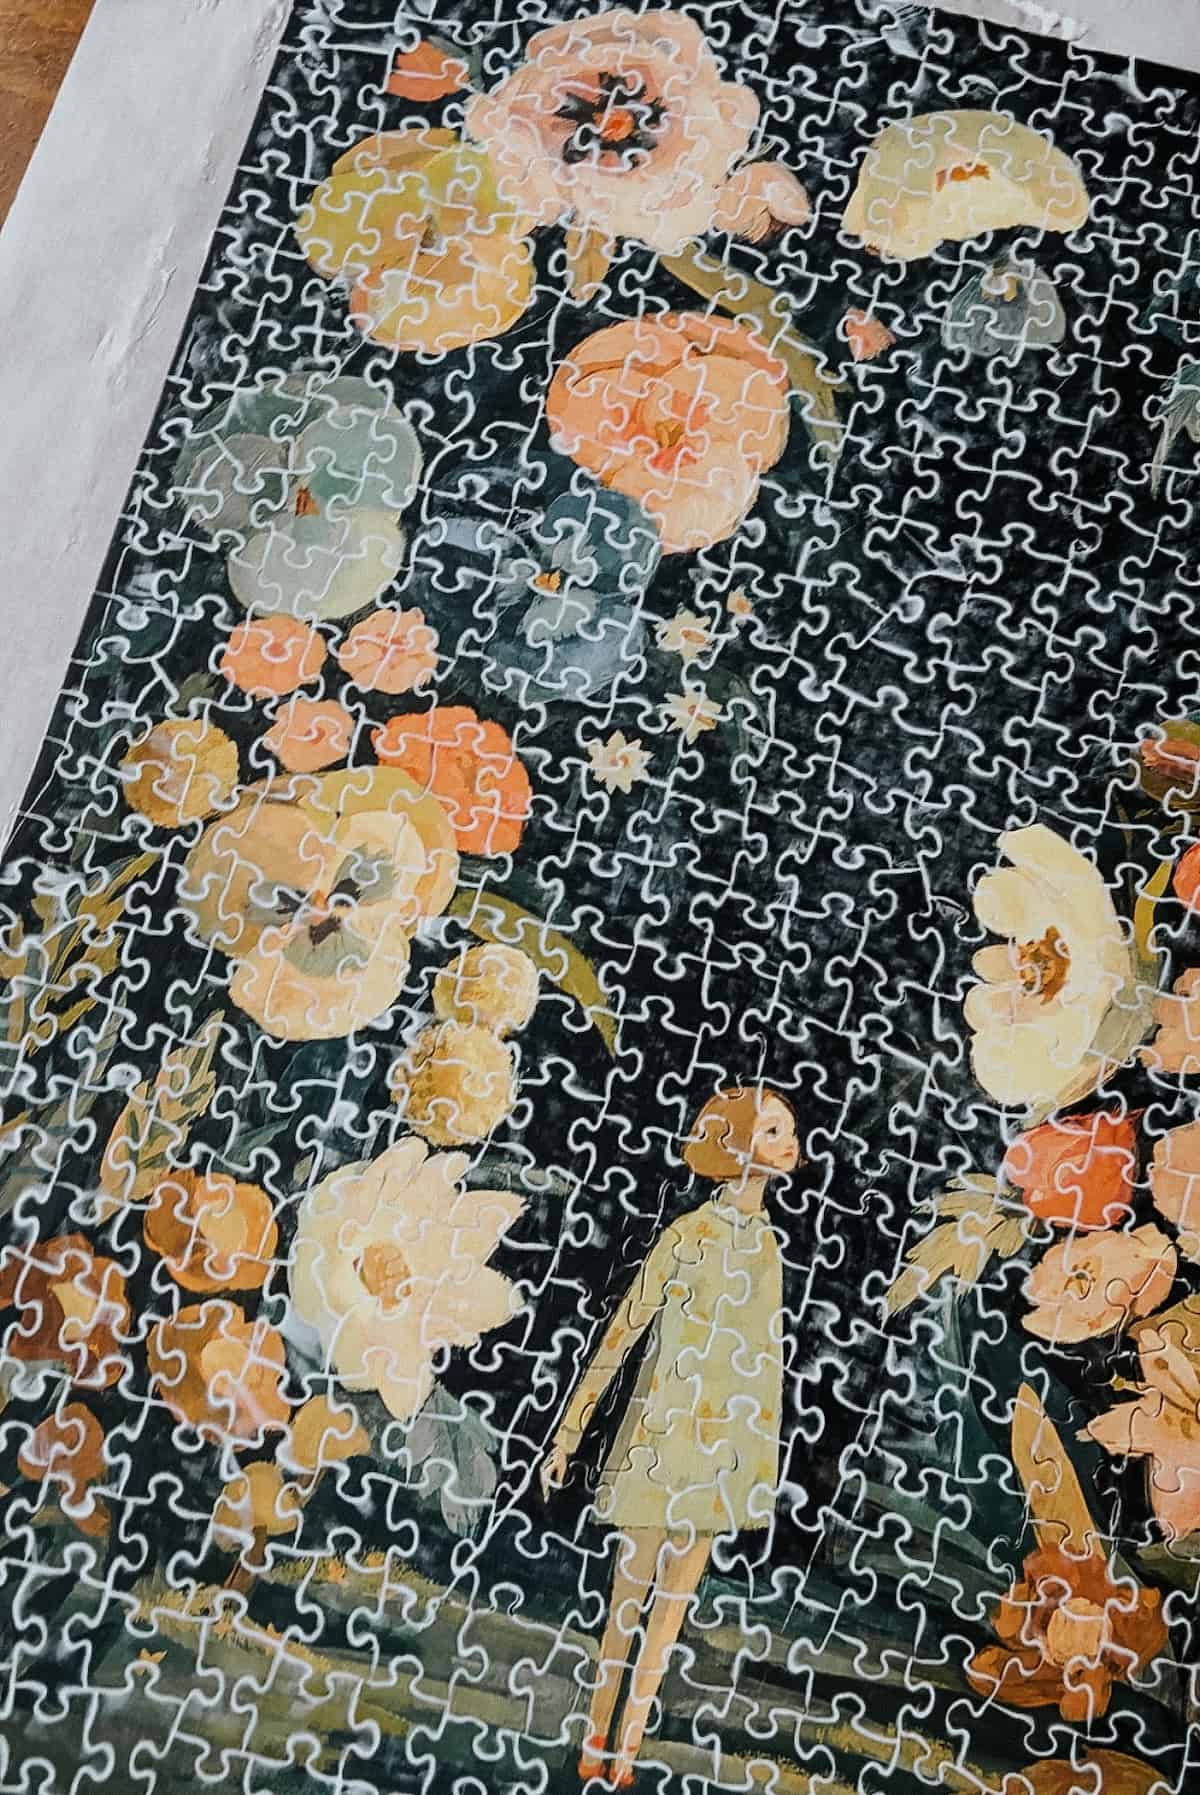
Now, you’re ready for the glue! There area a variety of puzzle glue options out there, but I went with the Mod Podge brand as it’s one I trust.
It’s really easy to apply – just pour the puzzle glue on the front of the completed puzzle, then use a putty knife or a flat piece of cardboard to spread it around. Anything with a firm, straight edge, like a credit card, will work. Don’t use a paintbrush, as it can leave brush strokes. Foam brushes are fine, though!
Make sure the glue gets into all of the cracks between the puzzle pieces. Be careful not to add too much glue – if you overdo it, the paper on the puzzle can peel up. Use a paper towel to wipe off excess glue on the surface of the puzzle.
Step Three: Let it dry
Now, you just need to let it dry! This stuff needs about 20 minutes to dry. You can do a second coat if you want, but I found that one good coat was enough.
Some people also recommend flipping the puzzle over and adding a coat of puzzle glue to the back as well. But, I didn’t find that to be necessary. I’ve had a puzzle framed in my living room for over a year without any glue on it, so I figure just doing it on the front is fine.
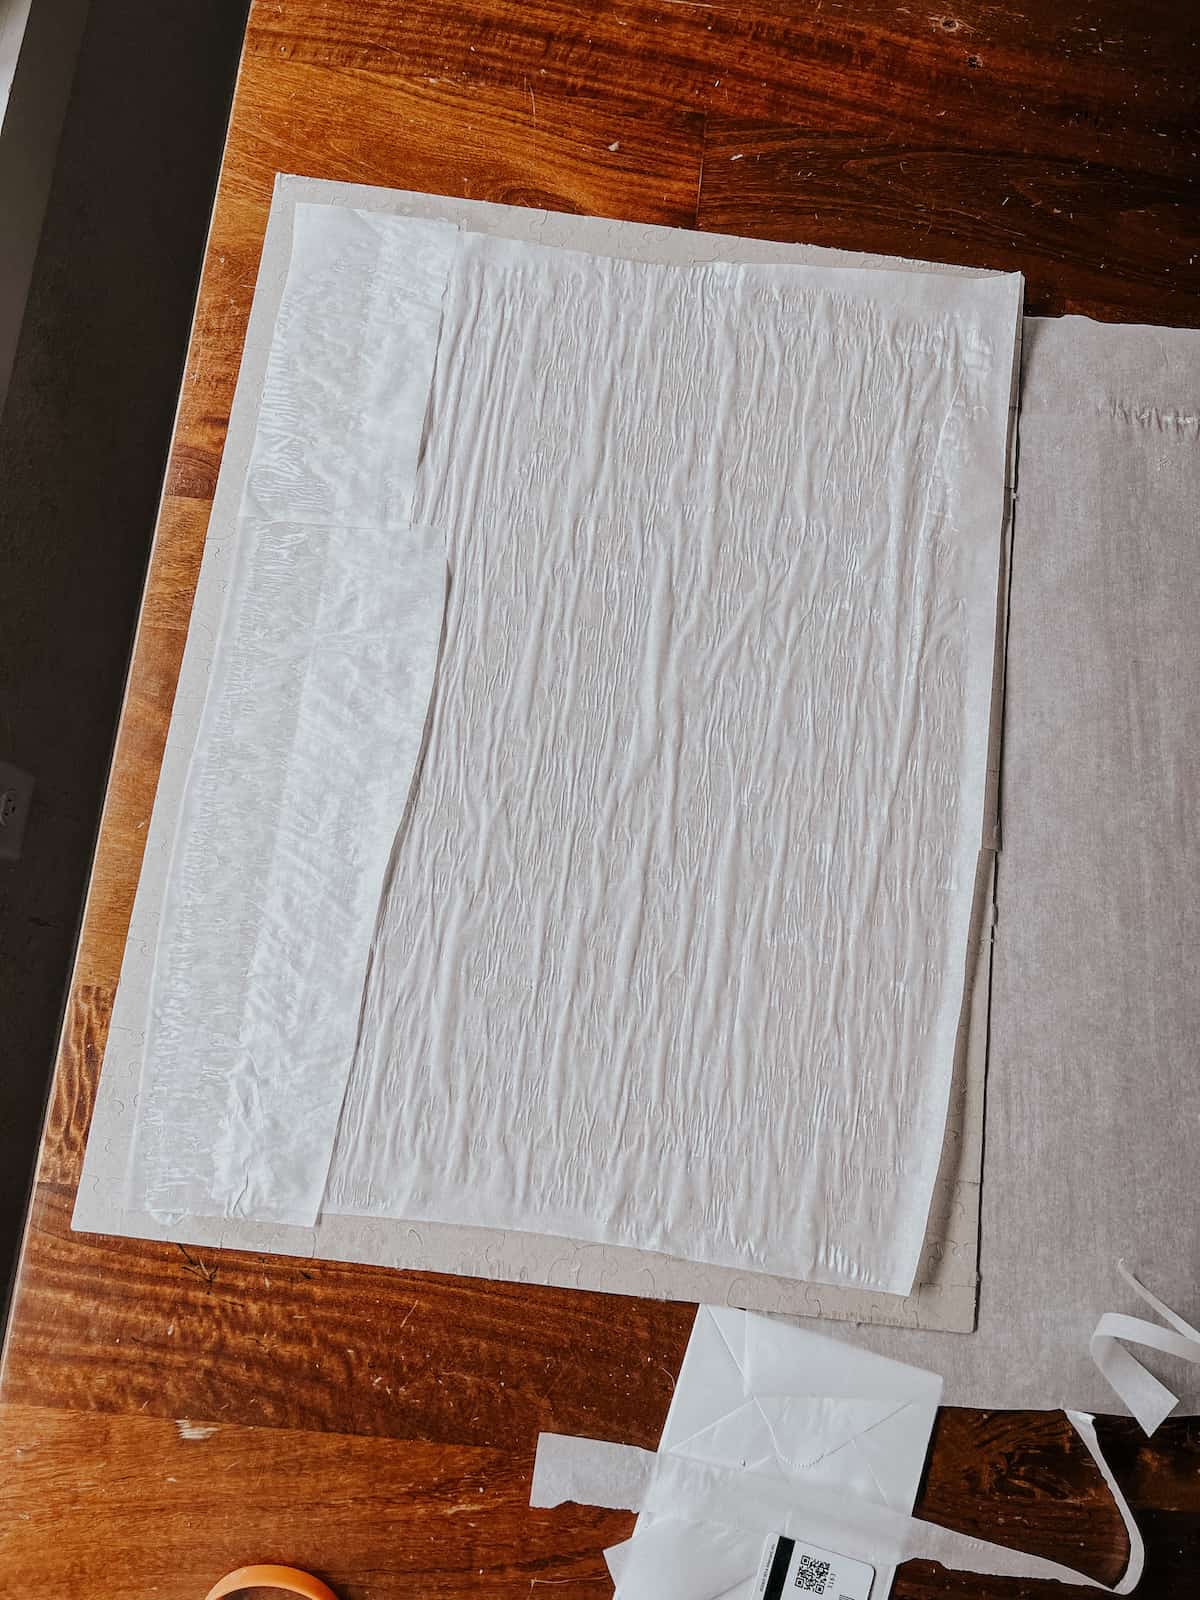
step four: mount the puzzle (Optional)
After the front of your puzzle dries, you have a few options for adding some extra durability.
- Add a foam backing
- Add a paper backing
- Glue the back of the puzzle
None of this is completely necessary – the puzzle will likely hold up just fine with just glue on the front. But, if you know you’ll be moving it a lot or if it’s in an area where it could get bumped, it’s not a bad idea!
I specifically wanted to do this since I know I’ll be flipping the puzzle around a couple of times a year!
The typical options for mounting the puzzle are wax paper, parchment paper, or foam board. Wax and parchment paper can sometimes have some non-stick elements to them that will affect adhesion, so if you struggle you can try using an acid-free paper. Foam board will give the most durability, but adds thickness, which could affect framing.
Simply cut your mounting material to the same size as your puzzle, add glue to the back of the puzzle, and then press it on top. You can use books or something else as a weight to help hold it in place while it dries.
Frame the puzzle
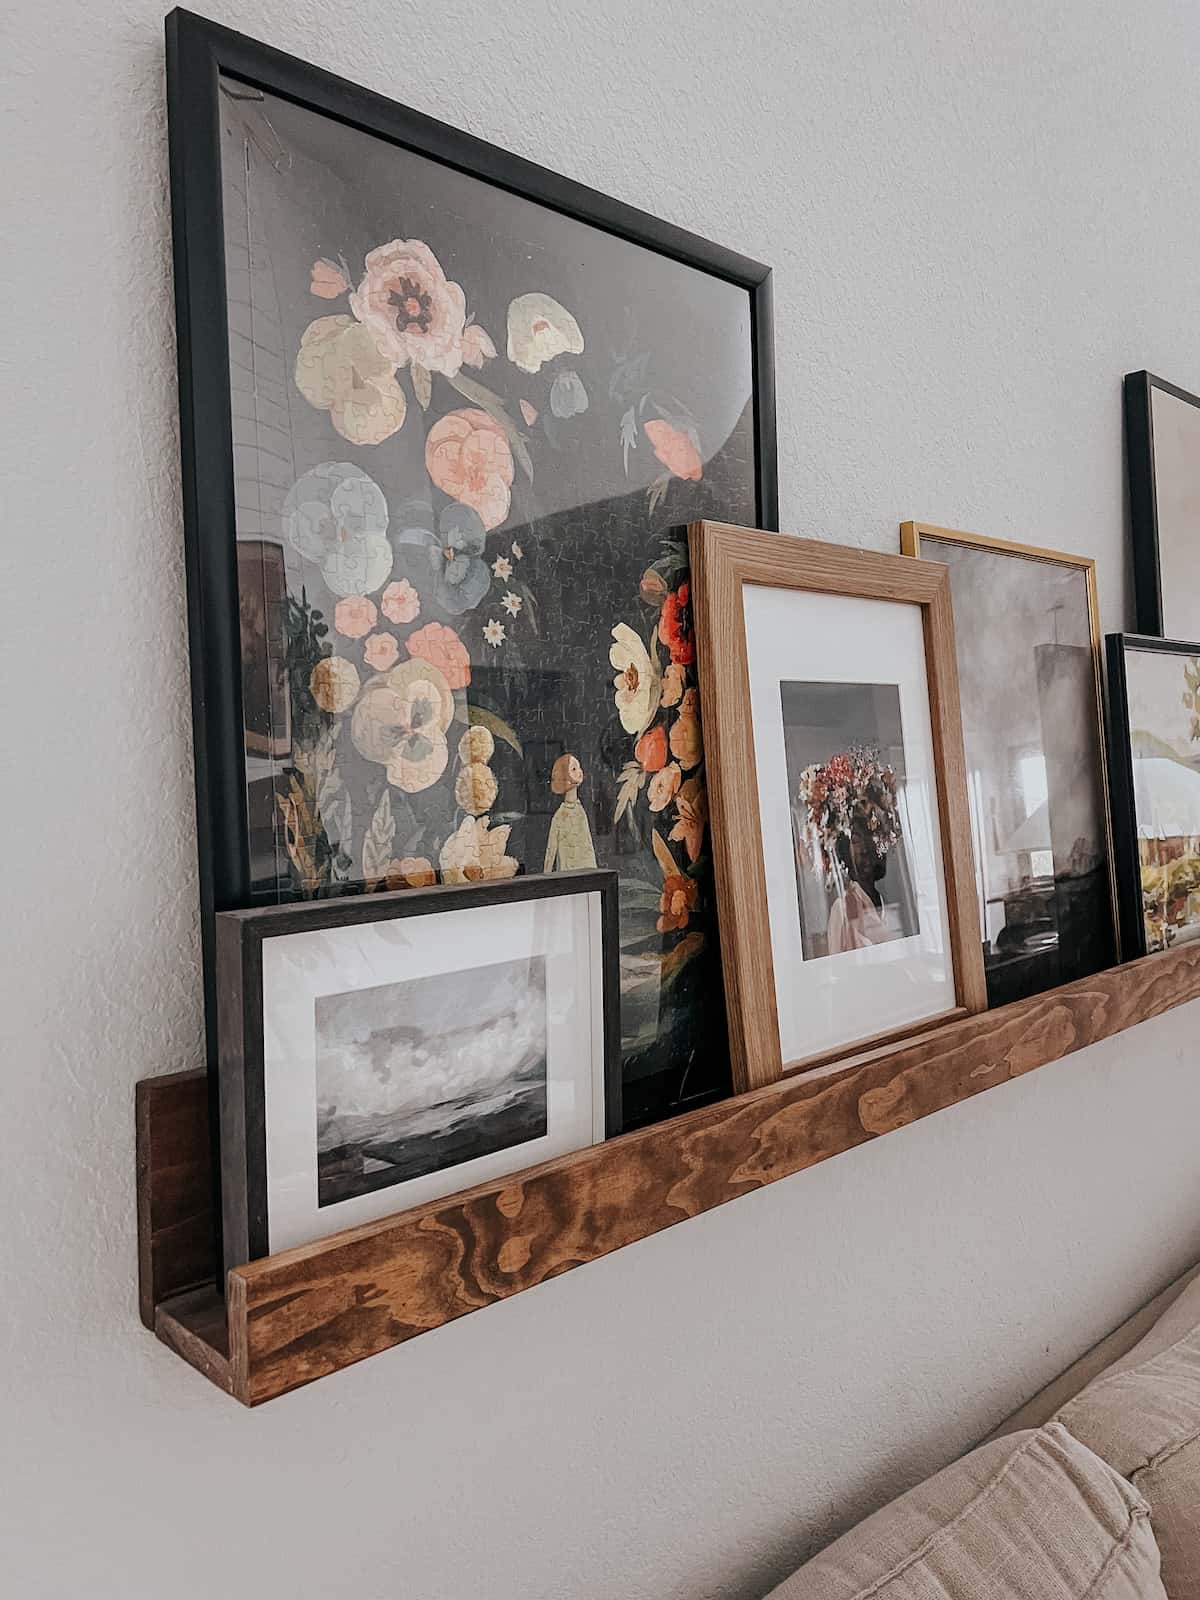
Once everything has dried, you’re ready to frame the puzzle. I liked the frame I used above, and I’ve been really happy with it. Just make sure to check ahead of time that the size of your puzzle frame works for the puzzle you’re framing. It should list the range of dimensions that will fit in the frame so it’s easy to pick the correct size.
Remember that a puzzle (especially with a backing) is going to be thicker than a normal photo. A regular frame won’t work as well as one specifically made for puzzles!
alternate option
If you don’t like the idea of gluing there’s another really simple option for a dry mount! This puzzle saver product is basically a big sticky sheet that you apply to the back of the puzzle to hold it all together. It looks like it would be really easy to use!
This is a really great and simple way to make your favorite puzzle look like a piece of art! The entire thing just took an hour or so (including dry time) and now I know that my glued puzzle will last for a long time.
The post How to Frame a Puzzle appeared first on Love & Renovations.