DIY Pie Safe | Easy DIY Farmhouse Decor
There are some things in life that I don't need in terms of home decor. Actually...most home decor items I don't need, ha! Let's reframe that...there are things that I want but don't need so won't buy. Like a countertop pie safe! I have been noticing these off and on the past year and think they are so cute. I really had no need for one, nor a place for one. I see them popping up for sale and think I should buy it until I see the price tag! They are pretty darn expensive for something I decided I could easily make. So, on a whim, I decided to make one for myself instead of wishing I had one.
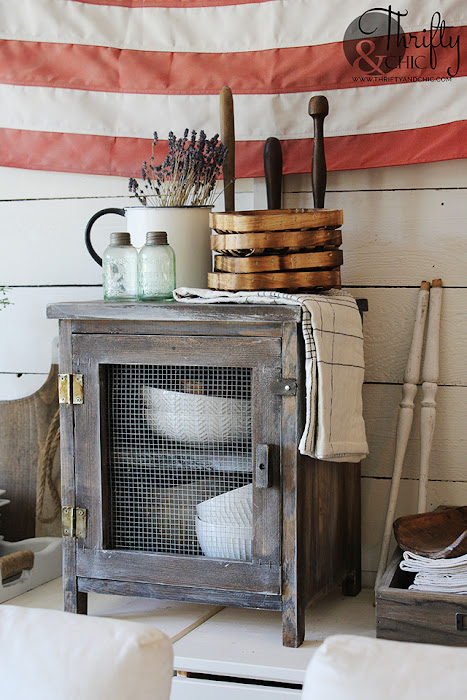
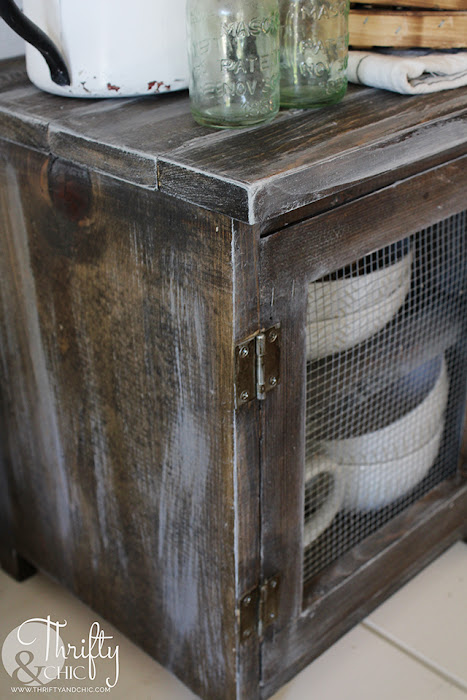
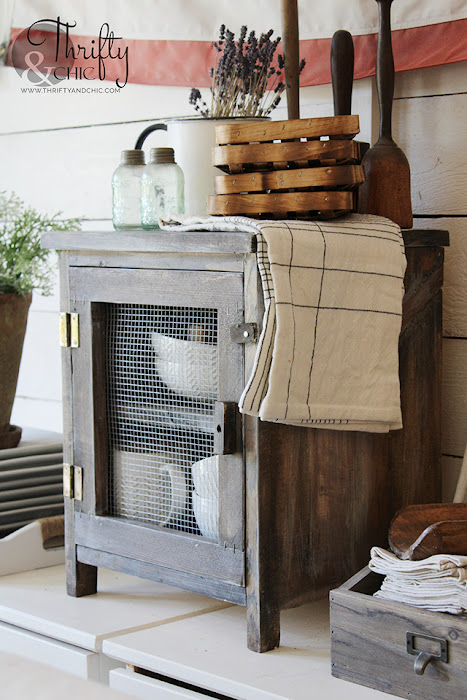
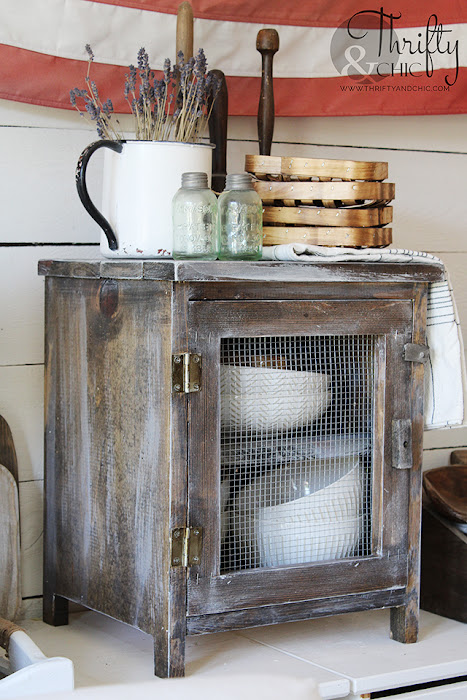
Isn't it cute?! This will probably never house pies in it, sadly. For now, it's a perfect place for my extra dishes on my buffet. I used this tutorial from Ana White's DIY pie safe and tweaked it a bit to fit the look I was going for. You can go to her site to see the list of cuts you need and full tutorial. Below is my abbreviate tutorial with my tweaks.
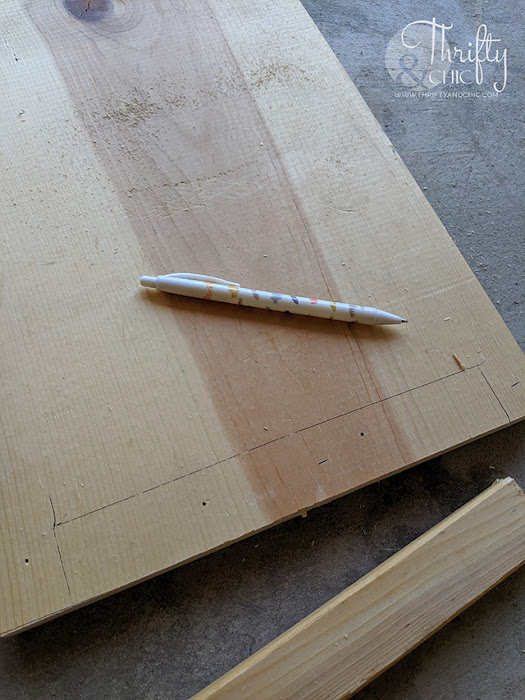
For my height, I went with an overall height of 15". I made my side 1x12 pieces 14 1/4" tall. On both of those side pieces, I traced a 1x2 piece 1" in on each side to create my "legs".
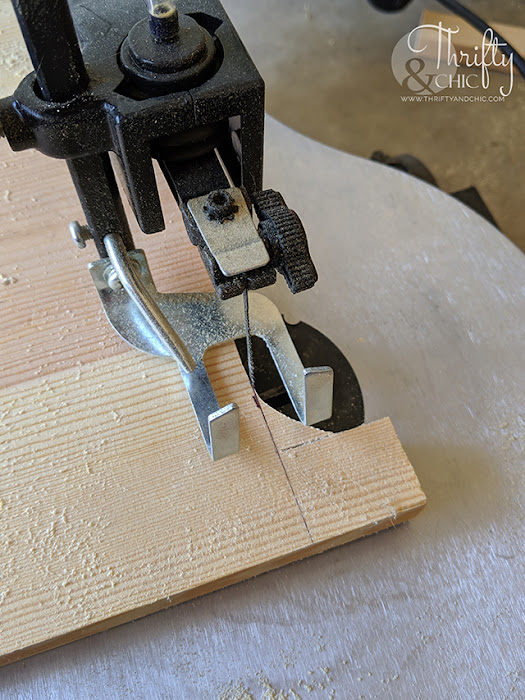
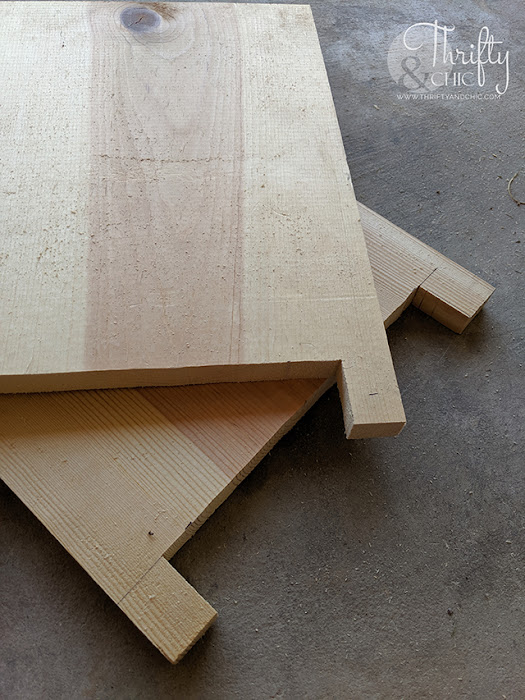
I then used my scroll saw to cut out the rectangle. This made it about 1" legs with 1 1/2" height. You can also use a jigsaw for this step.
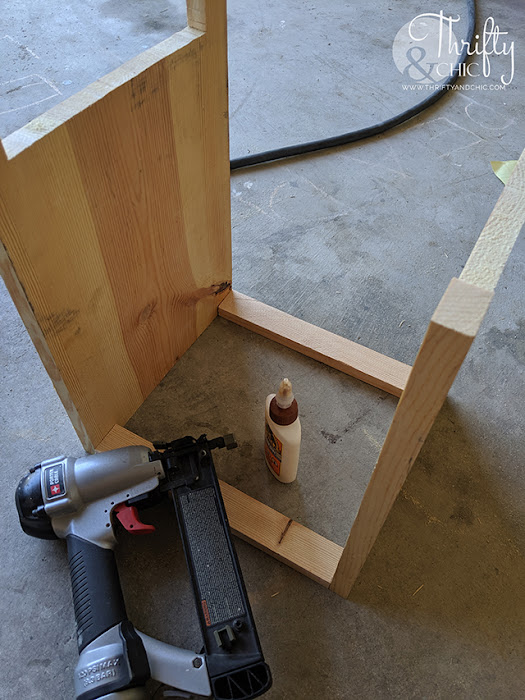
I then secured the 11 1/4" two 1x2 pieces to the 1x12s on the opposite sides of the cuts. I used wood glue and 1 1/4" brad nails to secure.
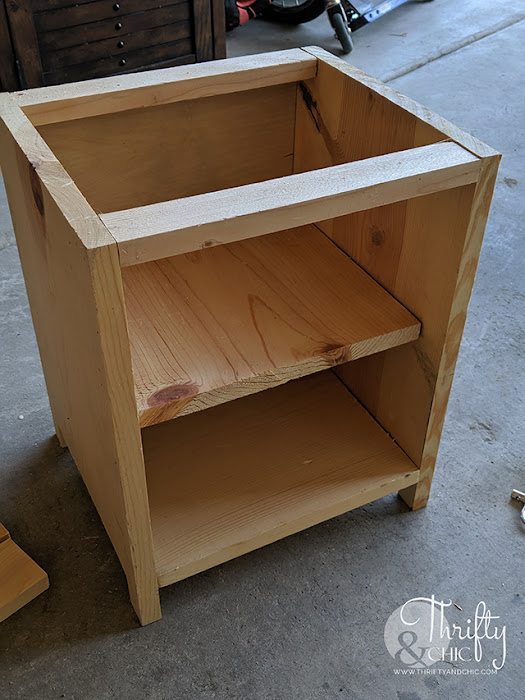
I added the bottom 1x12 shelf cut at 11 1/4" to the bottom right along the cut out edge, so about 1 1/2" up. Secured this the same way.
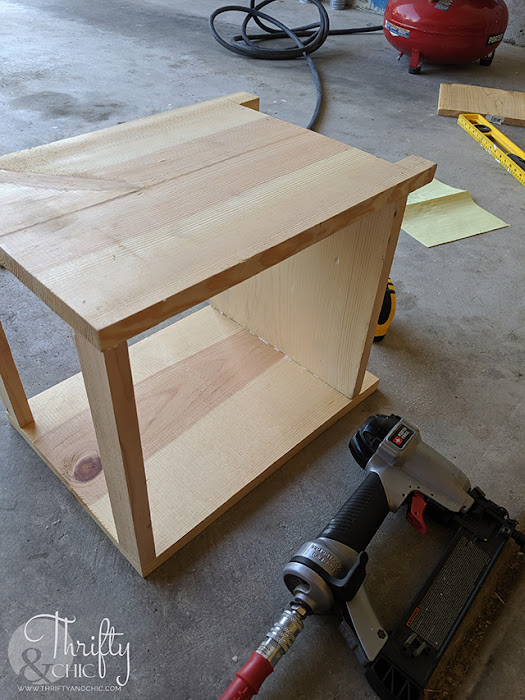
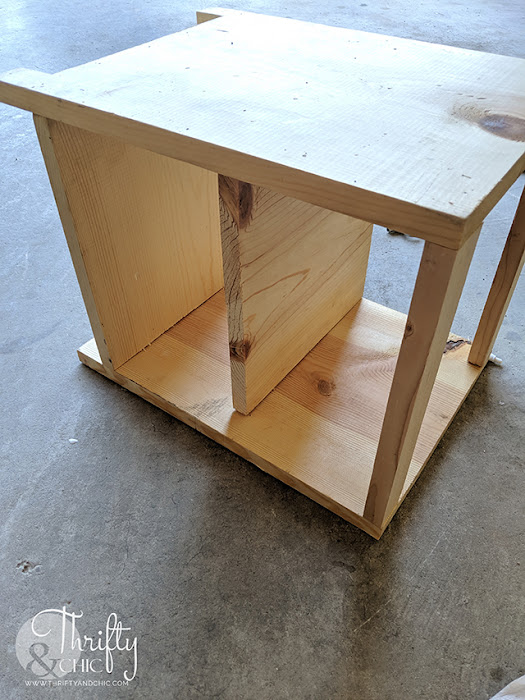
Next was adding the middle shelf. The middle section of mine ended up being 12" total, so I split that in half as evenly as possible and placed the 10" 1x12 shelf in the middle. Securing it with the glue and nails. It is flush on one side with the indent on the other.
I then used 1/4" plywood and cut it out a little smaller than the opening in the back. I secure this to the back with 1/2" brad nails.
This is how it looked at this point.
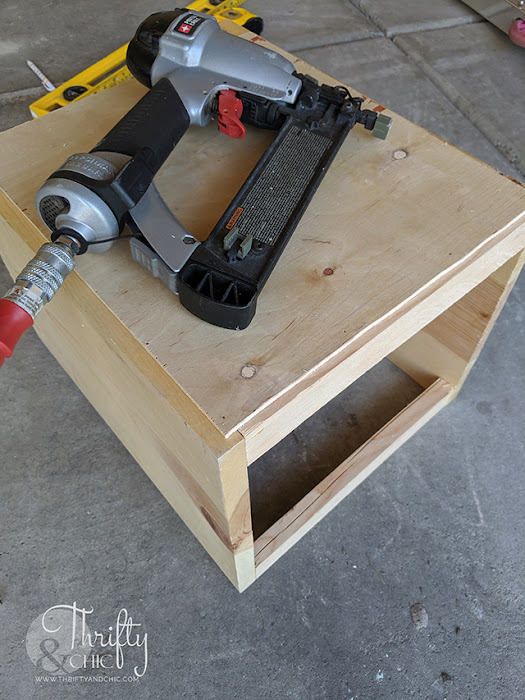
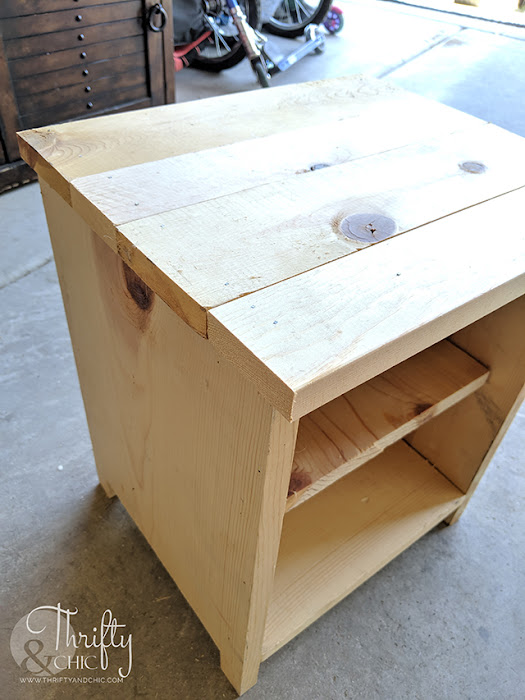
I then added two 1x4s cut at 13.5" and two 1x3s cut at 13.5" to the top. I alternated them, and secured with wood glue and 1 1/4" nails.
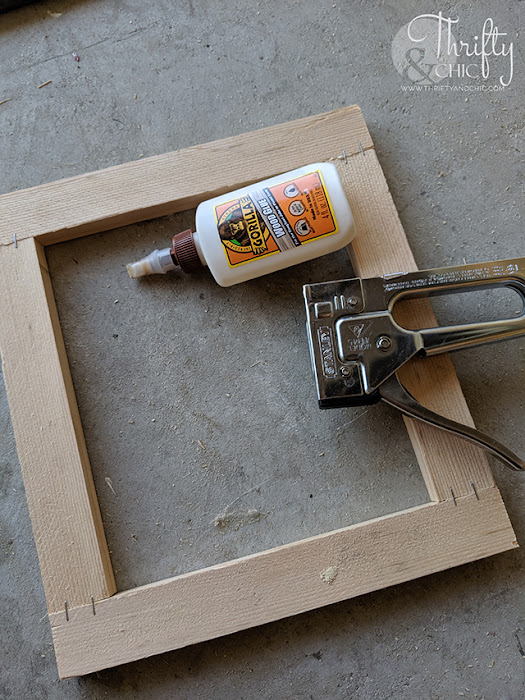
Now to create the door. I made the door out of 1x2s. It's important at this point to measure each section of the door to make sure it will fit correctly. So, I measured what the top would be and then the bottom and cut the 1x2s at those widths. They were about 11 1/4" each. Next was cutting the vertical door pieces. These were 9 1/2". I secured with wood glue, but to give a more rustic look, I took my stapler and stapled twice into each joining section.
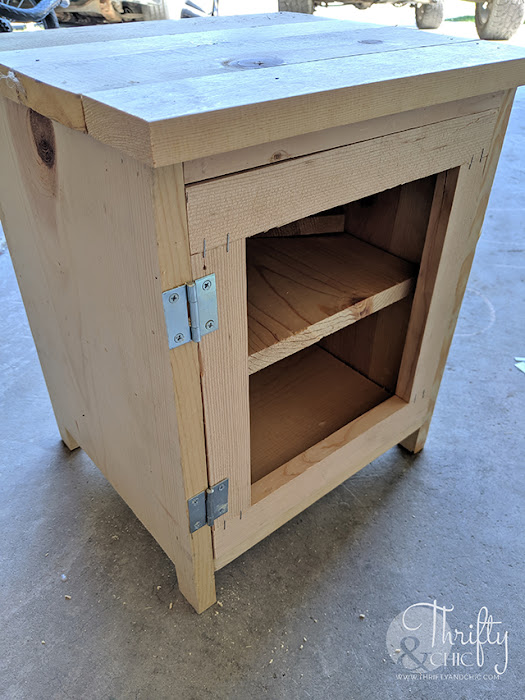
I then added hinges. In retrospect, I wish I had skimmed off about 1/8" on the width so I could have hid these hinges on the inside.
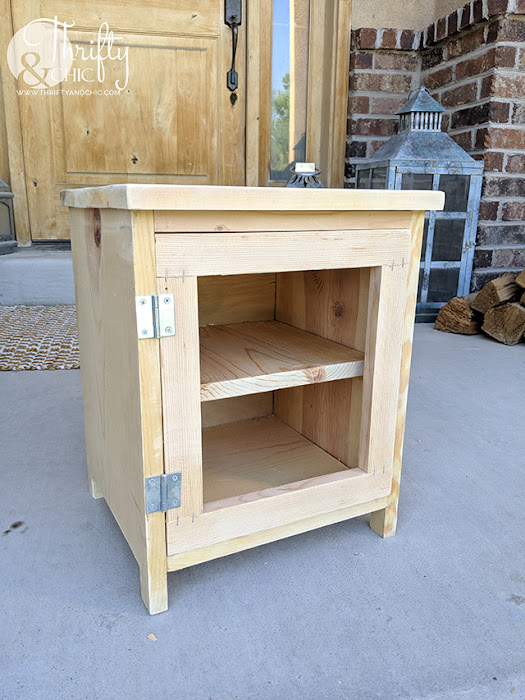
Here's the look of the door...almost complete.
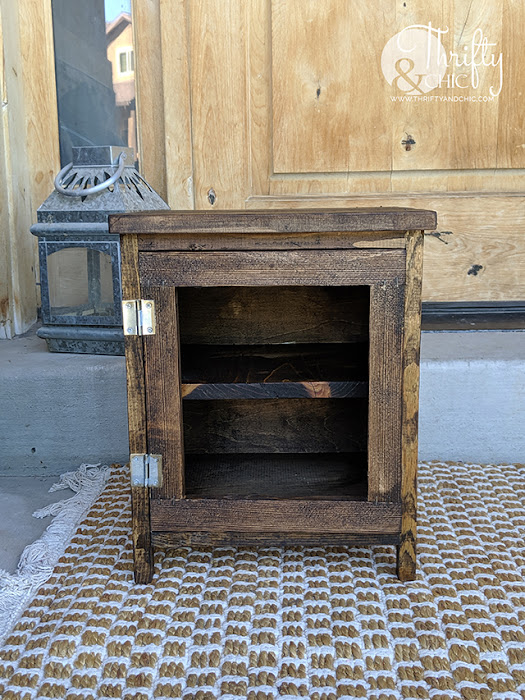
Next I sanded it down, and curved out the edges a little bit. I then stained it with Minwax's Dark Walnut.
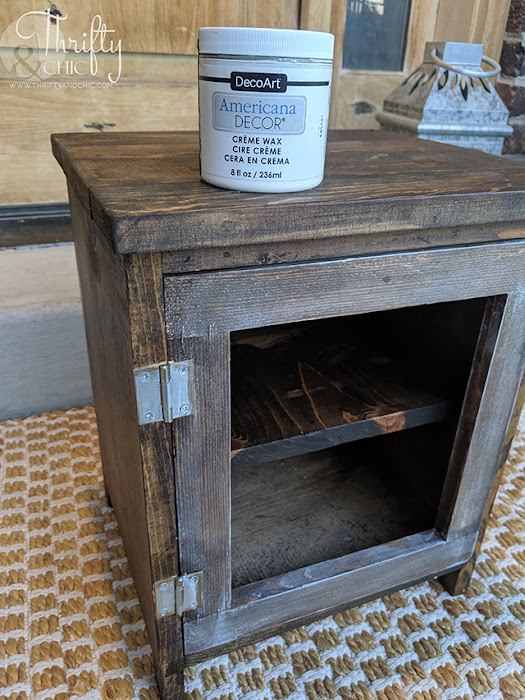
I decided to try to make this a little more aged. I did this by applying a light coat of DecoArt's Americana Decor Creme Wax in White. You can see the difference this wax makes below. The door has the wax coat only.
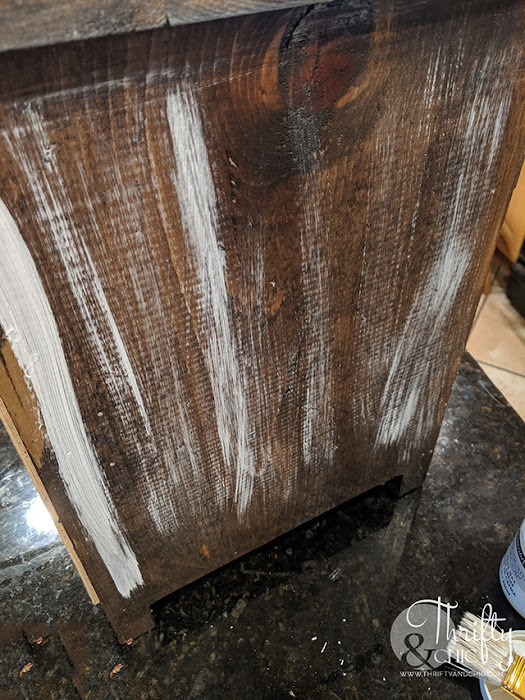
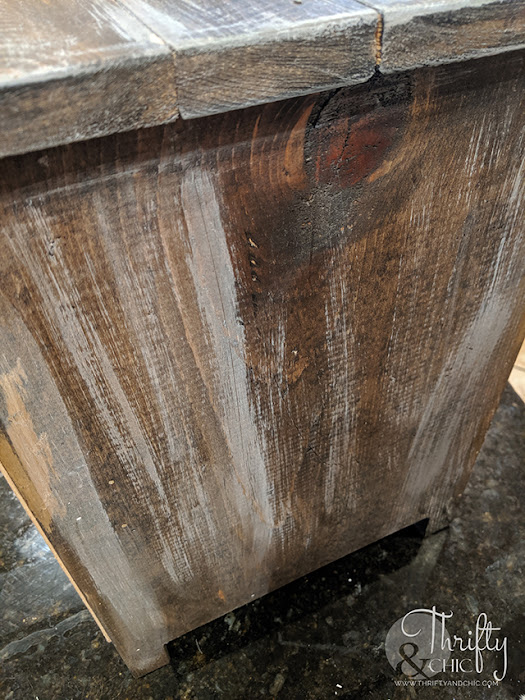
I then added streaks of the wax to the other parts of the wood.
I then took a towel and "buffed" it around. If it was too heavy, I used a wet towel to thin it out.
Here is the finished look on that same side. I went over the edges heavily without wiping off to create that look.
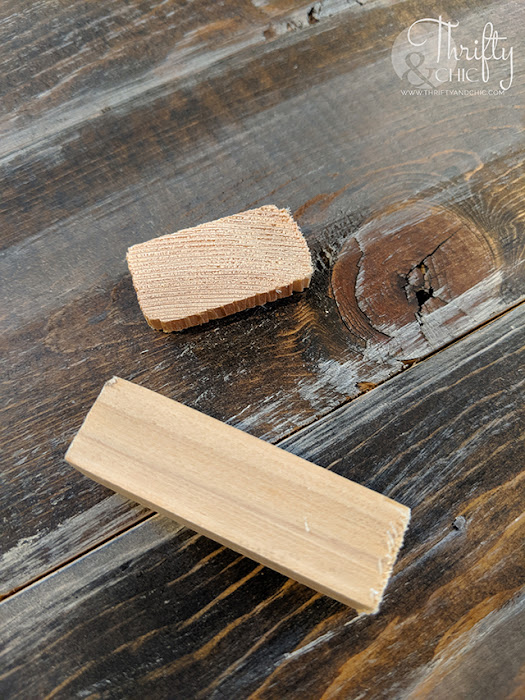
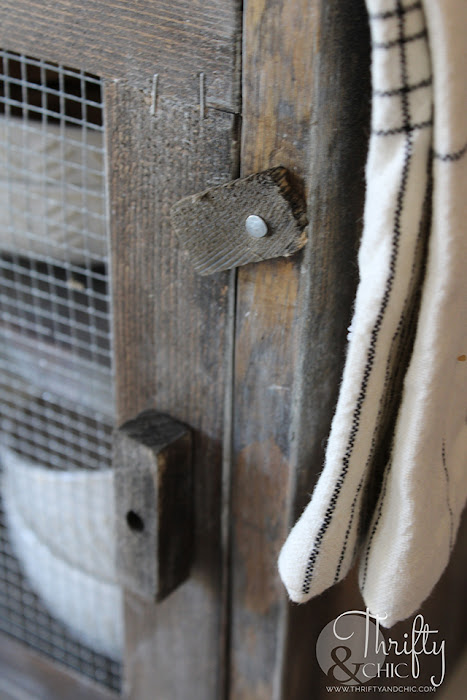
For the door "hardware" I used scraps of wood pretty much. The handle was created from a 3/4" square dowel cut to 2". The lock is a 1x2 cut at 1/4". Super small! I stained both of these and added the wax to them also.
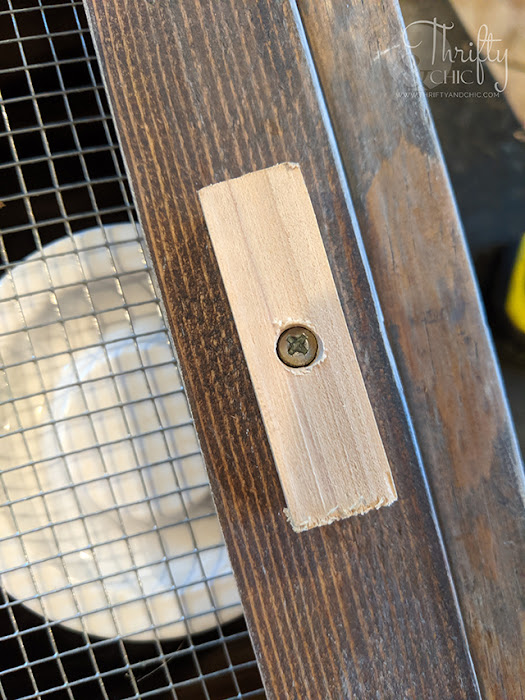
To secure the handle, I predrilled a larger whole into the middle, and then secured to the door with a screw.
I then just used a nail for the securing the lock. I predrilled a hole first to prevent the wood from splitting. Make sure when you place the lock that you are able to still open the door when unlocked. Learn from my own experience!
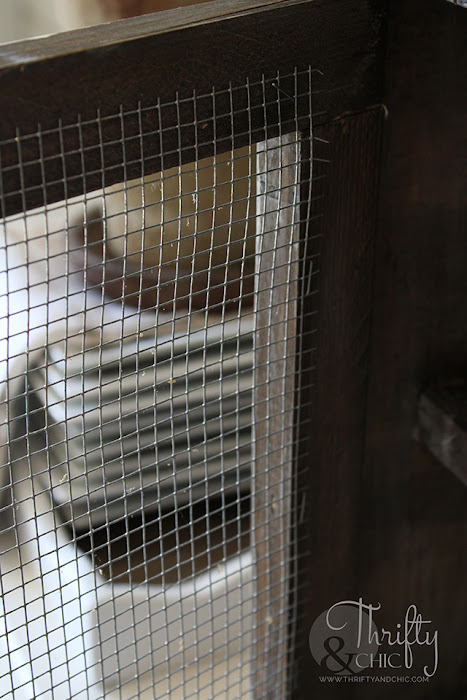
I also added a square grid mesh wire to the door using my staple gun.
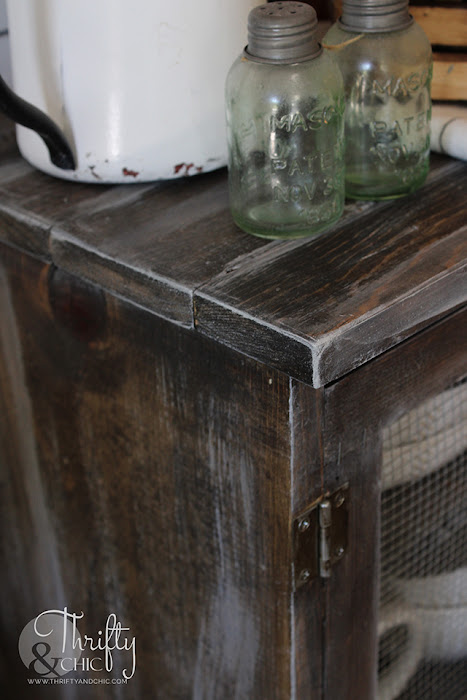
To finish it off, I went over the hinges with the stain also to give it a more aged look. Here's also a good look at the wax finish on the edges and corner.
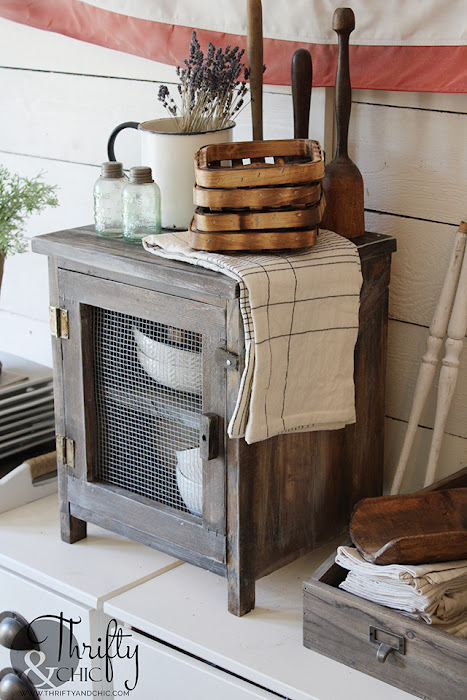
And that's it! I seriously made this in about 2 hours. It's a beginner building project no doubt. Super easy! I made this with wood I had lying around my garage, so no extra cost to me! I saw this for sale on Antique Farmhouse, and made my own that night :) I love their stuff, but sometimes like to make my own version. Plus, it saved me about $75 :)
I played around with the idea of painting this white, but I love the antique wood look the wax and stain created. That was two easy steps to make such a cool old wood look.
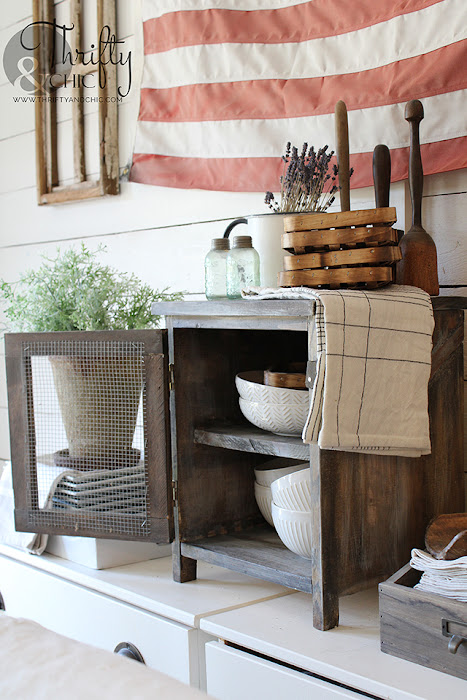
Here's the look with it opened. You can easily make a display with this opened by hanging the towel on the door instead.
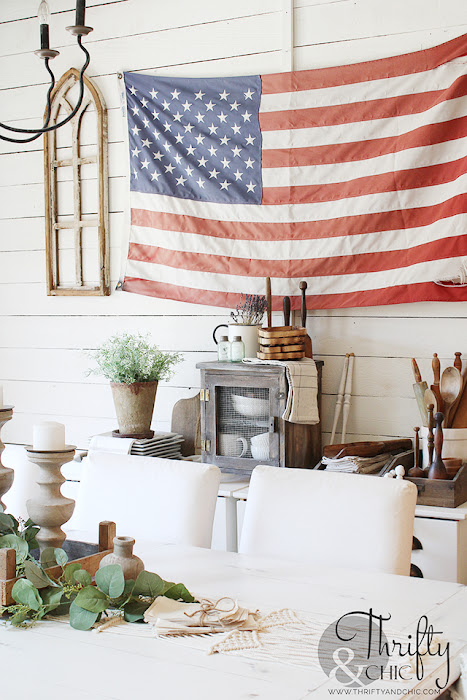
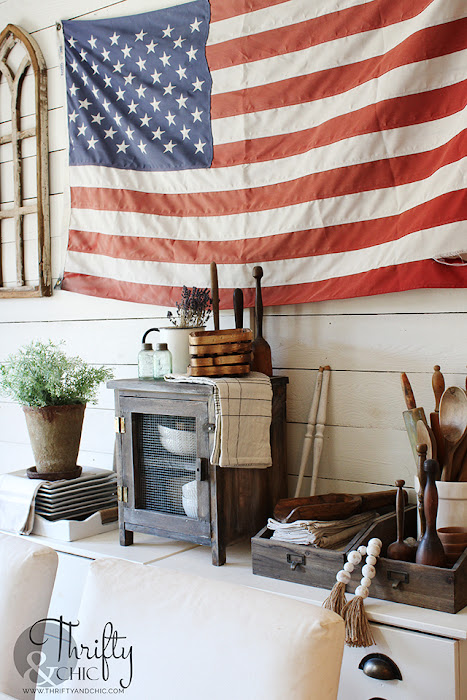
As you can see, I did find a spot for this after all! I realized how long it has been since I've changed up some things on my buffet. I moved the three tiered tray to another corner and made space for this diy pie safe here.
And I'm still flying my American flag loud and proud in here for the summer! I feel like this diy pie safe and the flag is just perfect Americana. :)
I love impromptu diy projects that cost nothing and save a ton of money!

