DIY Pallet Wine Rack | Cool Upcycled Furniture Ideas
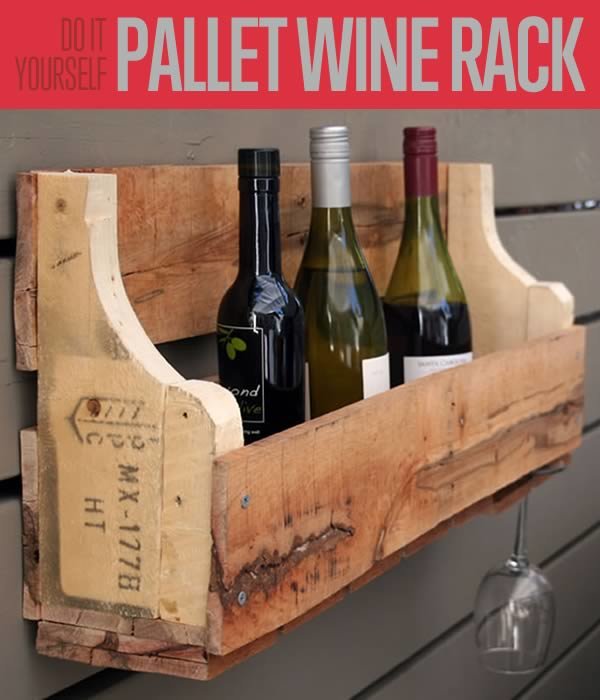
Looking for DIY pallet furniture ideas and cool homemade home decor? We love repurposed wood projects and this pallet wine and stem rack make a super addition to any home. Easy to build, you will have a great looking wine rack in about 2 hours when you follow our easy step by step tutorial.
All you need for this pallet wine rack are a few common tools, wooden pallets, and screws.
Supplies for this wood pallet project:
- 5 Pallet Boards (pulled from any pallet you can find)
- 1 1/2 Wooden Pallet Rails (see below for identifying)
- 2 1/2-Inch Screws (dozen or so)
- A Chop Saw or Circular Saw (or a handsaw if you’re old school)
- A Power Drill
- A Jigsaw
- A Carpenter’s Square
Stemware Rack Attachment (Optional)
- 2 Additional Wooden Pallet Boards
Instructions
Step 1: Gather your pallet wood
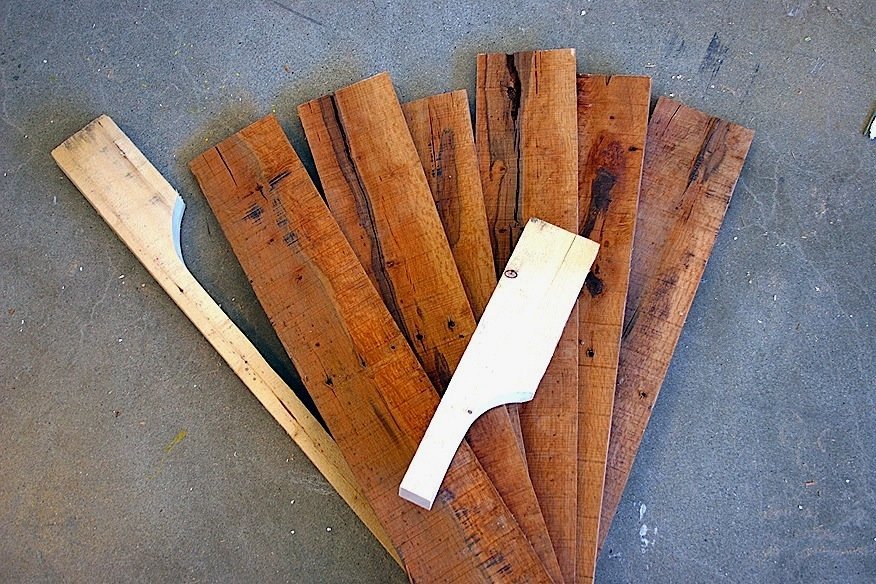
For the Wine Rack portion of this DIY, you’re going to need 5 Full Wooden Pallet Boards and 1 and 1/2 Wooden Pallet Rails. The rails are the curved pieces that sit below the pallet and hold the boards together. If you plan on decking your wine rack out with a stemware attachment, have two more wooden pallet boards on hand.
Step 2: Cut pallet pieces to size
Use a saw to cut the rail in half. These pieces are going to get cut again later on, so this cut doesn’t have to be perfect. Just eyeball the midpoint and cut it. We used a Chop Saw to cut ours, but a circular or handsaw will work just fine. 
Step 3: Setting the sides & making spacers
Place one of your cut pieces onto one of the boards.
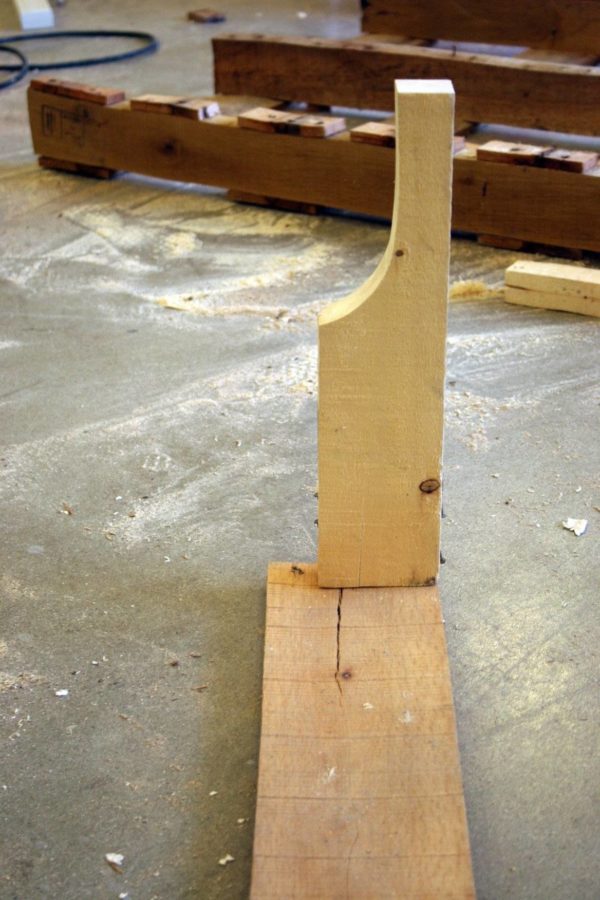
Measure the distance between the piece and the TOP edge of the board. 
Step 4: Setting the spacers
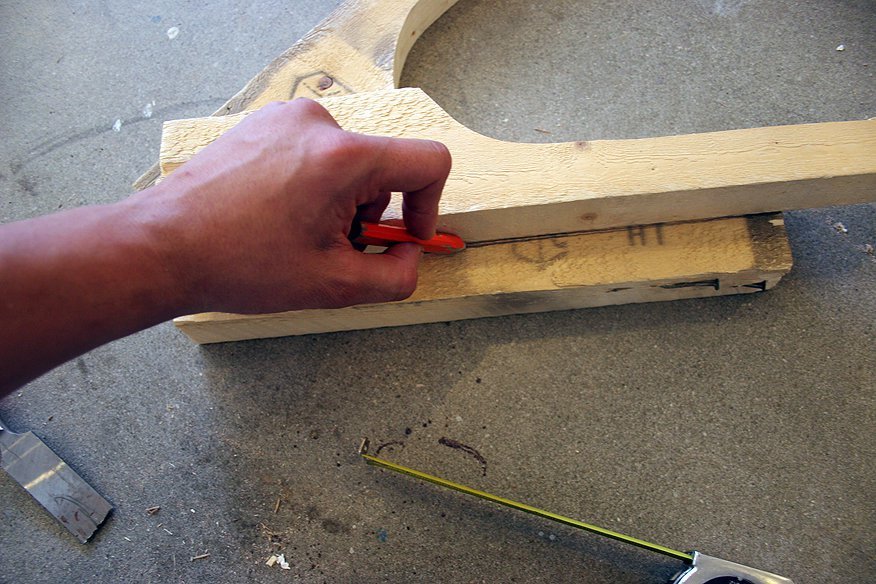
The distance between the edge of the piece and the board is how wide your spacer needs to be. In our case, we needed a 1 ½ inch spacer. You are going to cut the spacer from the one-foot piece of rail, so find this distance on the rail with a measuring tape and mark it with a pencil. 
Step 5: Lining things up
Use a piece of scrap wood to draw a straight line across your spacer. 
Step 6: Cut and run
Cut along the line.  Align your spacer with one of the rails you’ve cut and place a mark where the bevel begins.


Step 7: Work your way down
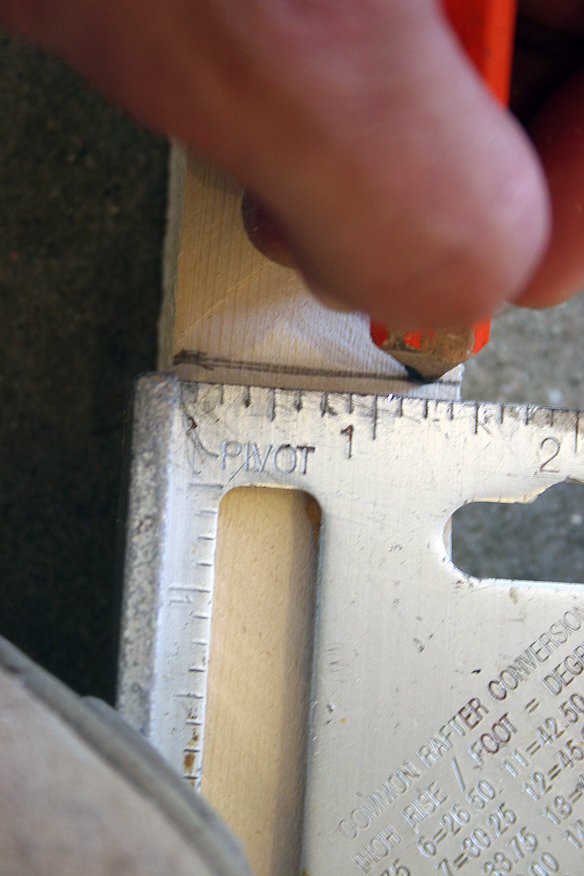
Use a Square to draw a straight line across the spacer. Measure and mark the same distance from the other end of the spacer. You’re going to cut two spacers from this one piece.

Step 8: Mounting the front
After you make the cuts, take a spacer and align it with a rail piece and a board. Mark where the spacer meets the edge of the board. 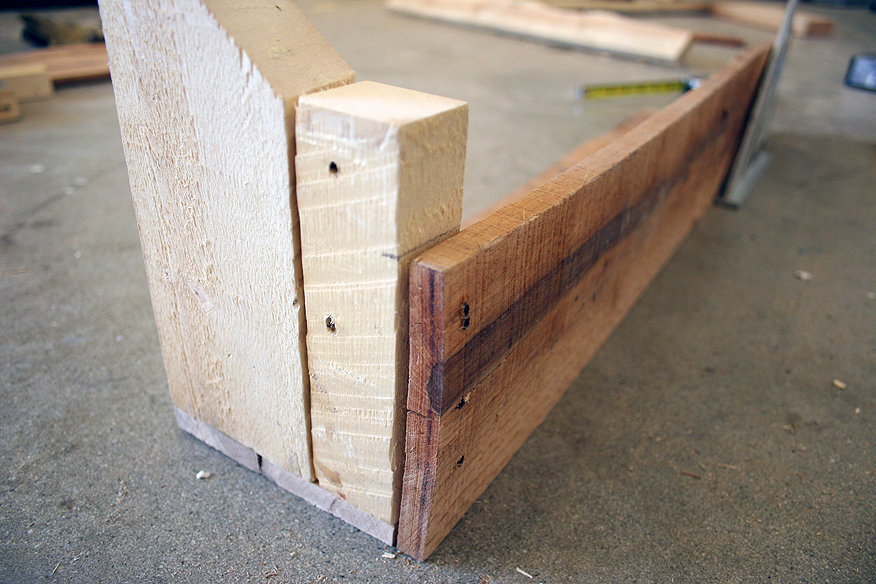

Step 9: Getting fancy
Draw a curve from the top rear corner of the spacer to the line that you’ve just drawn.
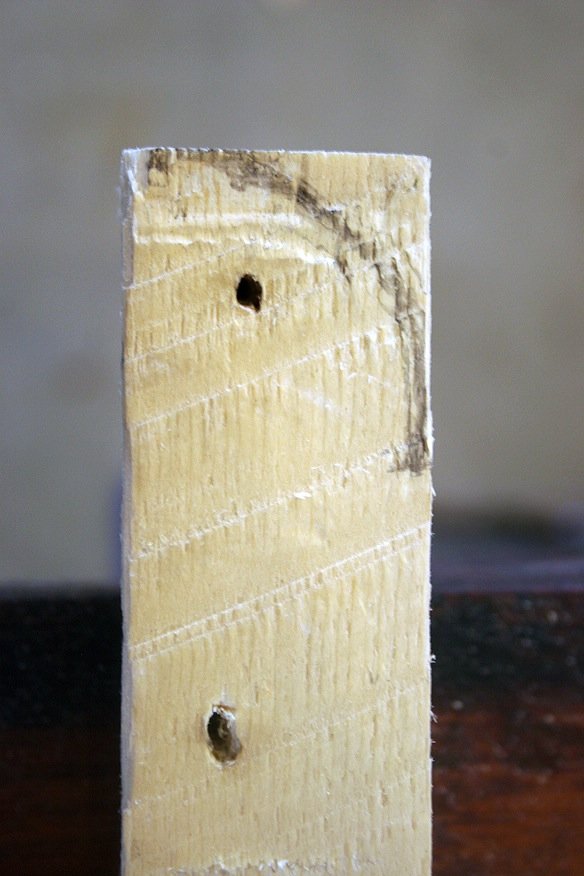
Cut along the line with a jigsaw. The cut doesn’t have to be perfect. It will still look cool.
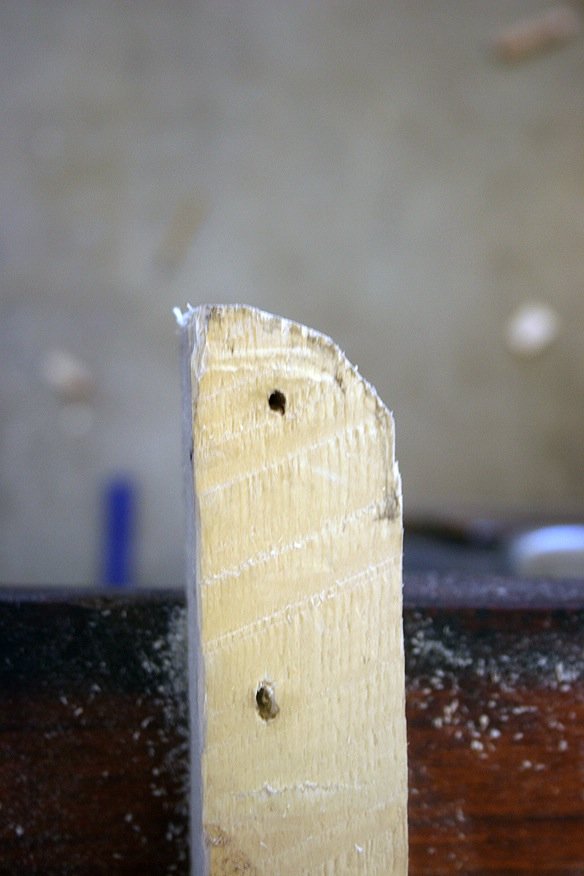
Do this with the other spacer as well. Try to keep the curvatures identical by using your cut piece as a template and tracing it onto the other spacer. 
Step 10: Aligning and mounting rails
Align one of the rails with a board as shown. 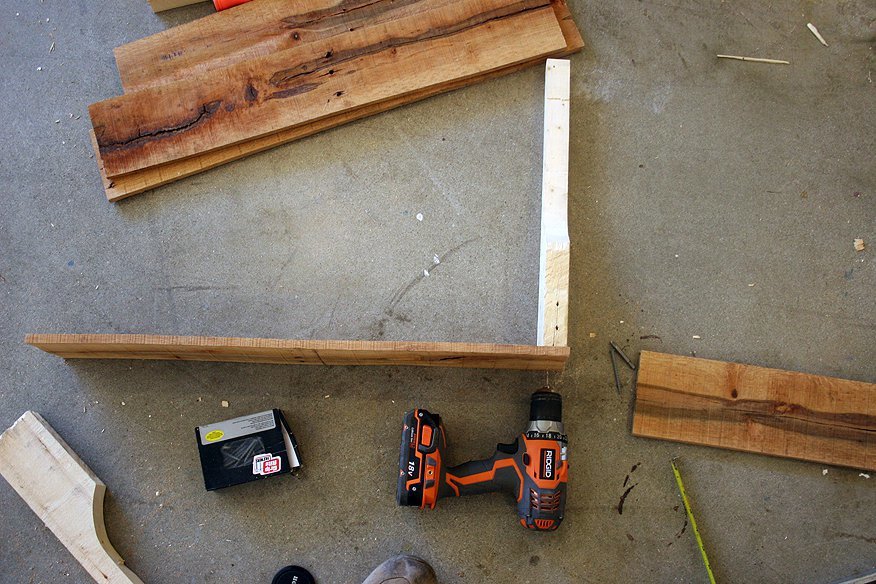
Drill two pilot holes through the board and into the rail.

Fasten the board to the rail with two screws.

Do this for both sides. 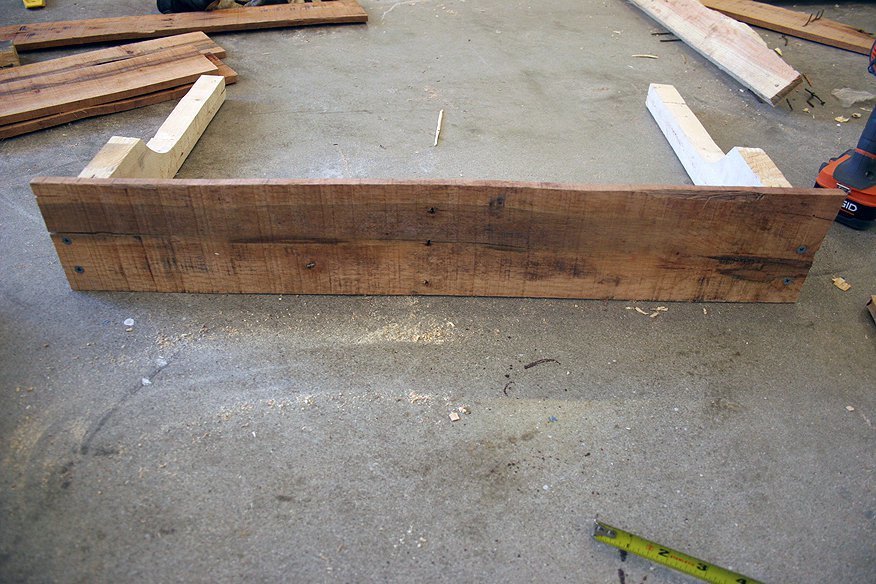

Lay the wine rack face down and align a board with the bottom and side rail as shown. Drill two pilot holes. 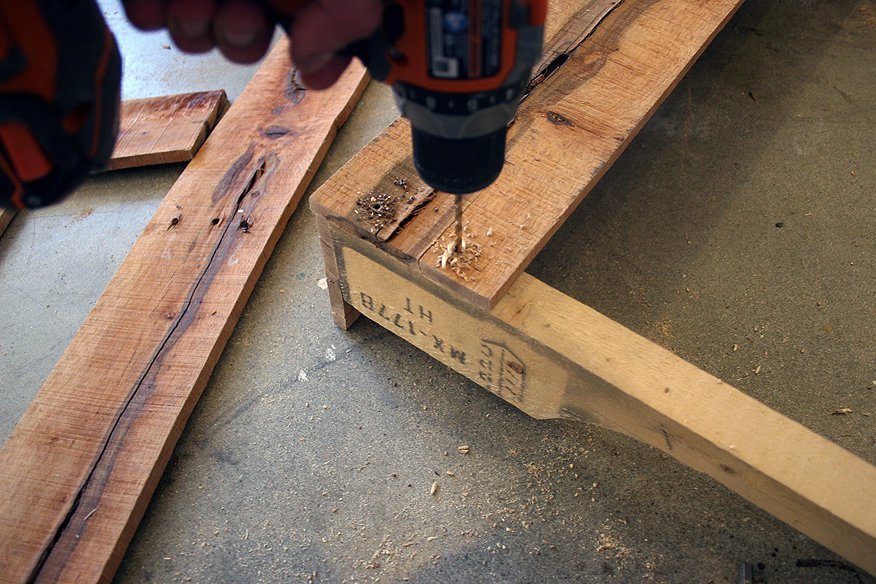

Fasten the board into place with two screws. 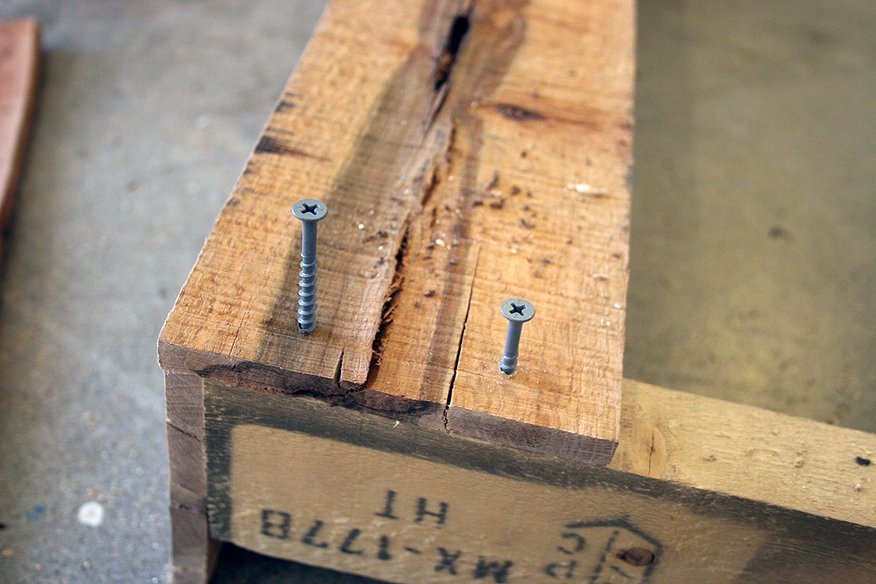
Step 11:
Repeat for the other side. 
Step 12: Bringing it all together
Place your spacers in front of the side rails. Align a board with the rest of the wine rack as shown. 

Drill two pilot holes through the front board, the spacer and the side rail. 
Step 13: Fasten ‘er up
Fasten the board to the wine rack with two screws.

Repeat for the other side of the board.
Step 14: Almost there
Lay the wine rack face down and place a board a few inches above the lower backboard. Drill one pilot hole (the one closest to the lower backboard) straight into the side rail. Drill a second pilot hole into the side rail at an angle, so that the screw doesn’t come out of the other side when you screw it in.

Fasten the board to the side rail with two screws. 
Step 15: Repeat
Repeat for the other side of the board.
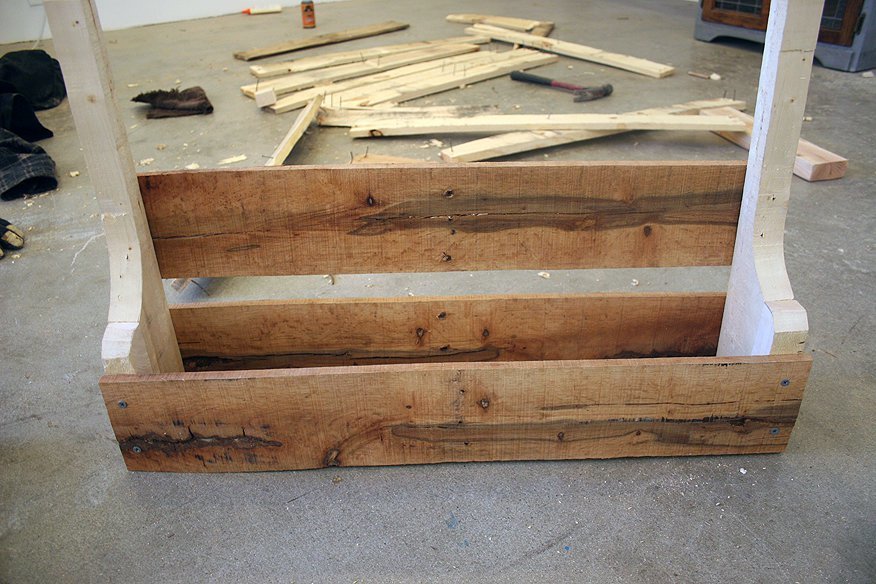
Step 16: Finishing touches
Cut the side rails where the upper backboard ends. 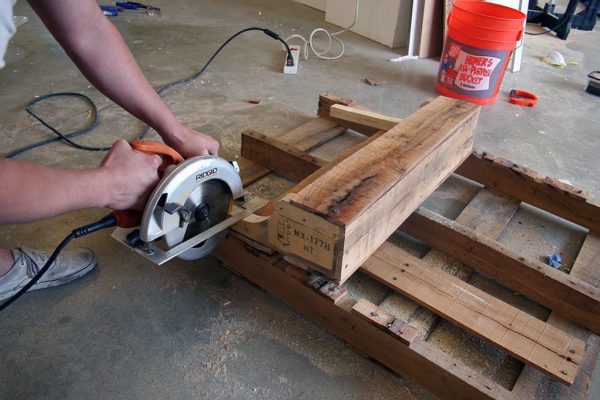
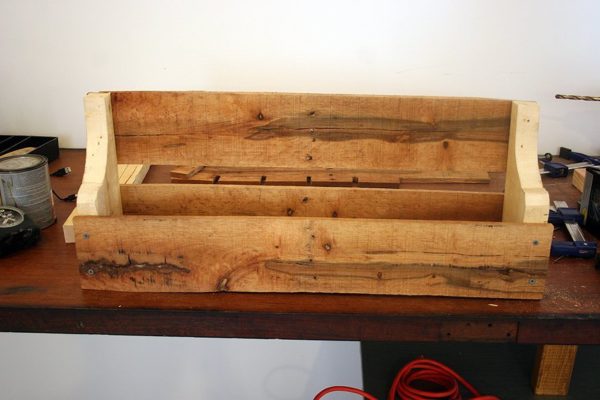
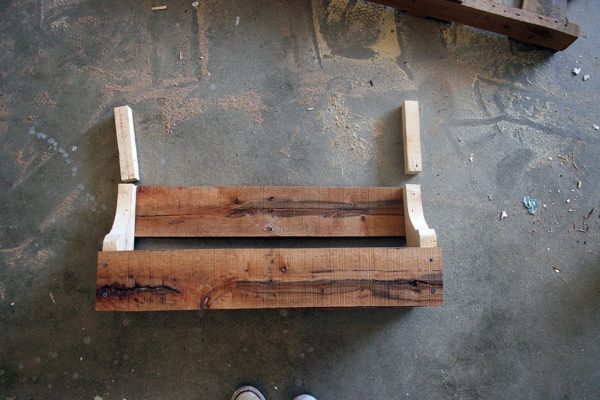
Now you have an awesome wine rack. Why stop here? If you’re feeling dangerous, you should add a stemware rack below it.
Step 17: Making a home for your glassware
Cut some spacers from a board. Make them about one inch wide. They don’t have to be perfect. They don’t even have to be straight. Check the thickness of your wine glass stems. You may need to cut four spacers and stack them to create enough room for your wine glasses to fit in the stemware rack.

Step 18: Marking your cuts
With another board and a measuring tape, place a mark every four inches on a board. The pencil marks are hard to see in the picture, but there are markings at 4, 8, 12, 16, 20 and 24 inches.

Use a square to draw straight lines at each mark. 
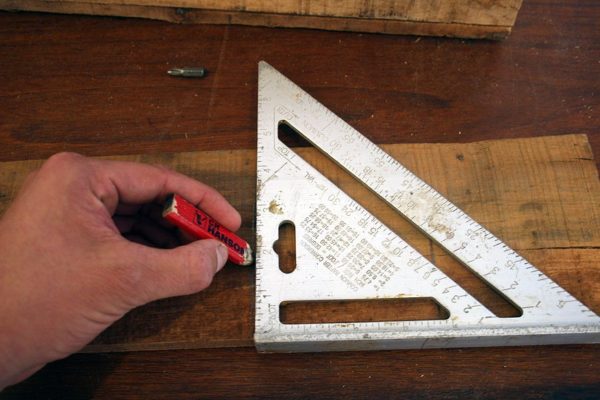
Step 19: Connecting the lines
With a piece of scrap wood, draw a straight line across the board that intersects the lines you just drew. Draw this line so that the lines intersect closer to one side of the board than the other as shown. 
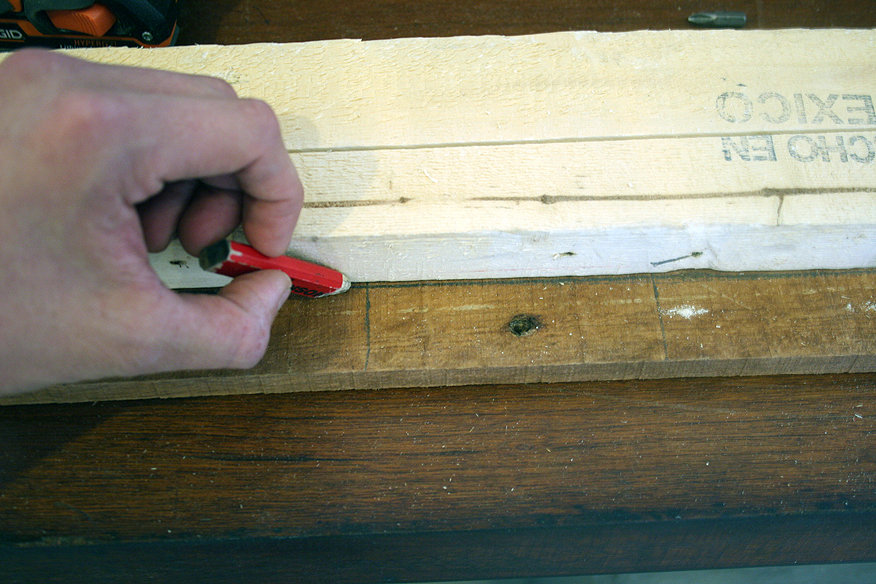
Where the lines intersect, drill a hole with a 3/8th drill bit. 

Step 20: Do for each hole
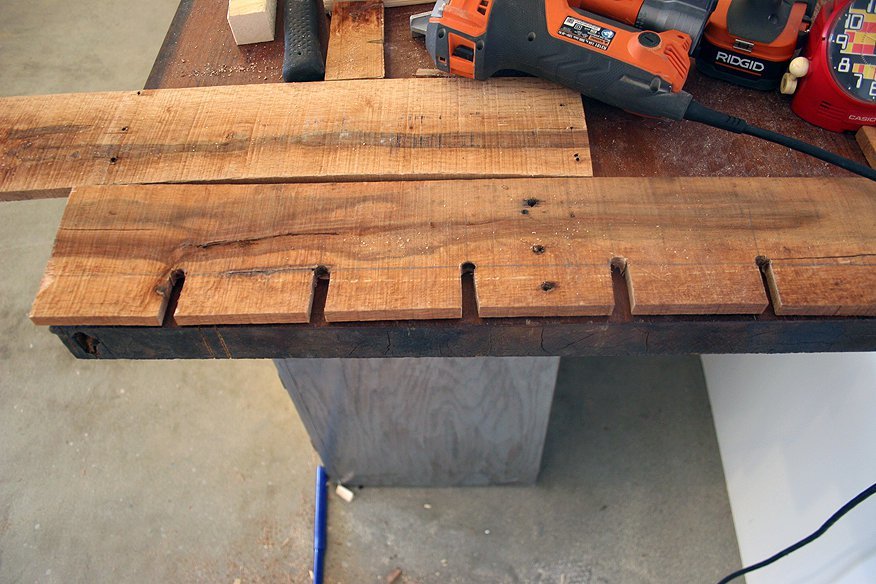
For each hole, use a piece of wood to draw a pair of straight lines that intersect the hole tangentially.

Cut along these lines with a saw. 


The wood between the lines should fall out if you cut it right. But if it does not, you can tap it out with a hammer and a screw. 

Do this for each hole.
Step 21: Affixing rim
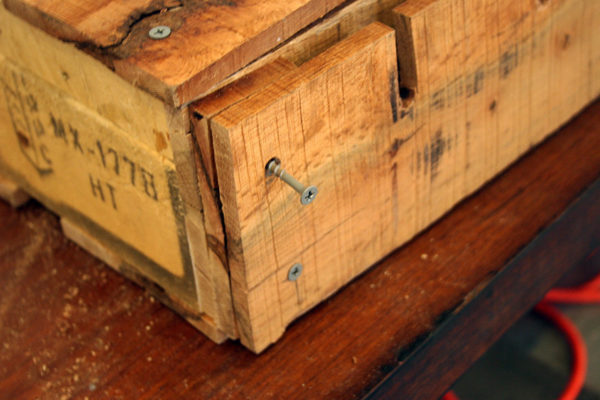
Drill two pilot holes through the spacer, the notched board and the bottom side rail. It’s easier to align the spacer if you place it on the bottom of the notched board when you’re drilling, as shown. Just make sure to remember that it’s going to go between the notched board and the wine rack when you fasten everything together. Also, make sure to avoid drilling your pilot holes where the screws are on the bottom of the wine rack!
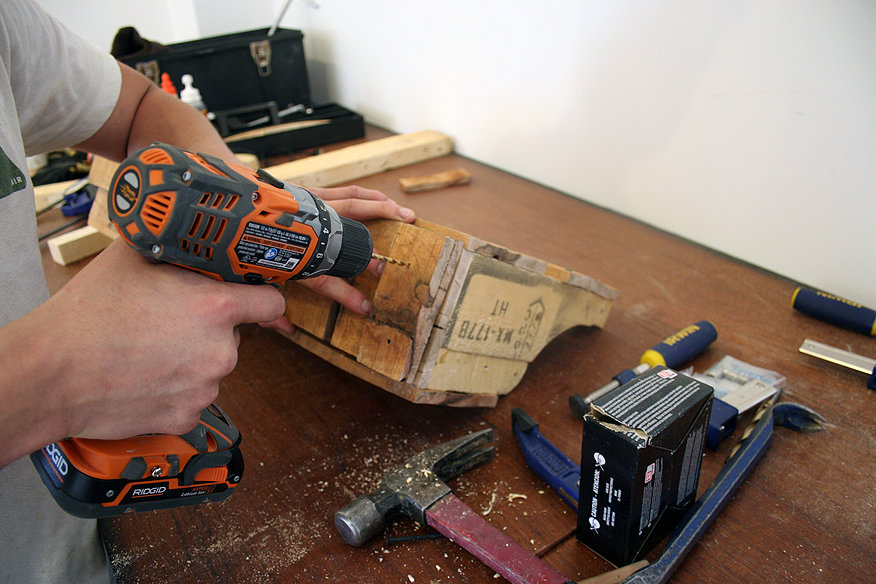
Step 22: Almost there
Fasten the stemware rack to the wine rack with two screws.
Step 23: Repeat and…SCENE!
Do this for both sides. You’re done! Now that you’re so proud of your new wine rack that you can hardly contain it, deceptively invite your friends over to “catch up over wine,” stand with them in front of your new rack and stroke your chin while taking an exceptionally long time to decide between the “Zin” and the “Rah.”


Be sure to like us on Facebook (button below) so you can be the first to know about latest project updates as well as great DIY articles.
Like this post?
Check out
Pin It so you can come back to it and follow us on Pinterest to get latest project pins.
Ready to build cool stuff with pallets? Check out our other DIY pallet posts!
Repurposed Furniture | Make A Wood Pallet Coffee Table
19 Cool Pallet Projects | Pallet Furniture and More
How to Know if a Pallet is Safe to Use
Free Wood Pallets – Where to get Pallets and Reclaimed Materials
DIY Smoker How To Build A Smokehouse From Pallets for Less than $100
Compost Bin DIY: Quick Pallet Project
Make a Pallet Workbench in Under 2 Hours
Pallet 101: Types, Standard Pallet Size and More
The Easy Way to Deconstruct a Pallet
Want more awesome DIY projects?
Join our mailing list and be the first to know about our newest ones.
(link is on the top right of the page for desktop users and on the bottom for mobile)


