
A DIY Hanging Daybed Plan For Outdoors
Spend spring time (or anytime) with an outdoor hanging daybed. Today's DIY teaches you to build your dream daybed for a relaxing siesta, and have it in style.
A DIY Hanging Daybed | Turning A Dream Into A Reality
This DIY hanging daybed is only a fraction of what it would normally cost if bought at retail. If you’re looking to save some dollars and get crafty with your backyard or front yard, then try this DIY!
Here’s what you’ll need to make the hanging daybed:
- Pine boards (1 x 6 x 8 and 1 x 4 x 8)
- Miter saw
- Jigsaw
- Carriage bolts
- Washers
- Nylon nuts
- Eyebolts
- Nylon nuts
- Fender washers
- S hooks
- Paint
- Chain
Step 1: Make A Template For The Footer
Sketch out your preferred design on a board and cut the template out using a saw. To make it easier, you can choose to sketch only half of the design.
Step 2: Trace Template On The Boards
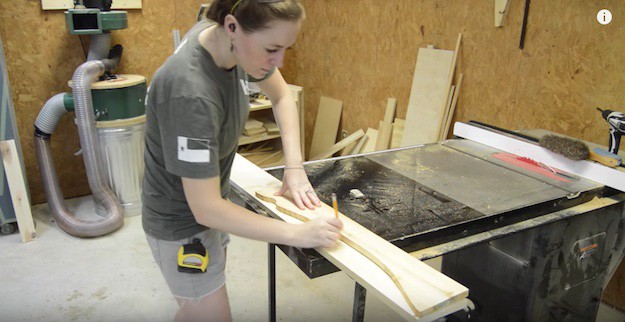
Once you’ve got a template, trace over it with a pencil on your board. If you’ve only sketched and cut out half of your template design, simply flip it over to the other side when marking for the other half.
Step 3: Cut Bottom Supports To Size
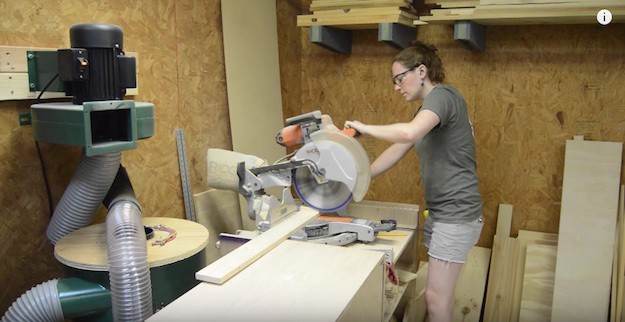
You’ll need a total of 5 bottom supports for the hanging daybed. Cut them to length using a miter saw.
Step 4: Drill In Pocket Holes
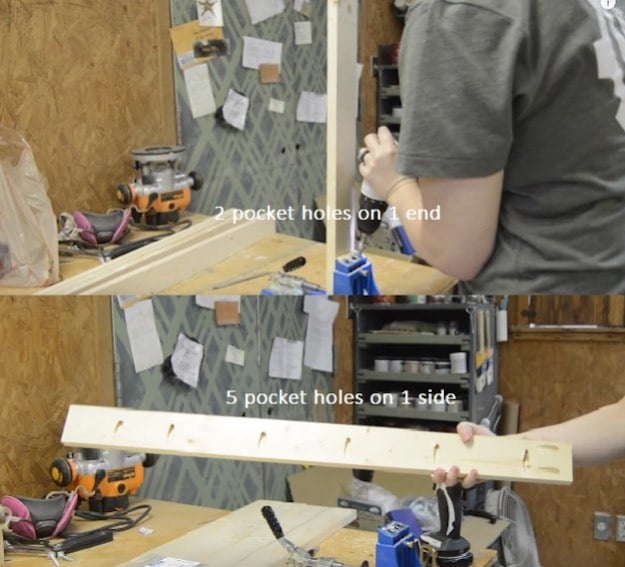
Once you have the bottom supports cut to your preferred length, drill 2 pocket holes on 1 end of each board. Aside from this, you’d also want to drill 5 pocket holes on 1 side.
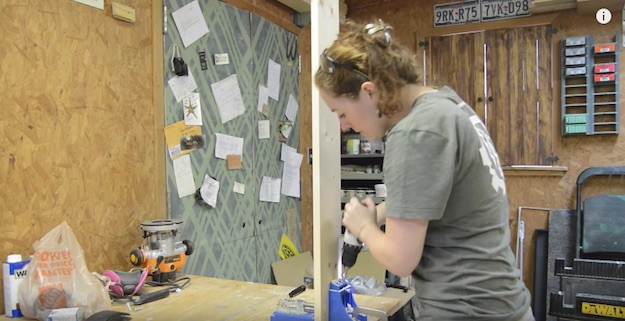
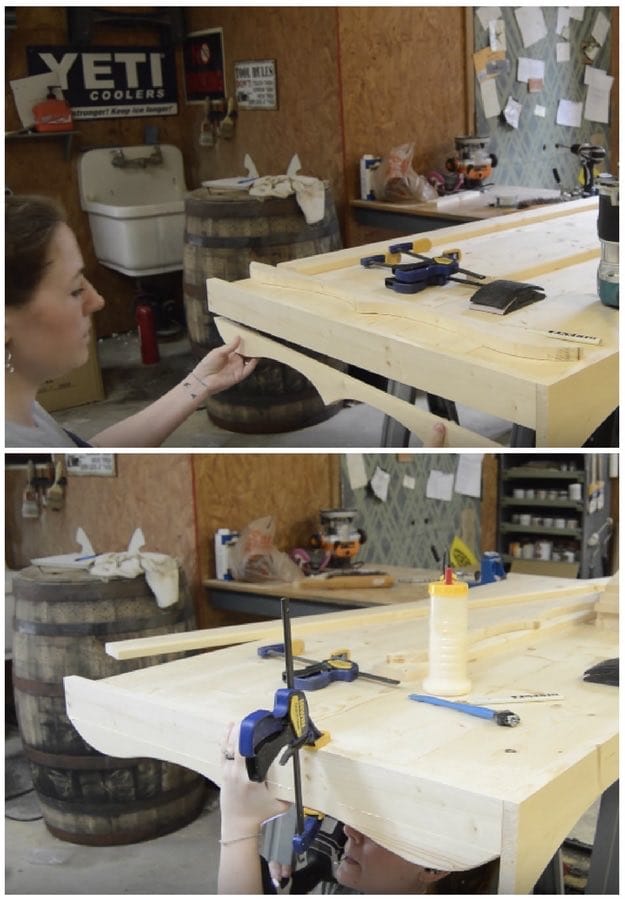
Step 5: Attach Supports To The Footer
Place 2 of the supports on either end of the footer and screw these in place. Before you place the remaining 3 supports, clamp a board in place for an easier mount and attachment.
Step 6: Prep Deck Pieces
Cut 5 deck pieces to your desired length and drill in 3 pocket holes in each end. This tutorial used a length of 1”x6” for the deck pieces.
Step 7: Attach Deck Pieces
Take your deck pieces and attach them to the daybed’s frame. Start by drilling screws on one side. Then, drill into the center supports. Finally, drill the screws on the opposite side. Repeat this until all 5 deck pieces are attached to the frame.
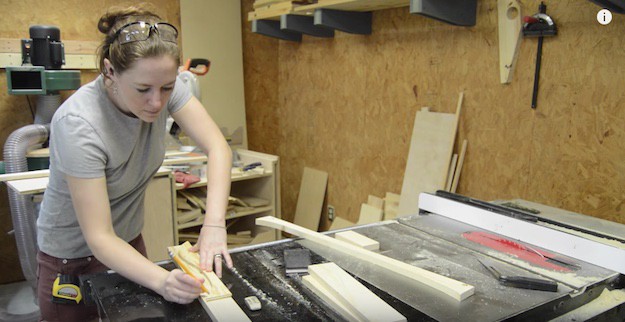
Step 8: Cut The Side Supports
Cut out your side supports from the 1×4 board using a miter saw. You’ll want 7 pieces measuring 21” each. Then cut them down to about 1 1/2” with a table saw.
Step 9: Strengthen Side Supports
Take your 7 side supports and group them into 2 — one with 4 pieces and another with 3 pieces. Of the group with 4 pieces, take 2 side supports and apply wood glue on one side. Then, place them on top of the remaining 2 side supports without glue. Clamp down on these pieces to help them stick together as they fully dry.
Step 10: Cut Out Rails And Stiles
While waiting for the strengthened side supports, you can proceed with cutting out the rails and stiles. Cut out 2 rails for the top and bottom of the daybed. Once you’re done, cut the stiles or vertical slats. You’ll need about 15 pieces of stiles.
Step 11: Round Out The Edges
Round out the edges of your stiles using a router with a round over bit. You can do the same to the front of the footer as well.
Step 12: Sketch Out The Side
Similar to steps 1 and 2, sketch out a template design for the side, and cut it out. Trace it over a board, then, flip it over for a symmetrical piece.
Step 13: Cut And Attach The Side To The Frame
Cut the sketch made in step 12 and attach it to the side of the frame with the help of pocket holes. If you’d like, you can also grab a jigsaw, and cut out a few edges of the footer to reduce the sharpness of some lines.
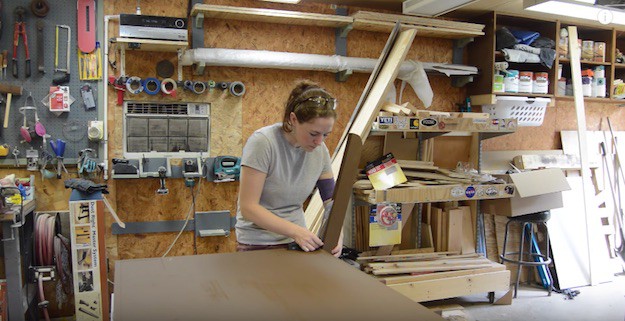
Step 14: Paint Wooden Pieces
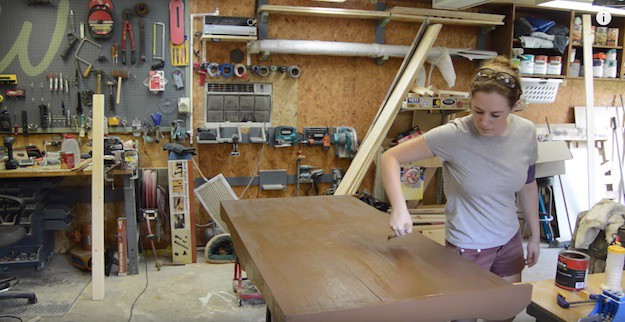
Before you resume assembling the daybed, layer on a few coats of paint. Remember to paint the entire frame, the back supports, as well as the rails and stiles.
Step 15: Check The Angle
Using an angle finder, grab one of the arms you’ve cut earlier and look for a preferred angle on which to set the arm with. The angle finder will help you match this angle to the other pieces.
Step 16: Attach Back Supports
Use a drill press to make a 1/4” hole. Then, clamp the back support in place and drill screws onto the bottom support. Finish off by attaching a carriage bolt, flat washer, and a nylon net. Repeat the step on the other side.
Step 17: Prep Stiles For Rails
Start by drilling pocket holes on each side of the stiles. Once you’re done, attach the stiles on the rails.
Step 18: Attach Back Support To Stiles
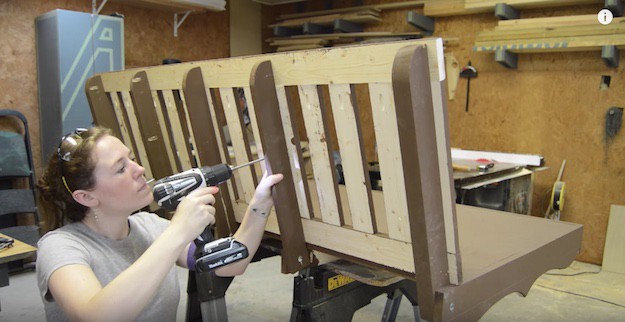
Place 3 pocket holes on the back supports to help drill the screws in place. Don’t forget to space out the back support in such a way that they won’t be seen from the front of the daybed.
Step 19: Cut Out Armrest
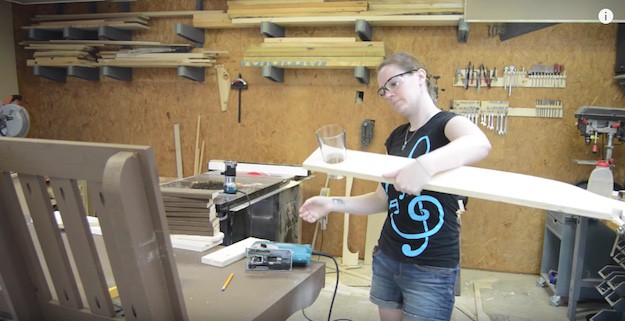
Sketch out how you’d want your armrest to look like and cut this out using a jigsaw. If you’d like, you can also cut out a hole on the armrest to make for a nifty cup holder.
Step 20: Assemble Arms
Cut out more slats to place under the armrest you’ve just made. Use a pocket hole to attach the armrest to the back and then keep everything in place by drilling pocket holes on both ends of the slats.
Step 21: Add More Support To The Arms
Add extra support to the arms by attaching a front piece. To do this, start by sketching out the front piece on a board, then cut it out with a jigsaw. Round off the edges, apply a coat of paint, and attach the piece in place using pocket holes.
Step 22: Attach The Front Eyebolts
Drill a hole in the front of the swing. Then, insert a nylon nut, followed by a fender washer. Once both are in place, insert the eyebolt. Don’t forget to place a fender washer and a nylon nut on the backside as well. Tighten to secure and ensure the eyebolt is vertical.
Step 23: Attach Carriage Bolt And Add Chain
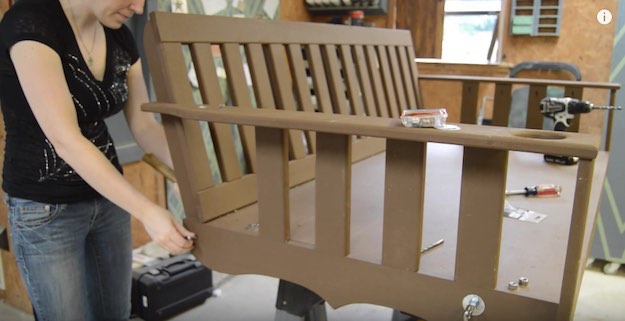
Attach a carriage bolt in the back part of the daybed. Add in the chain once you’re done.
Step 24: Drill Holes For Chains
Drill two holes on either side of the arms and insert the chains through. Finish off by using S hooks to help link the chains together.
Step 25: Add Cushions
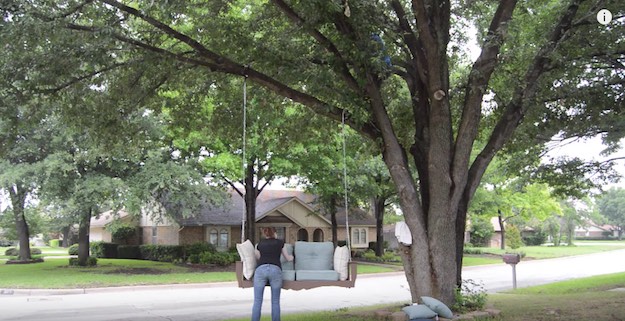
Make the hanging daybed more lounge-worthy by placing a few cushions on the bottom and along the sides. It’ll make a huge difference in terms of comfort.
And there you have it!
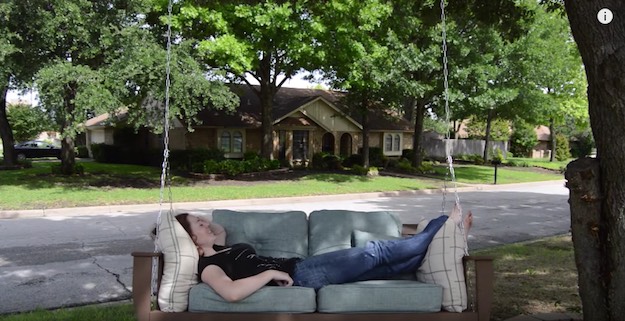
Now you have your very own hanging daybed to display and use in your backyard.
Press play below for the full video tutorial of the hanging daybed:
I hope this hanging daybed gives you more reasons to spend extra time out on the patio, especially during this Spring season. After all, it’d be a waste not to soak up some sun and bask in the beautiful weather this Spring!
Did you like this hanging daybed DIY? Let us know in the comments below!
Want more DIY projects? Here are some perfect for the Spring!
Stay connected with us on Facebook, Twitter, Pinterest, and Instagram!