A DIY abstract cabinet hack from Bunnings
The latest research from Bunnings has revealed that more and more Aussies are turning to upcycling to help their dollar stretch further and to create something that nobody else owns. According to Bunnings, 59% of Aussies have turned to upcycling and in doing so have saved themselves an average of $576 by breathing new life into old furniture.
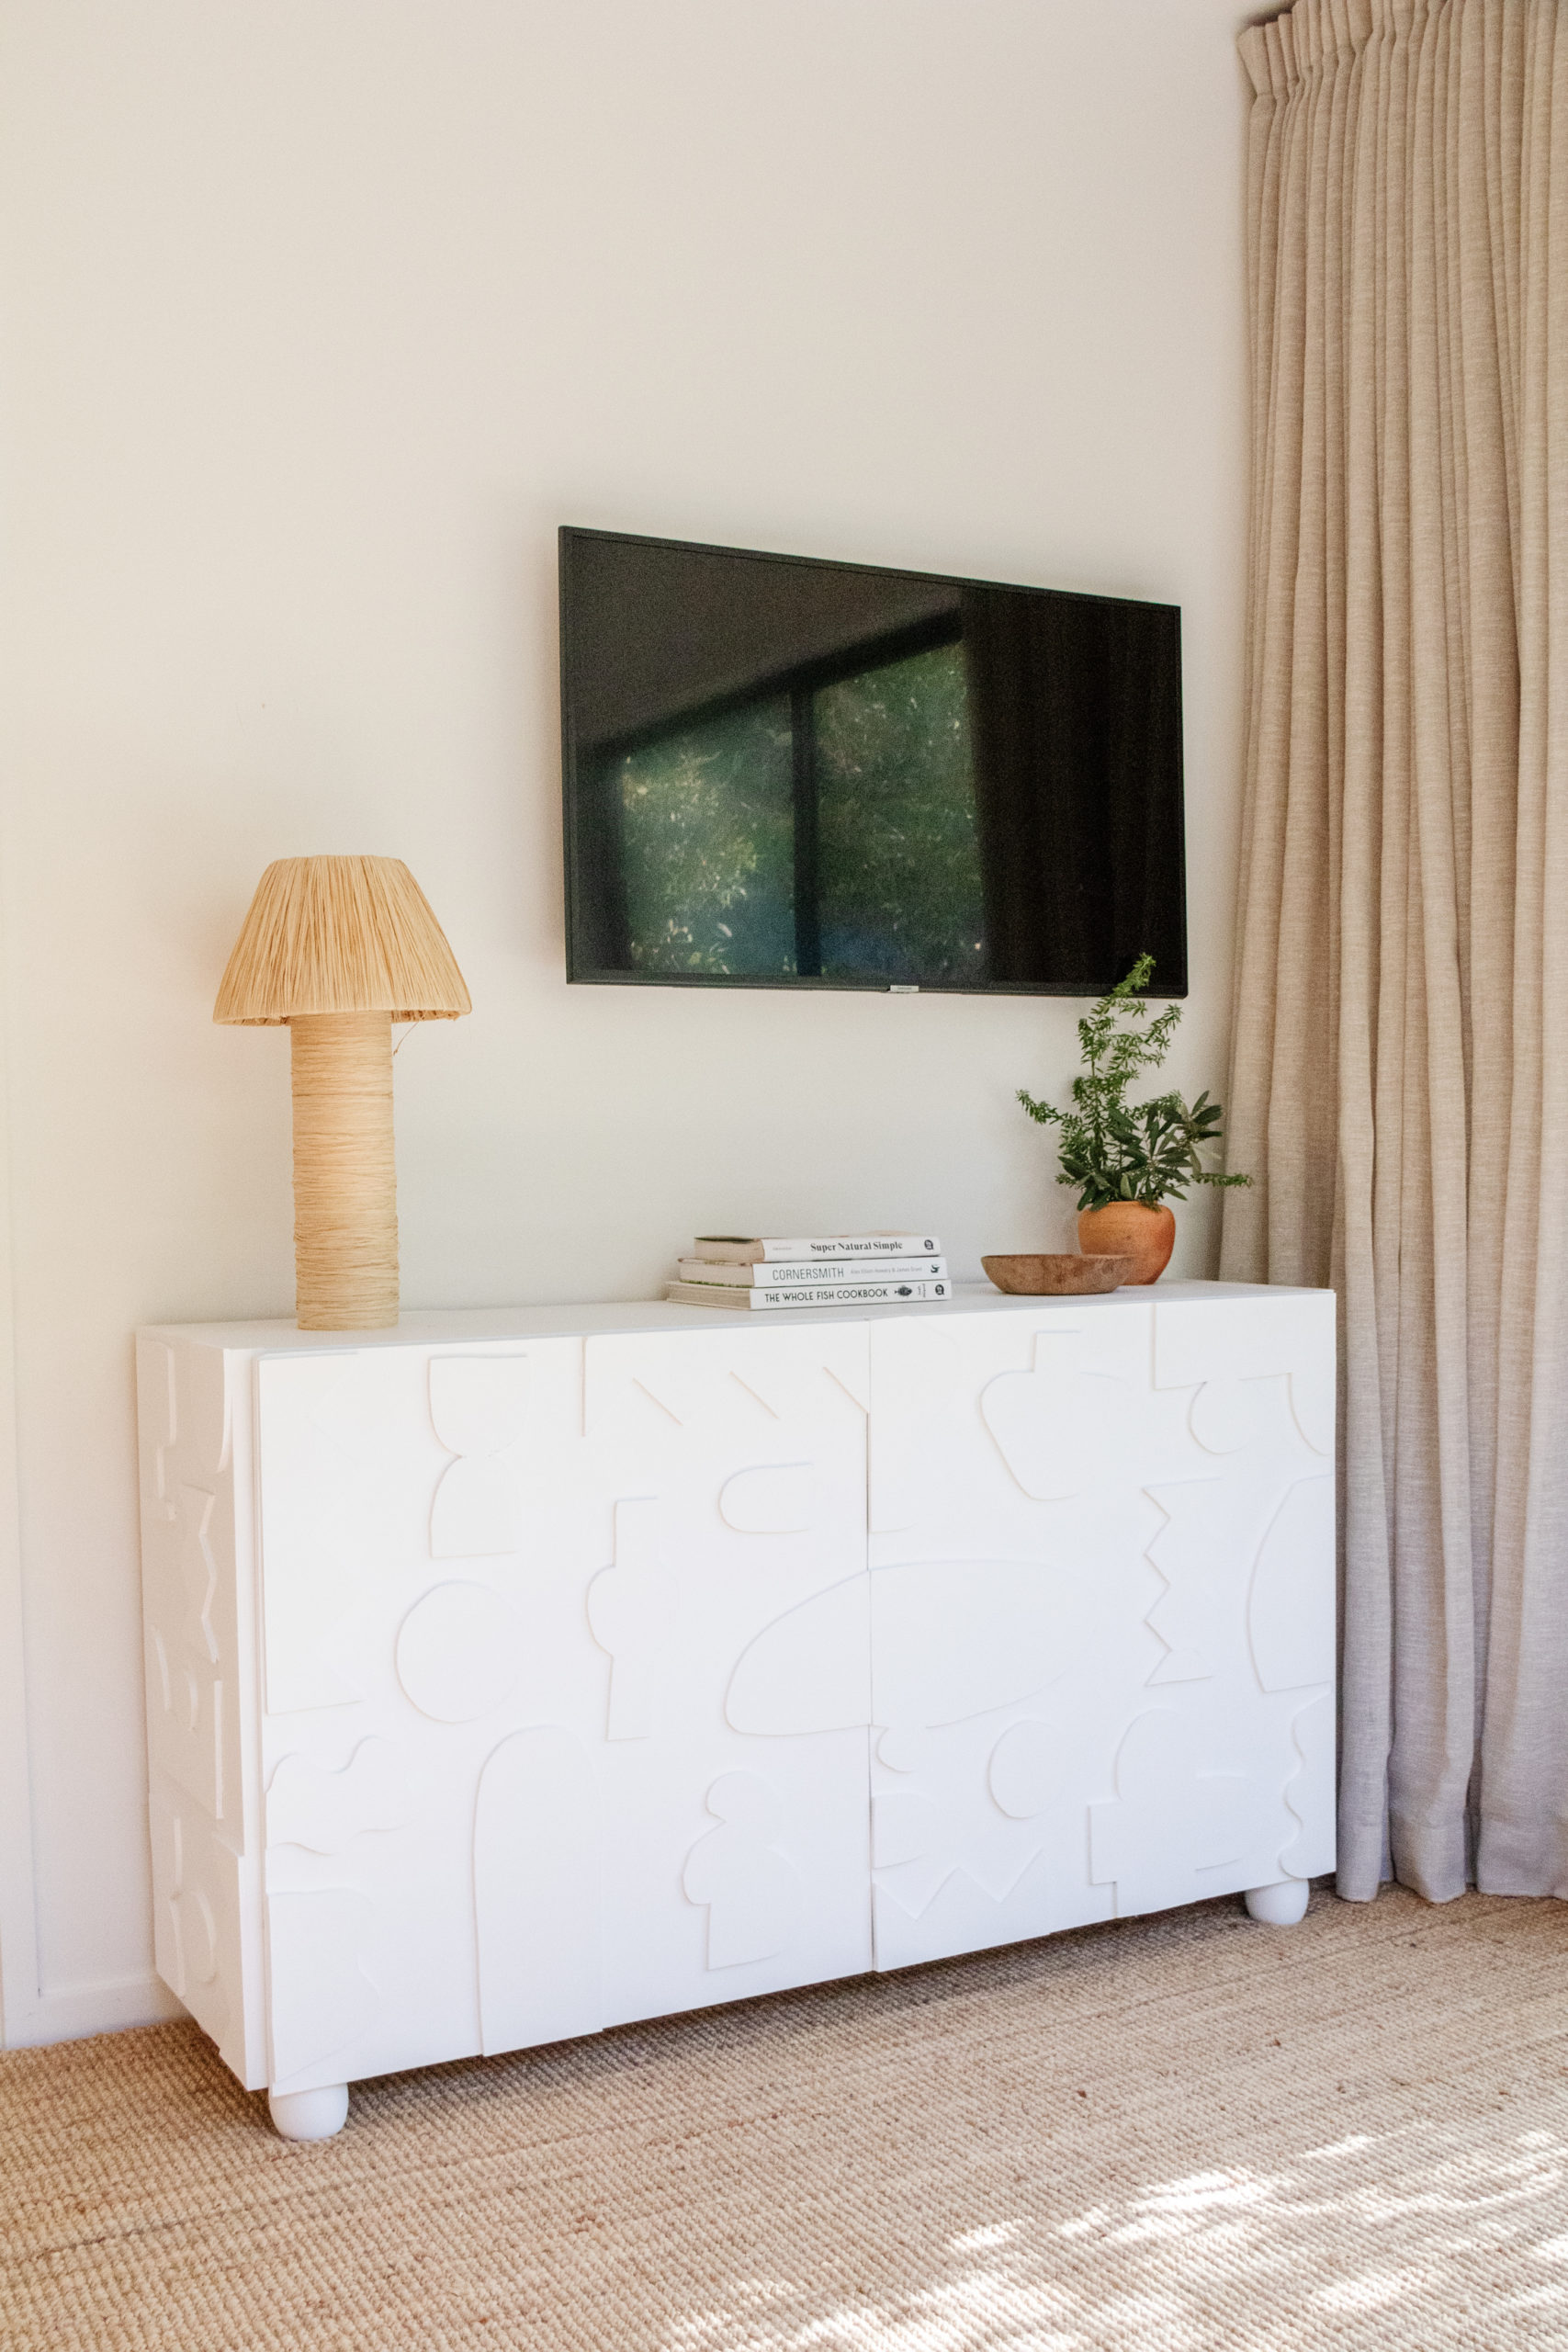
We’ve long celebrated the virtues of upcycling and today’s cabinet hack, by Jaharn Quinn, is another fabulous DIY project that you could tackle in a weekend. Combining a storage cube unit with MDF, glue and paint, here is Jaharn’s step by step guide to help you create a one-of-a-kind sideboard.
Materials
- Storage cube
- Measuring tape
- Melamine white MDF panel cut to size to enclose the back of the cabinet
- Staple gun
- Premium plywood pine cut to size for the two cabinet doors using Bunnings cutting service
- 2 x Kaboodle soft close hinges
- Pencil
- 4 x Pine ball furniture legs
- Selley’s Liquid Nails
- Painter’s Tape
- Zinsser B-I-N primer sealer
- 1L Dulux Lexicon Quarter white exterior paint
I used a drill with different sized multi-purpose drill bits, hammer, jigsaw, clamps, screw driver, rollers, paint tray, paint brushes and sander for this project.
How-to
1. Begin by assembling the cube storage – this should take about 10 to 15 minutes. If you click on the product link above you’ll find assembly instructions. Next, measure the width and height of the cabinet, and divide this into two to get the measurements for the two cabinet doors.
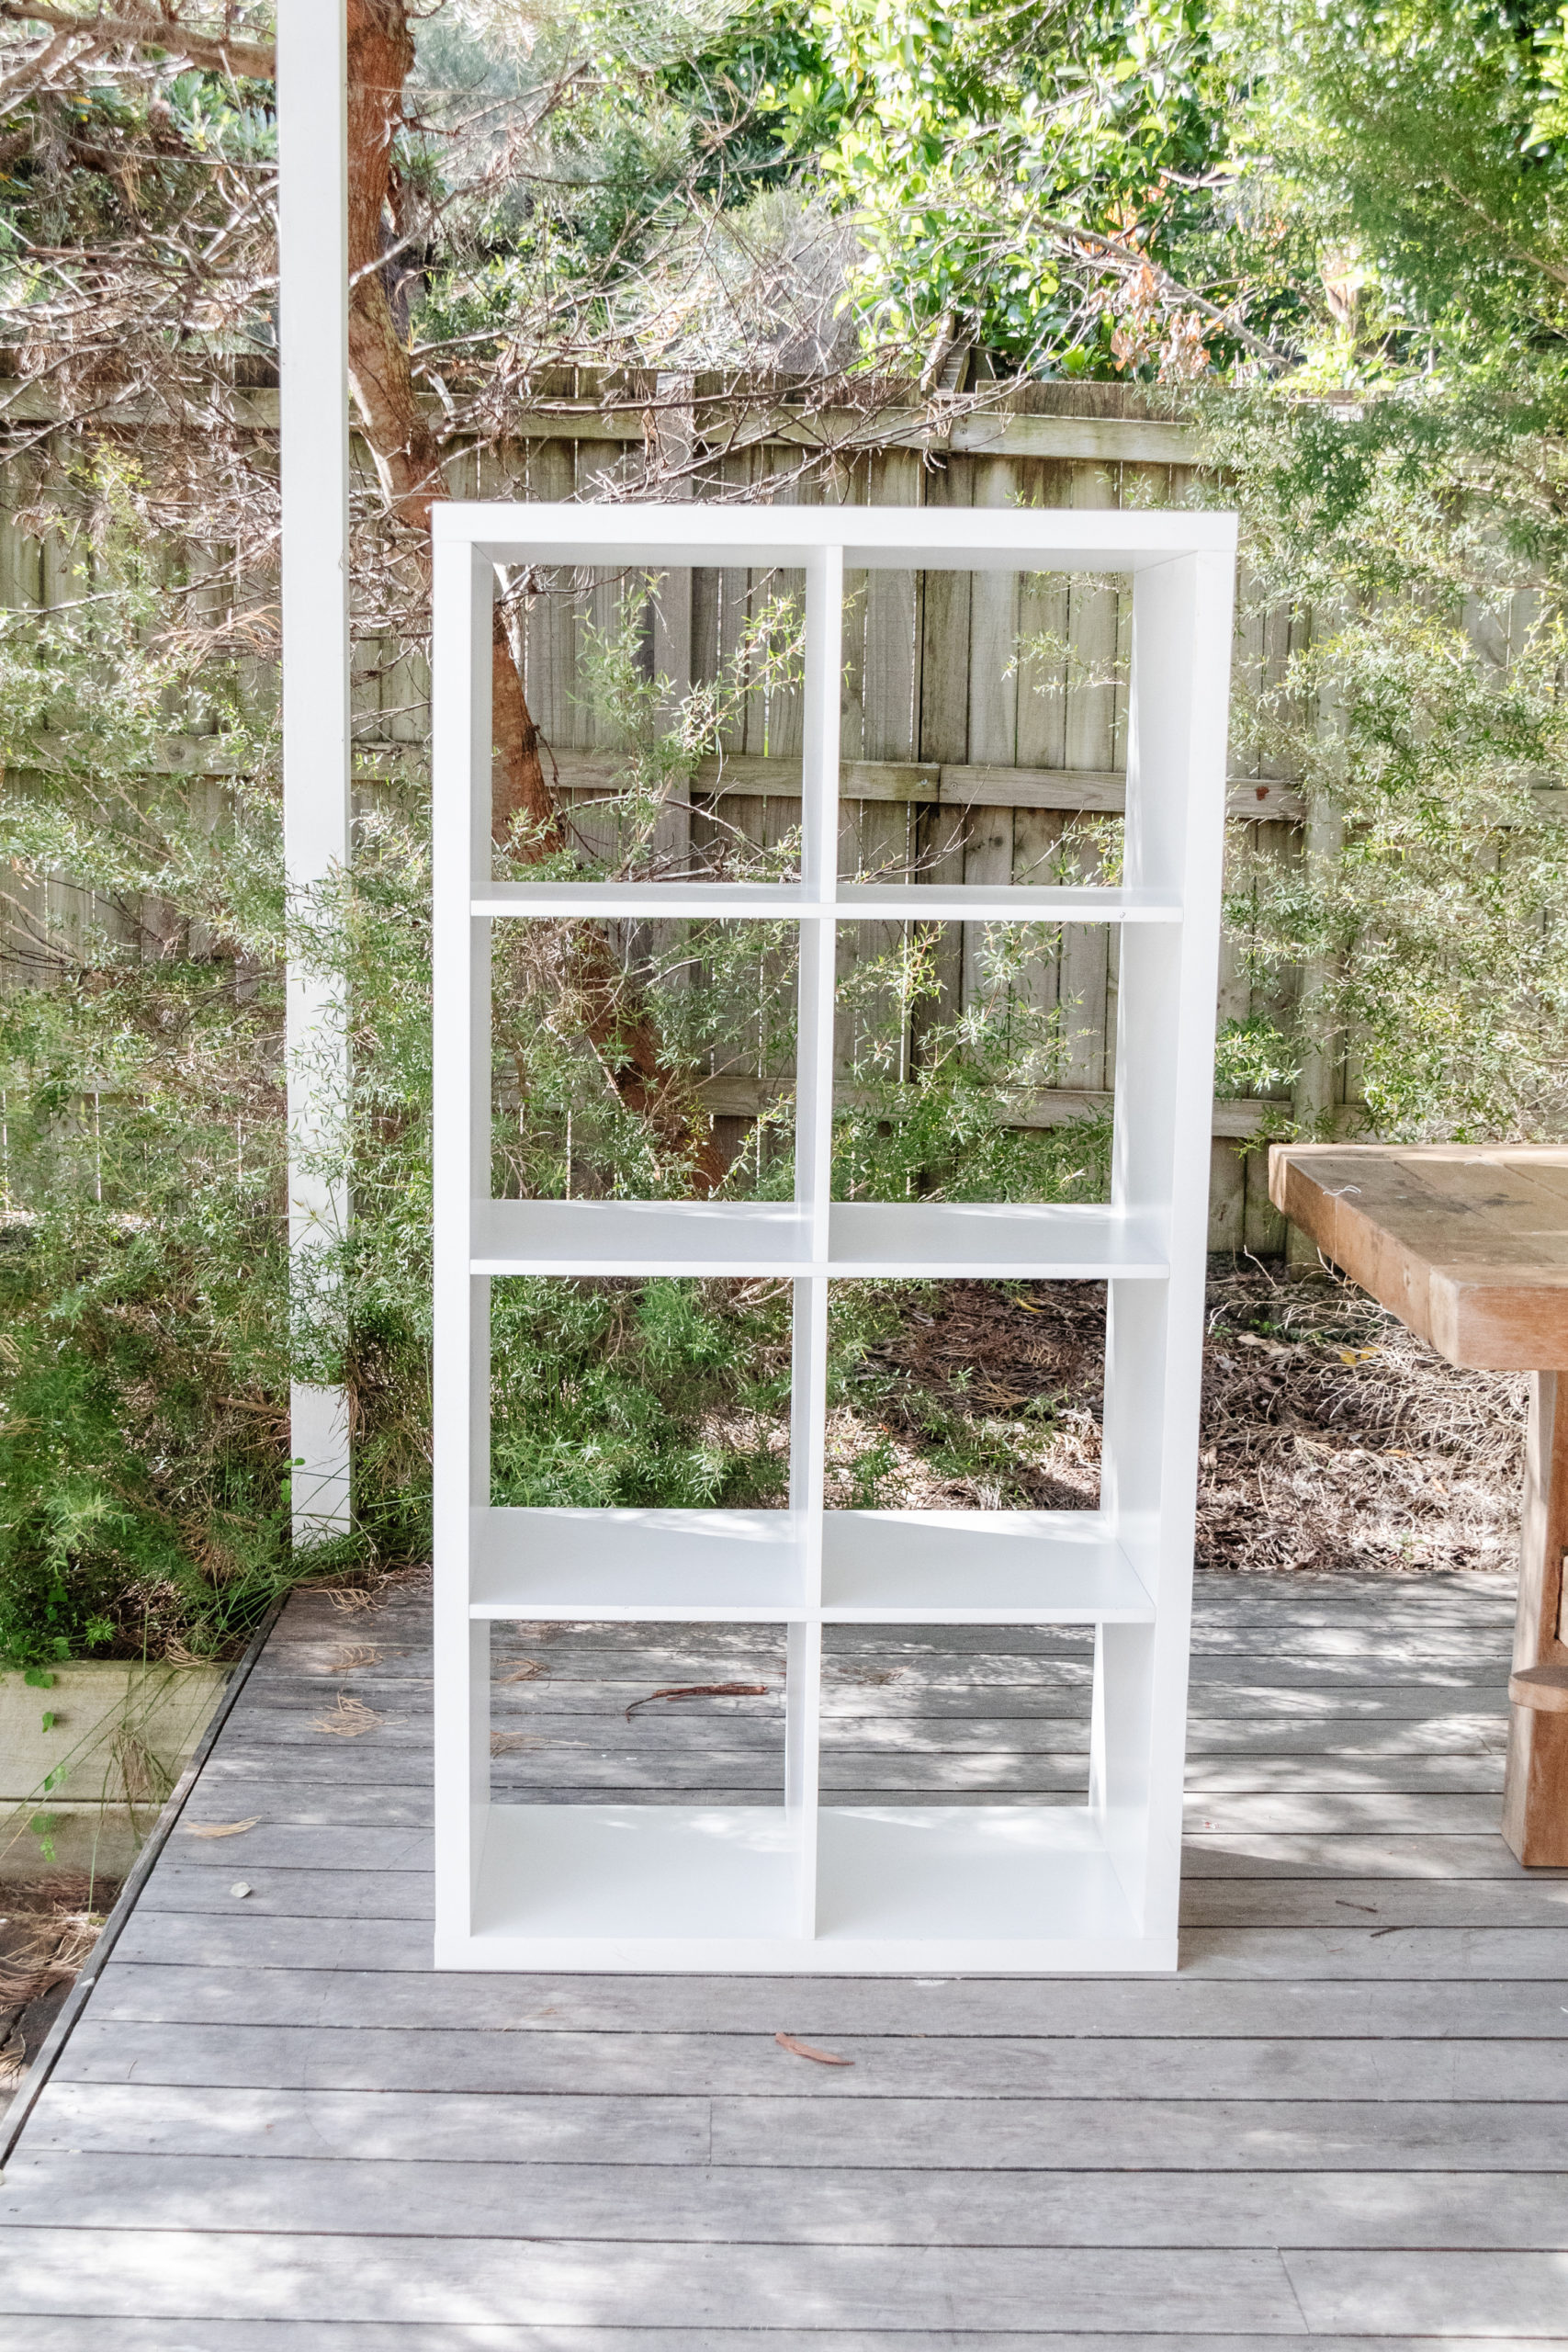
2. Head to Bunnings, pick up your melamine white MDF panel and premium plywood pine, and get the cabinet doors and the melamine MDF cut to size.
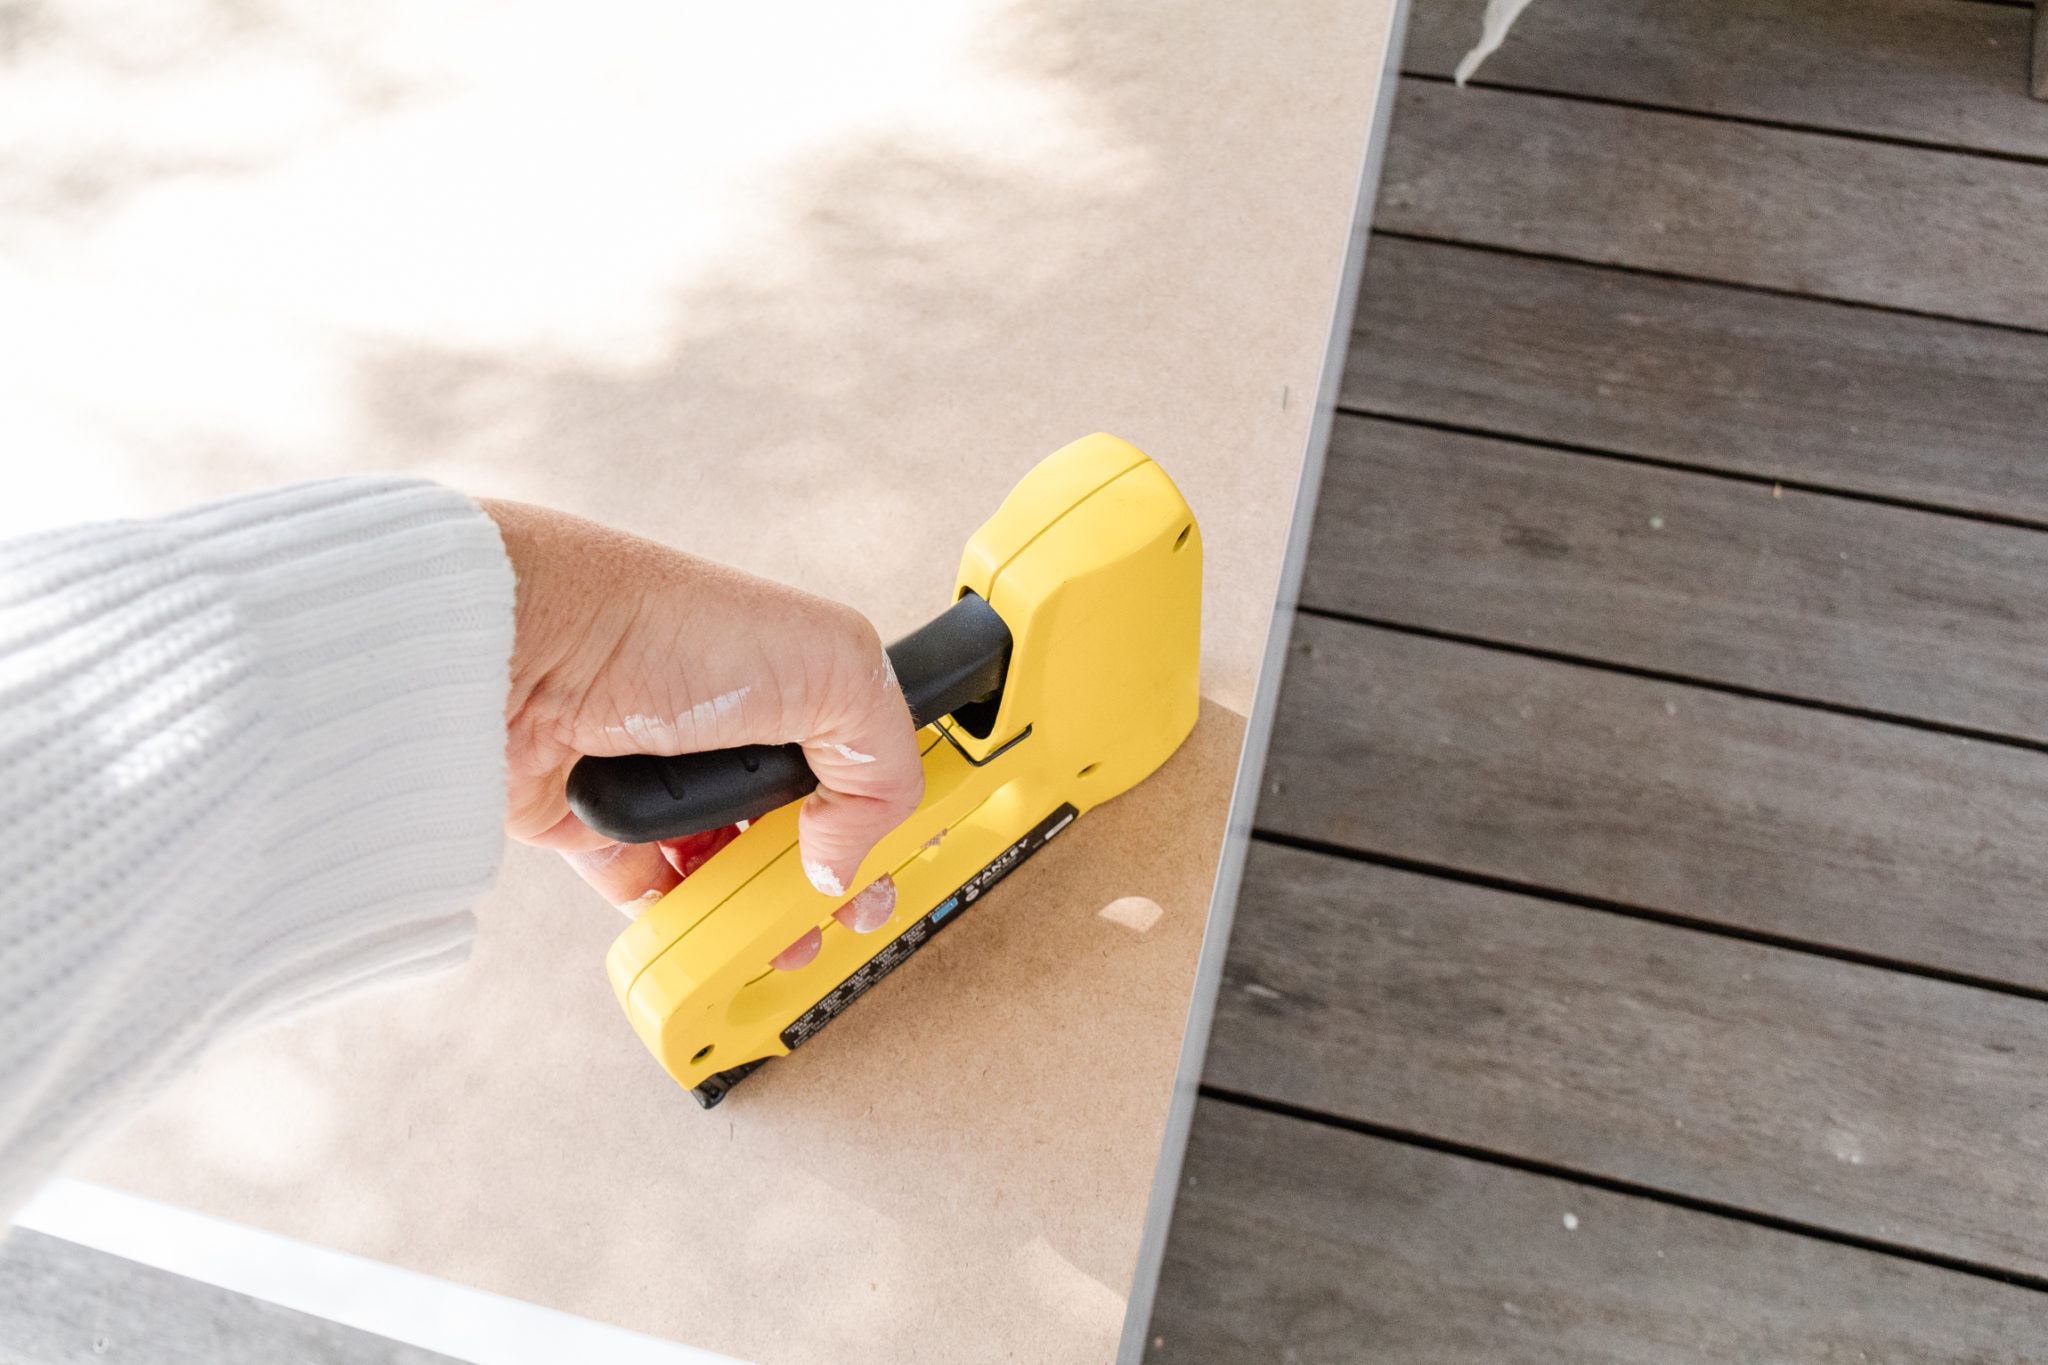
3. When you get home, attach the melamine MDF (white side facing in) to the back of the storage cube using the staple gun. Paint the cabinet doors and when they are dry, lift the storage cube onto your work surface and place it onto its side.
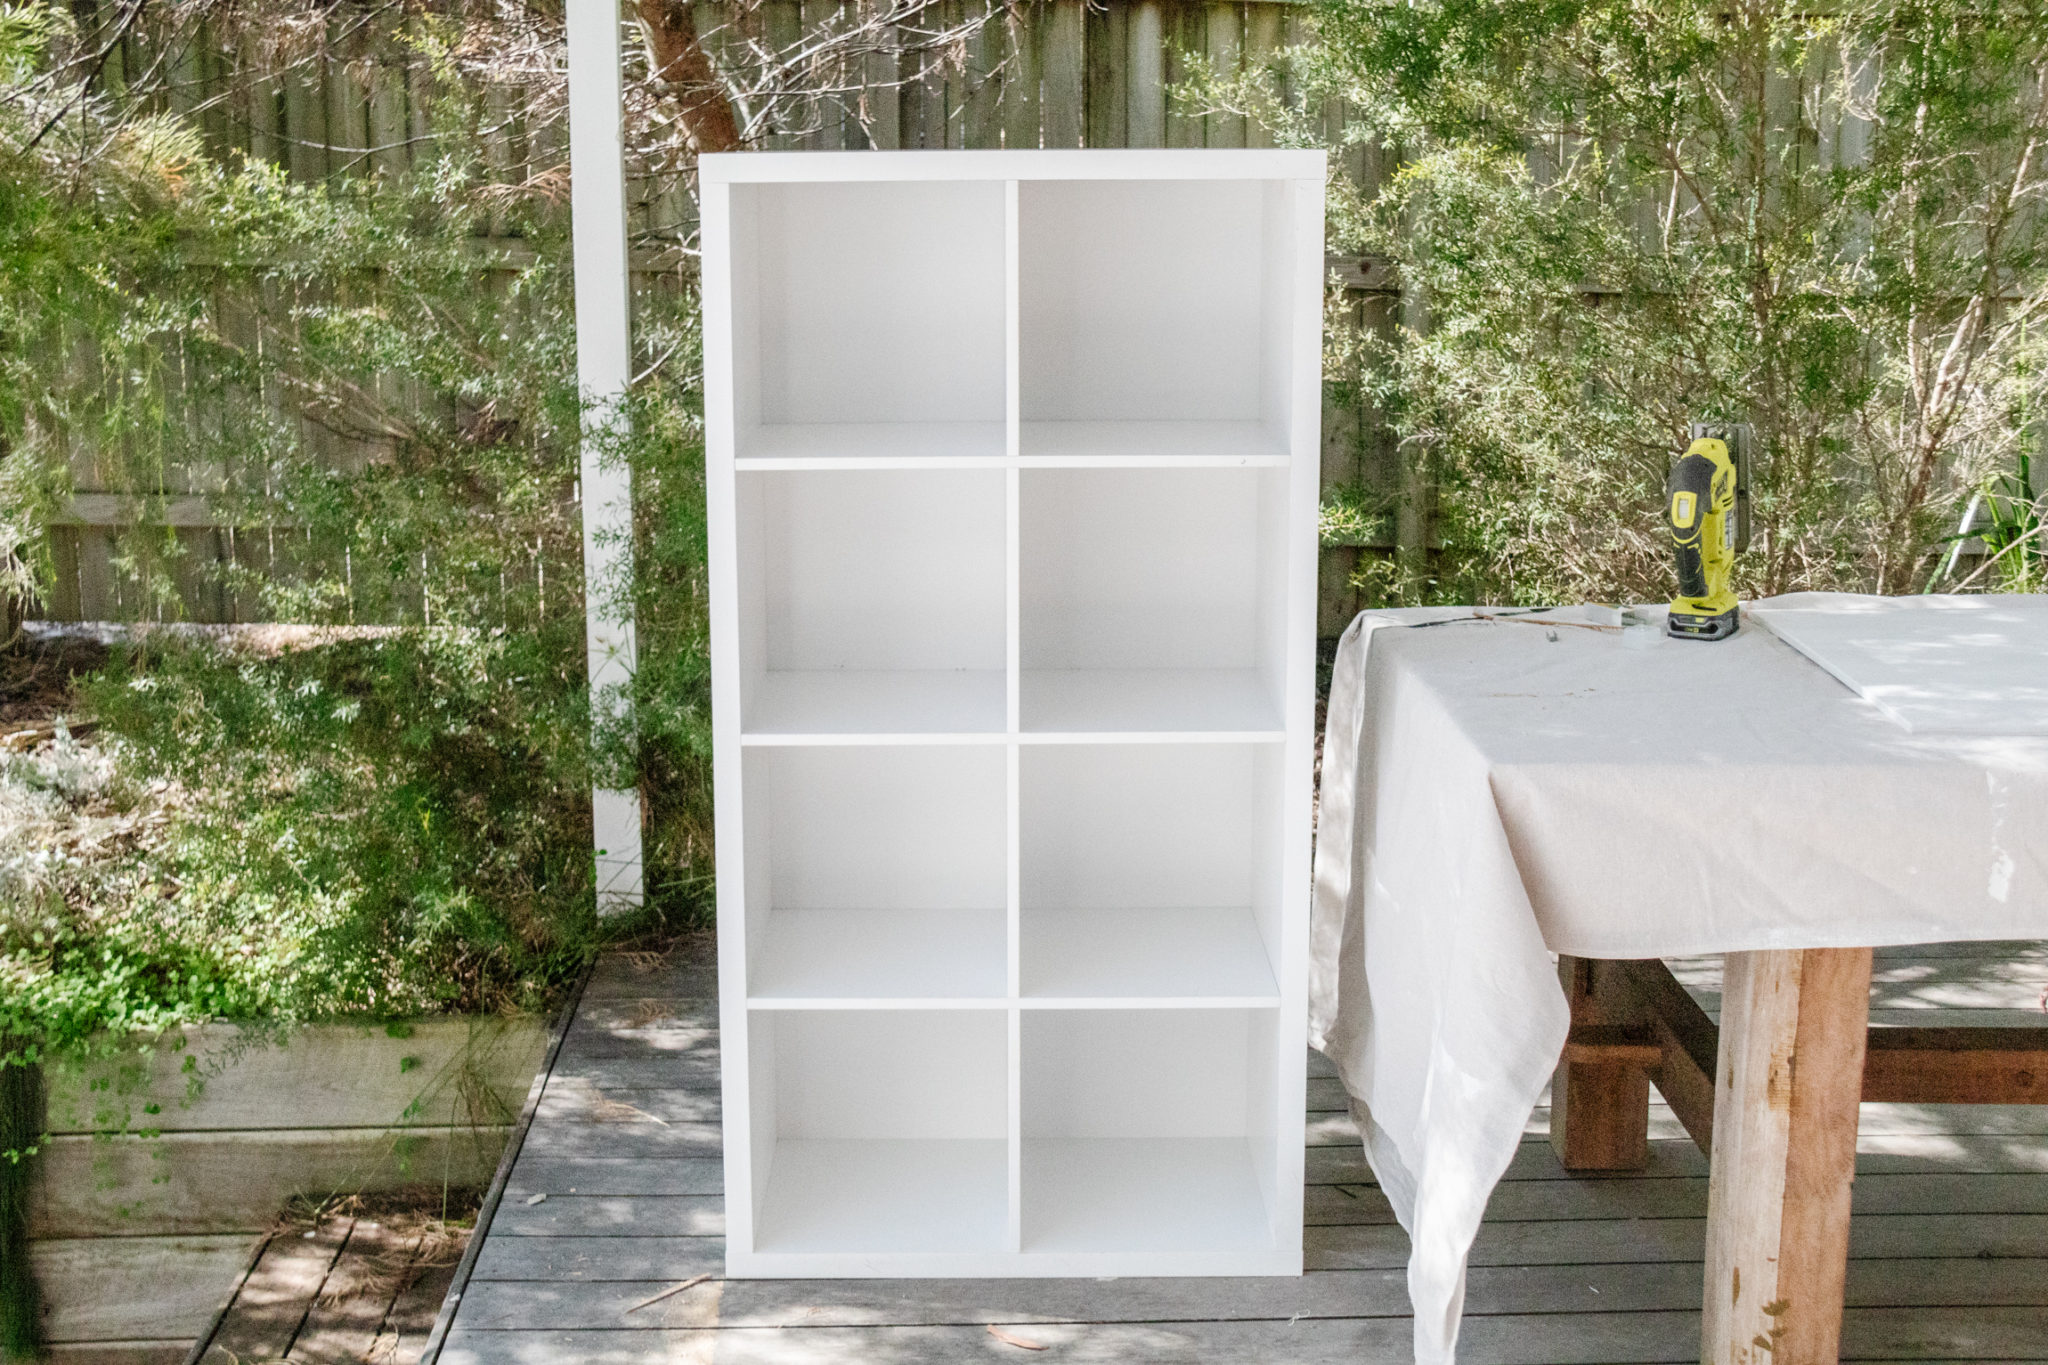
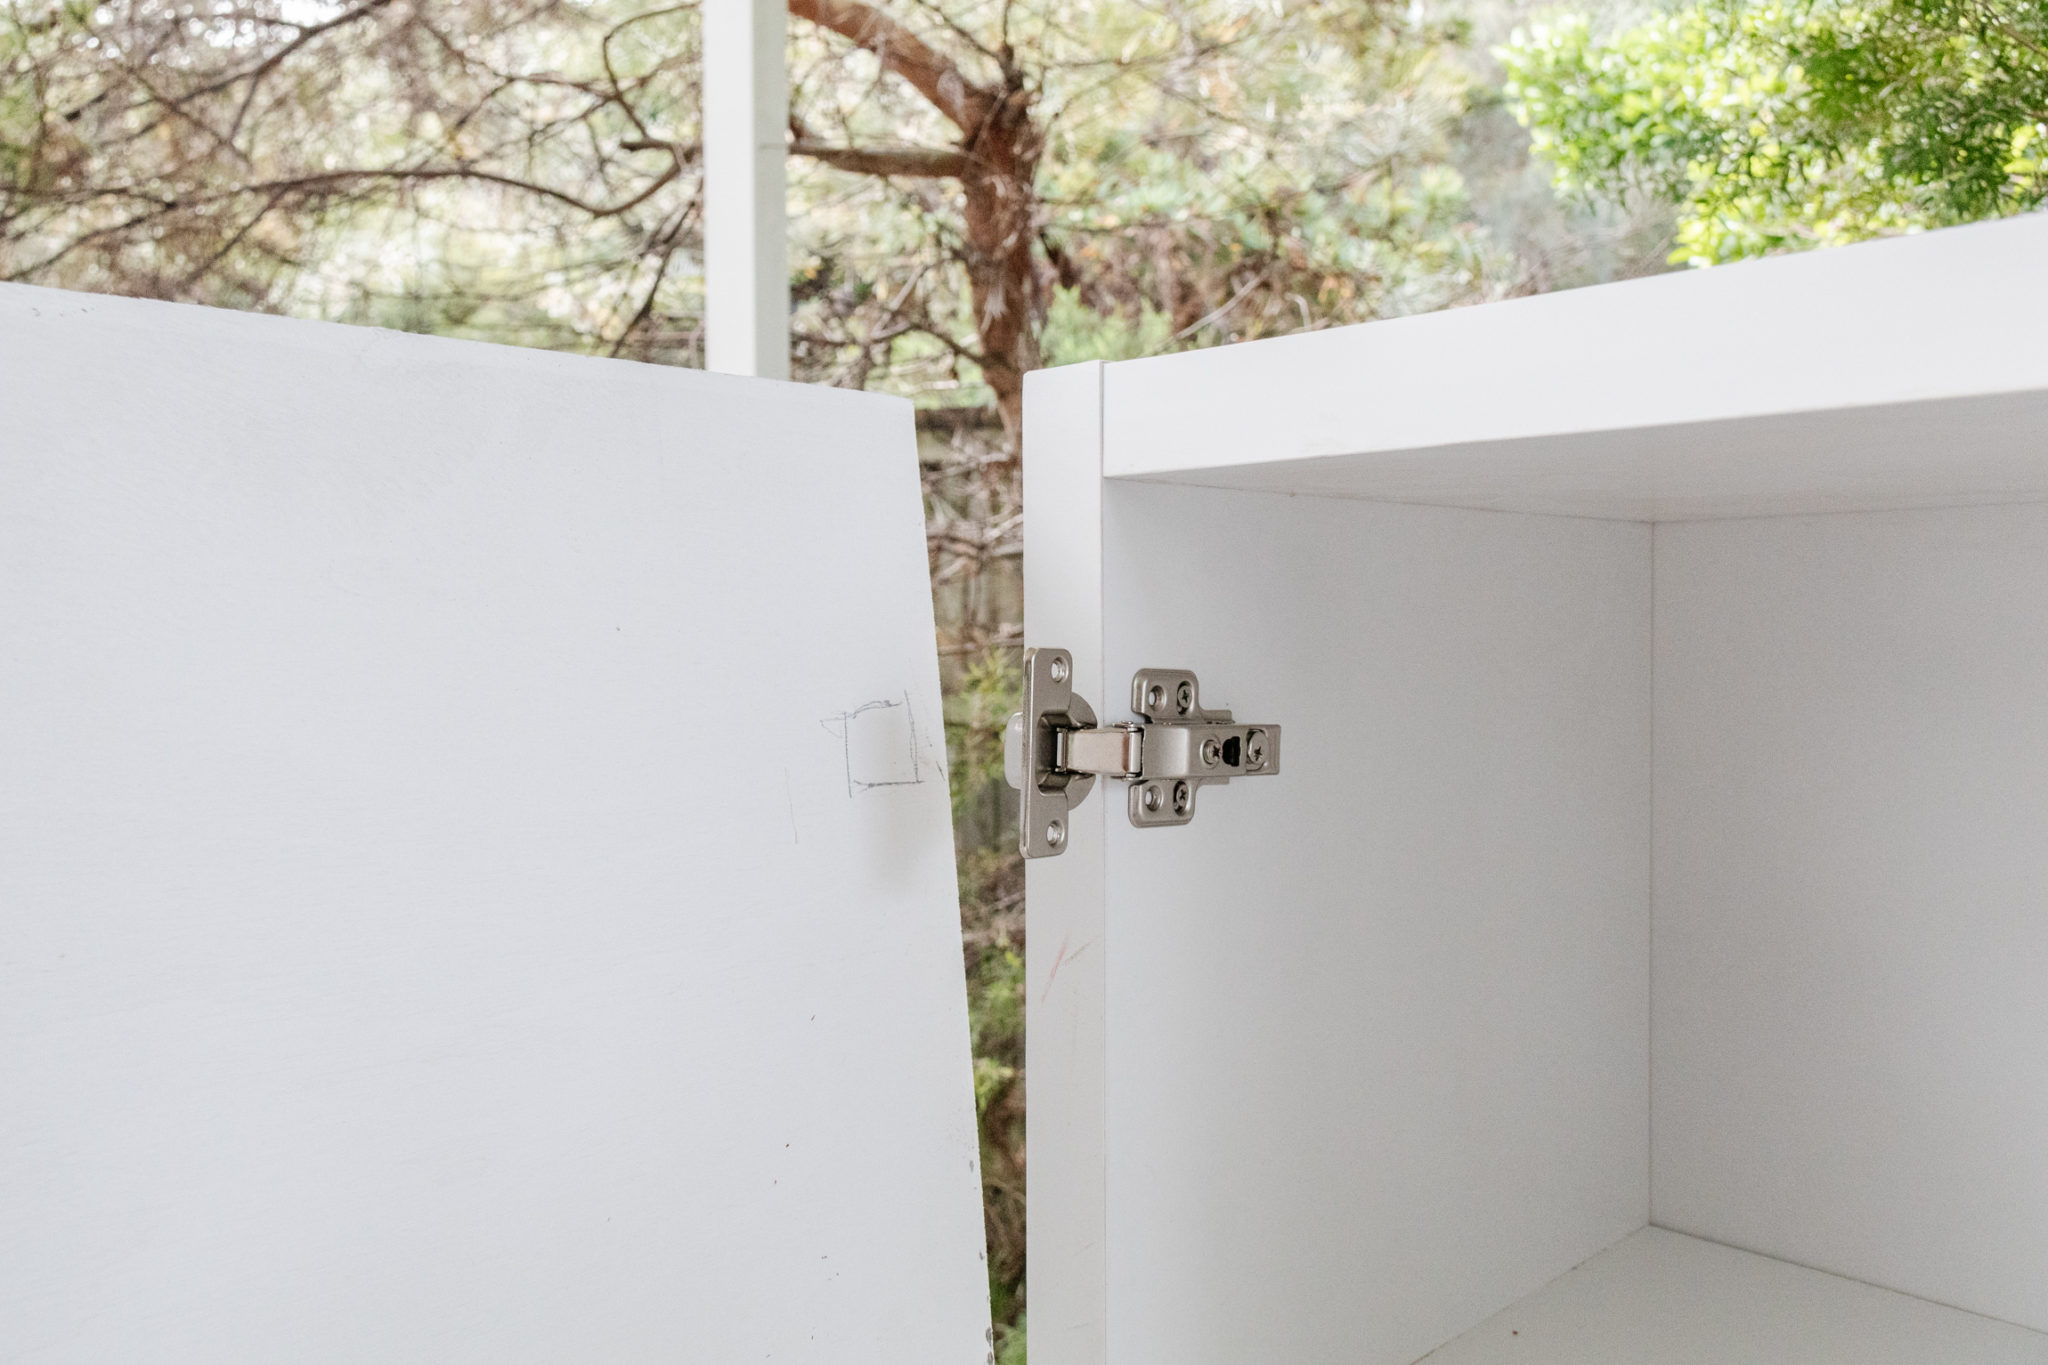
4. Attach the hinges to the storage cube and cabinet doors using these instructions from Bunnings. The only difference is that the cabinet doors in this video already have a hole cut out in them, so you will need to do this yourself. Use a pencil to mark where you need to cut a hole. Use a drill to make lots of small holes and then use a hammer to bang the plywood out. If this is a little confusing, head over to my Instagram to see how I did it. Use a screwdriver to lift or drop the doors down, or to pull them left or right. The Kaboodle hinges are incredible, and you will now have a fully fledged cabinet!
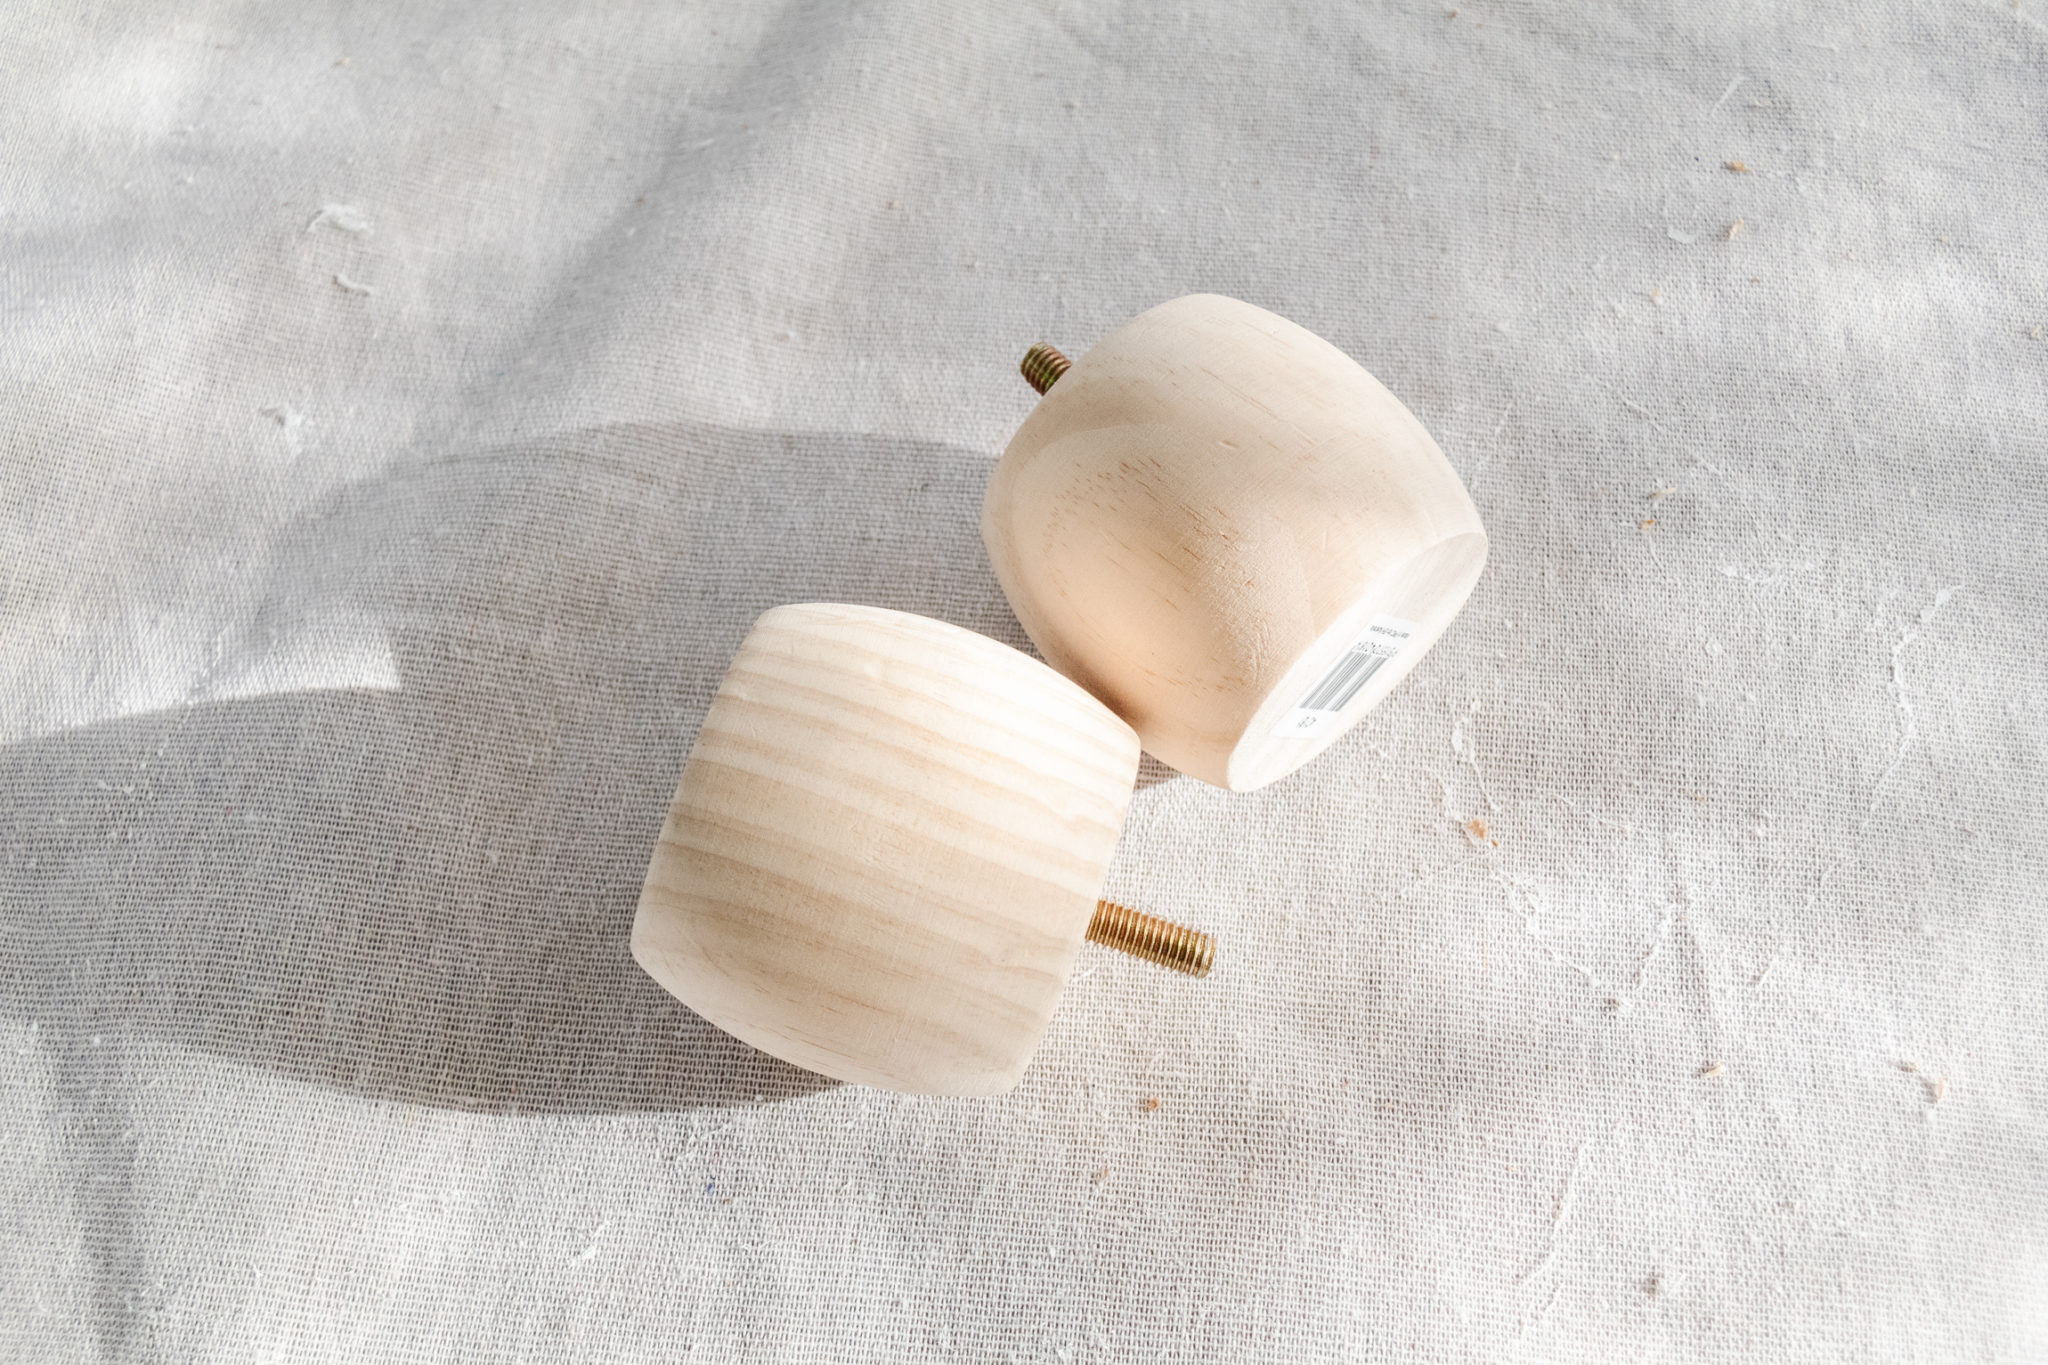
5. Attach the furniture legs onto the underside of your new cabinet using a drill. If you find the legs are a little loose, use Selley’s Liquid Nails and let it dry overnight.
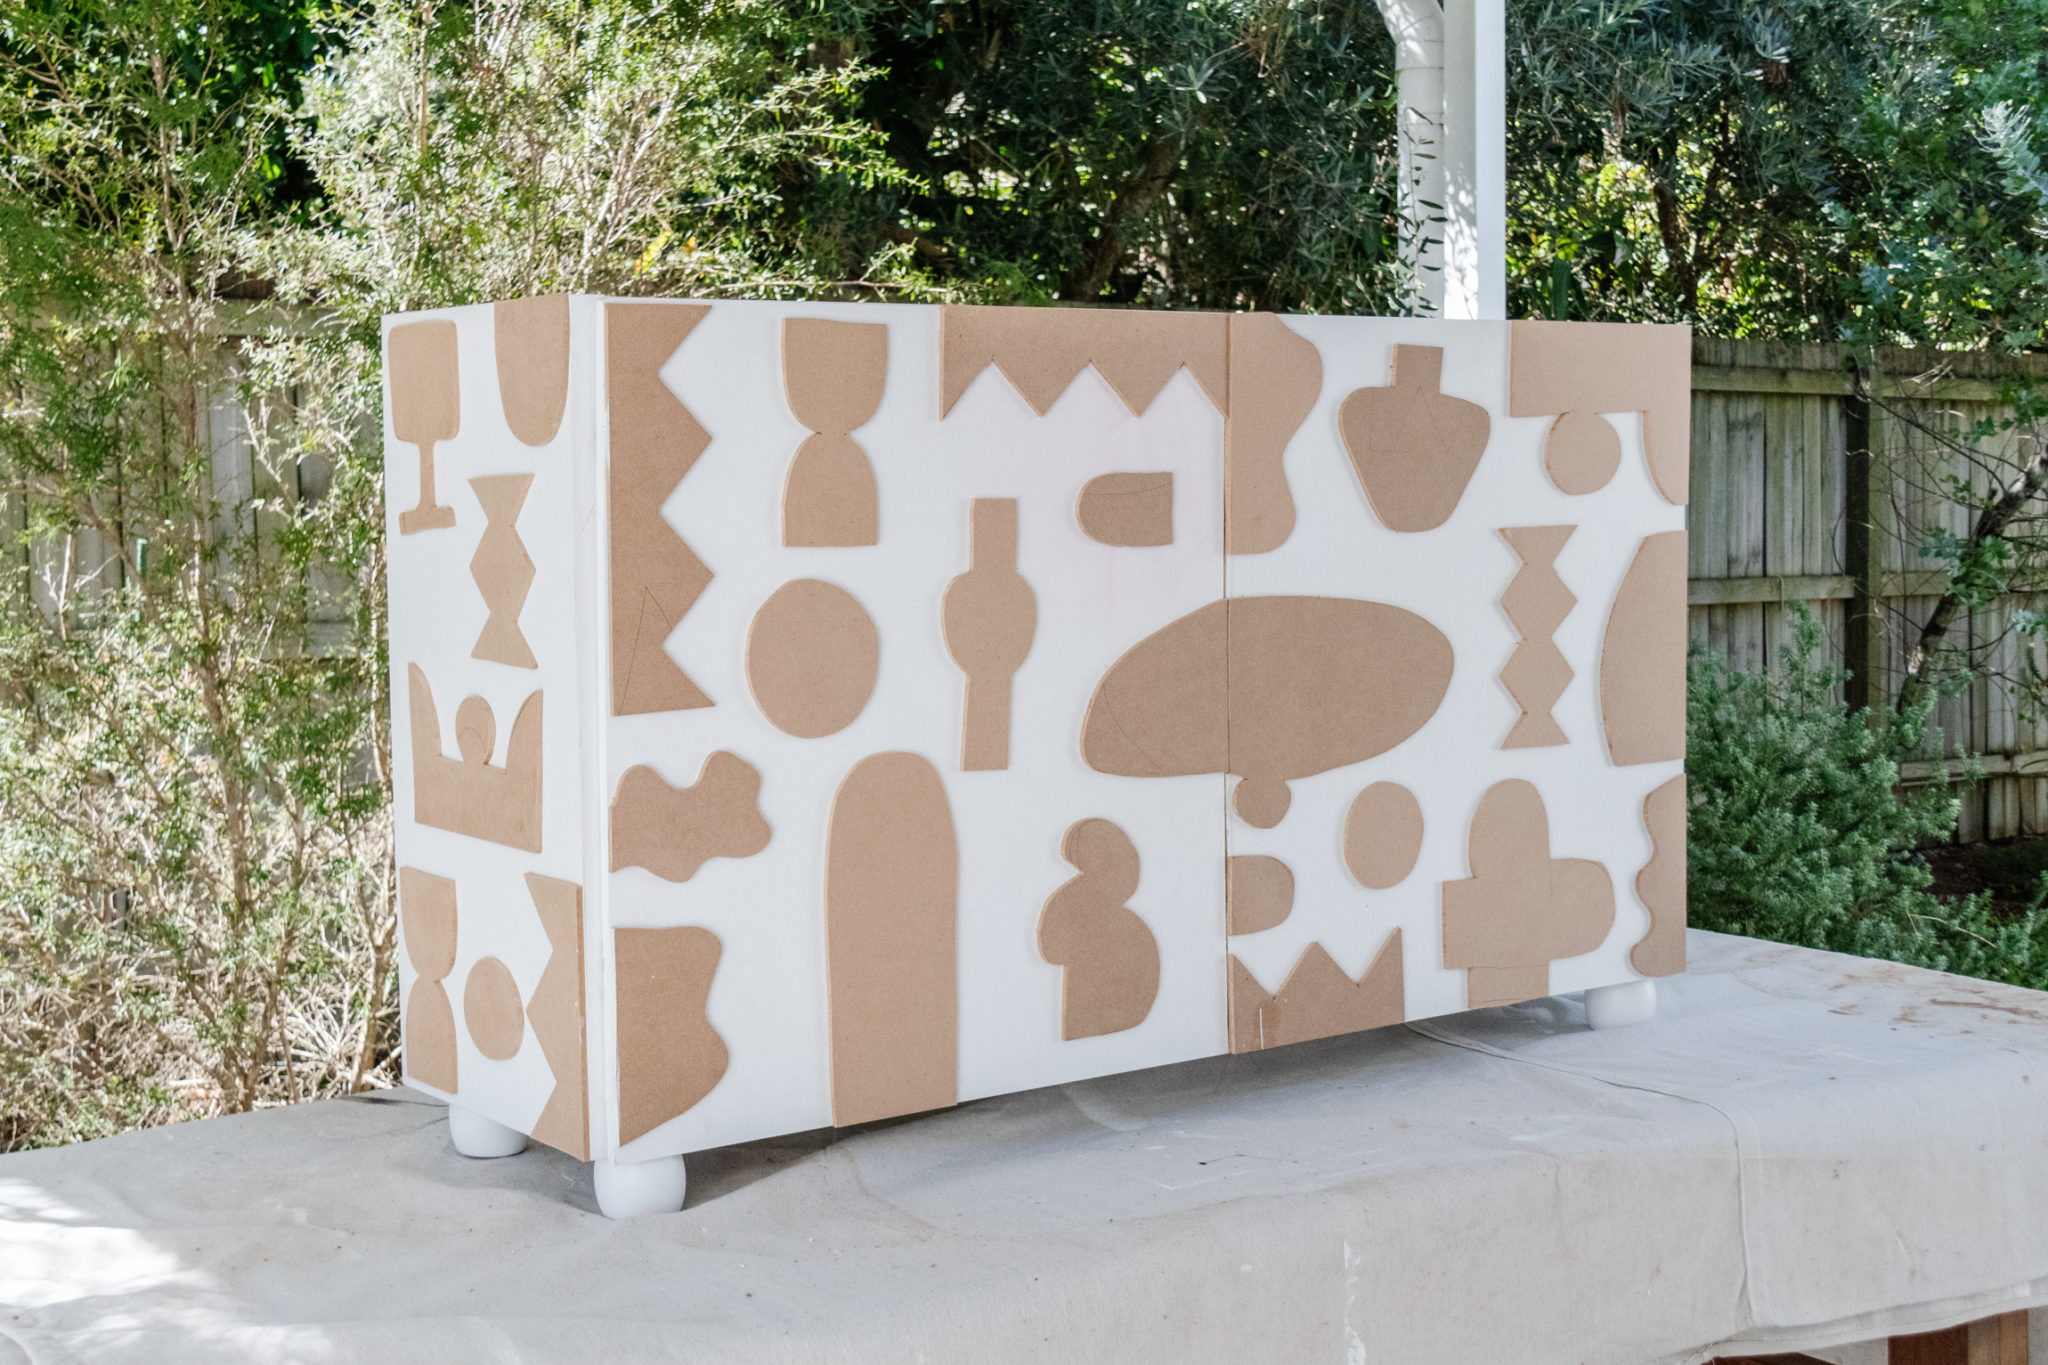
6. Using a pen, draw the outline of a range of various abstract shapes and cut them out using a jigsaw. Smooth the edges down using a sander. Position the abstract shapes onto the cabinet and glue them down using Selley’s Liquid Nails. The shapes may slip on the sides of the cabinet so use painter’s tape to hold them into place, and let the glue dry overnight. When the glue has dried, paint the furniture legs before standing the cabinet upright.
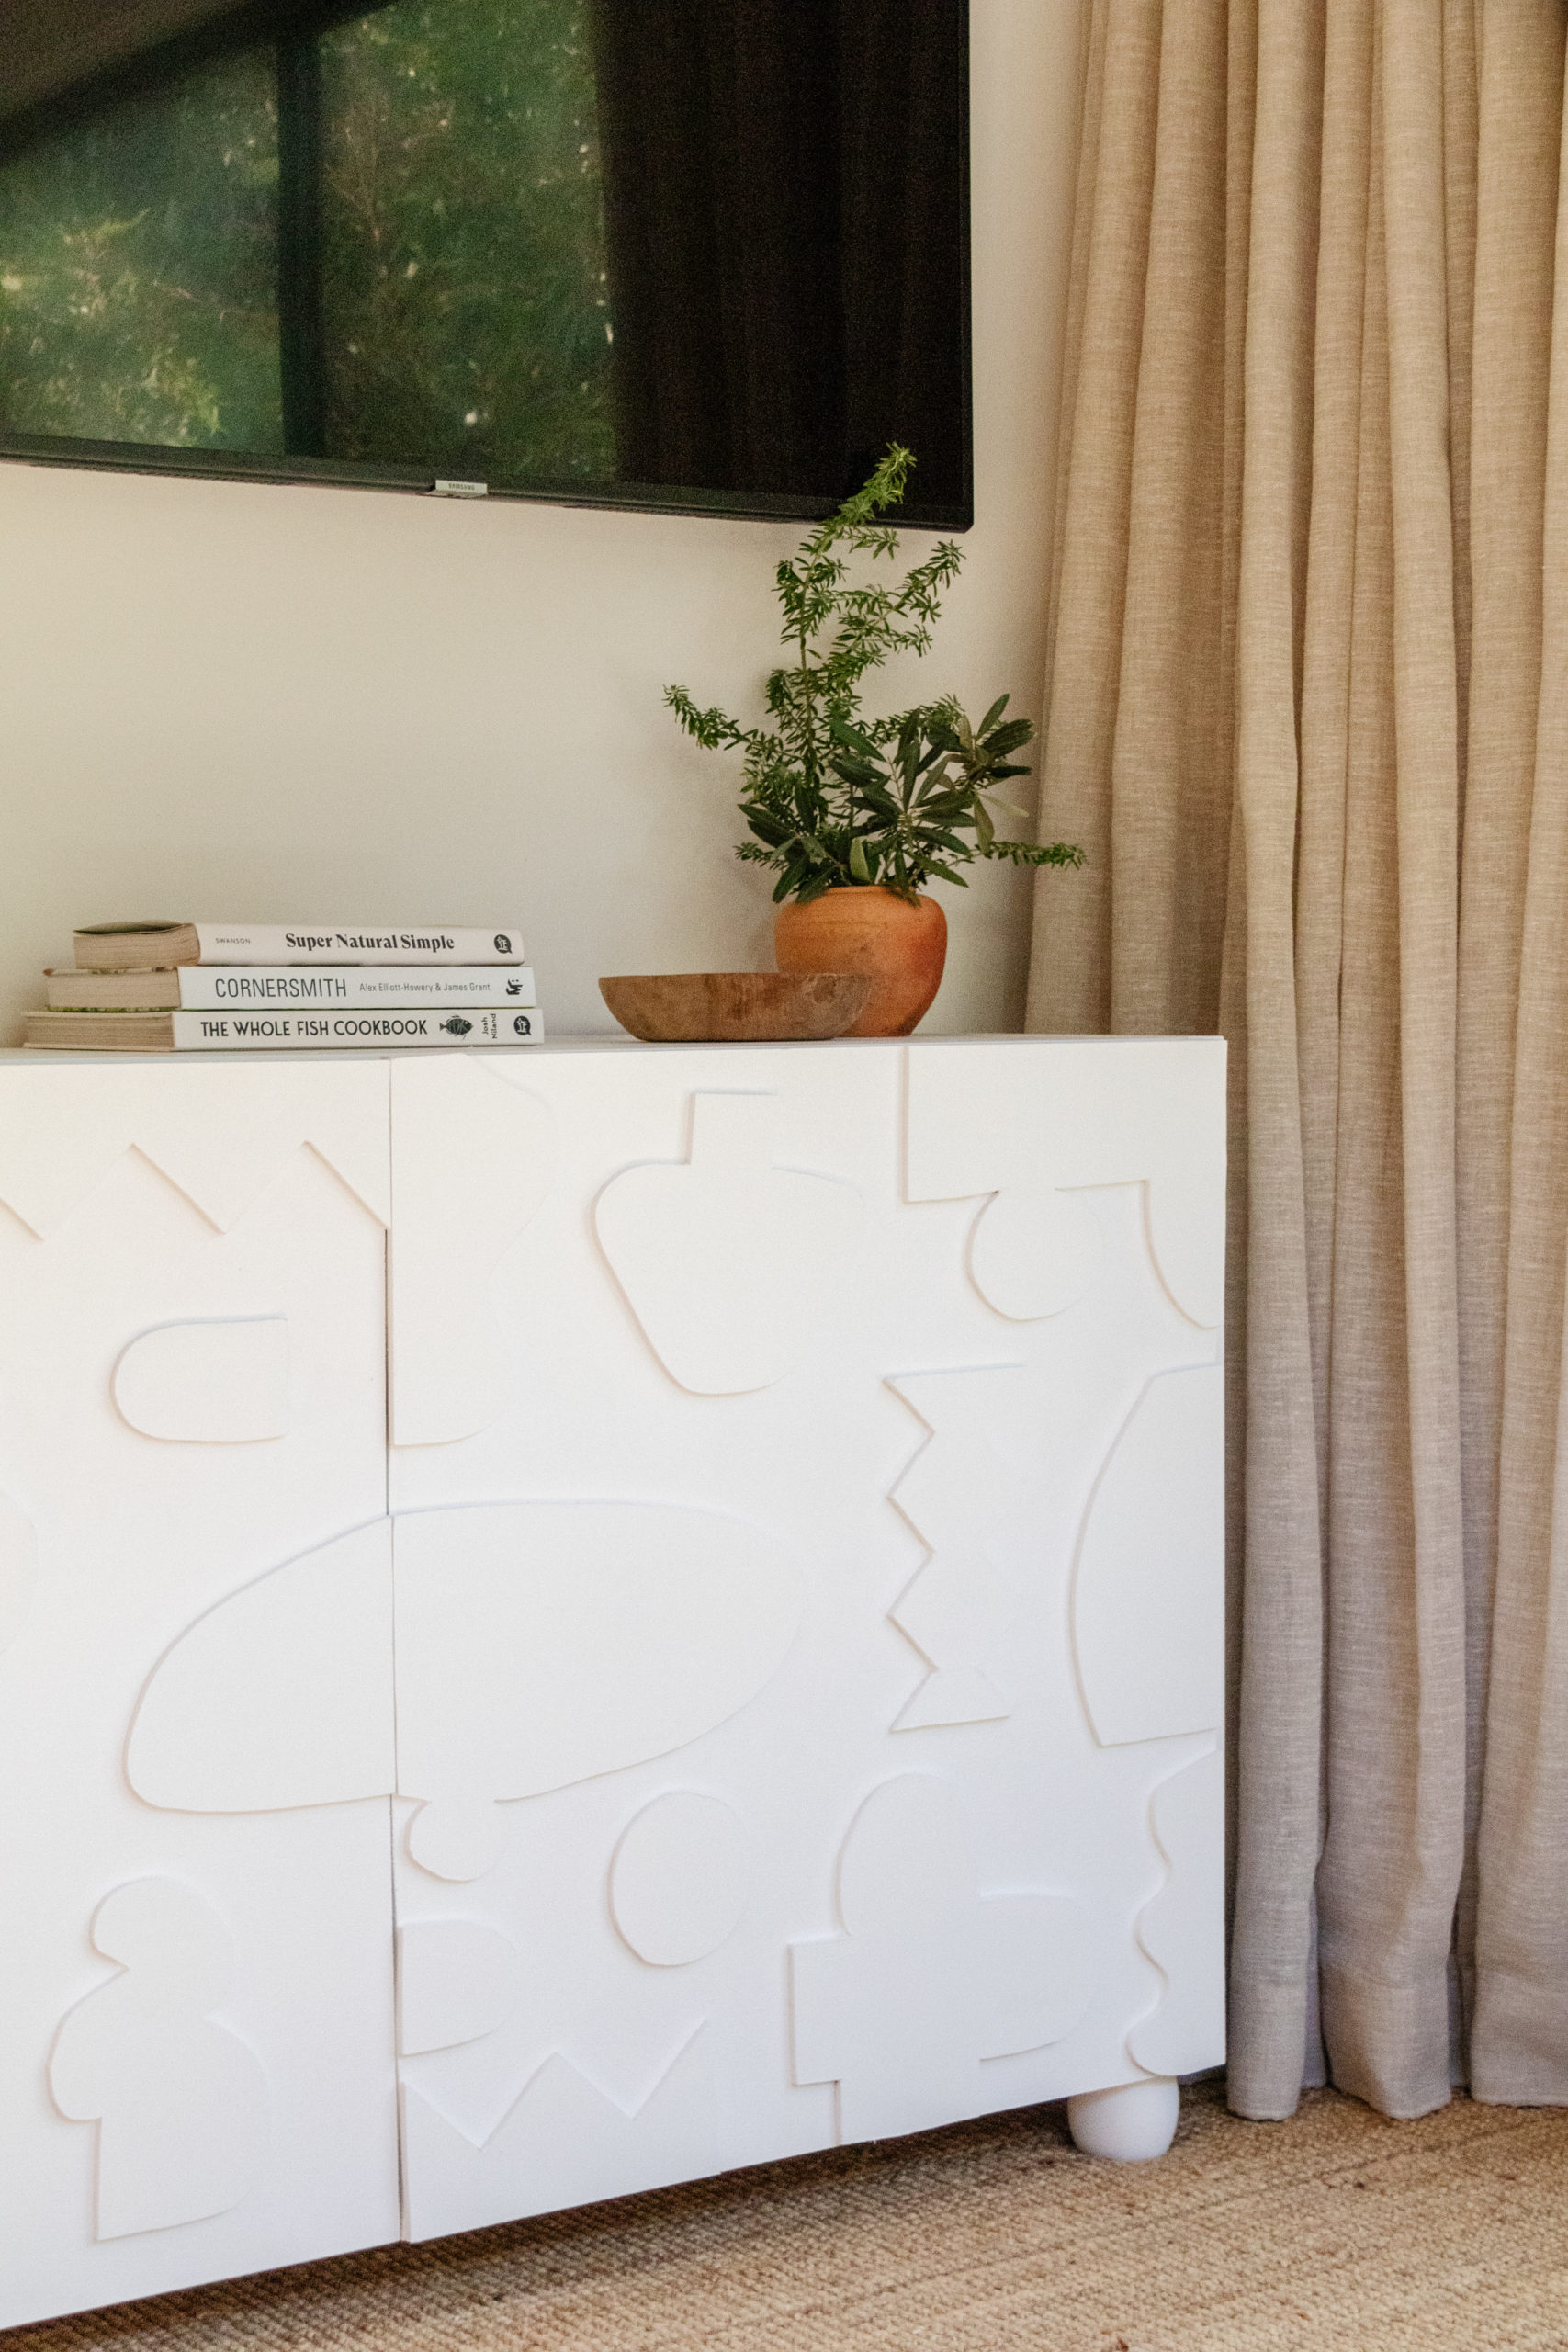
7. Now it’s time to paint the cabinet doors! You will need to apply several coats to fully hide the MDF. While the paint is drying, apply one coat of Zinsser B-I-N Primer Sealer to the sides and top of the cabinet. Once dried (and it dries quickly), apply a couple of coats of white paint and set aside to dry. And your abstract cabinet is finished!

The post A DIY abstract cabinet hack from Bunnings appeared first on The Interiors Addict.
